Recently, we’ve seen how to allow or prevent Windows 10 to create dump files. Dump files created after a crash may be reported to Microsoft for analysis purpose. This is done via Windows Error Reporting feature. The service utilized in this feature is the Windows Error Reporting service which keeps working in background and comes into play when a crash encountered. When the crash file reaches Microsoft via this service, the file is analyzed and a solution is reported back, provided if the solution of the problem found exists already. Thus in this way, Windows Error Reporting play crucial part in post-crash situations.
However, sometimes, this service may keep throwing stopped working message in a loop, due to which a normal user feels irritated with it and he’ll look to fix the annoyance:
Page Contents
Windows Error Reporting has stopped working
If you’re also getting this error and tried a couple of options such as restarting the machine, System Restore, SFC /SCANNOW and nothing seems to be working, here is what else you can do to suppress the message:
FIX : Windows Error Reporting Has Stopped Working In Windows 10/8.1/8/7
FIX 1 – Using Registry Editor
Registry Disclaimer: The further steps will involve registry manipulation. Making mistakes while manipulating registry could affect your system adversely. So be careful while editing registry entries and create a System Restore point first.
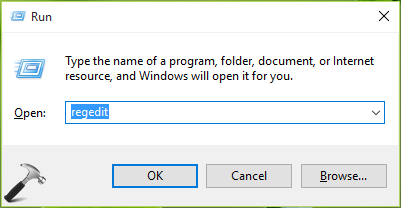
1. Press  + R and put regedit in Run dialog box to open Registry Editor (if you’re not familiar with Registry Editor, then click here). Click OK.
2. In the Registry Editor window, navigate to following registry key:
HKEY_LOCAL_MACHINE\SOFTWARE\Policies\Microsoft\Windows
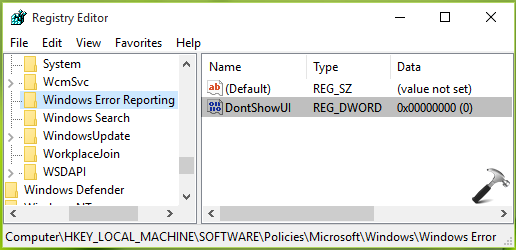
3. Right click on Windows registry key and select New -> Key. Name the newly created sub-key as Windows Error Reporting. In the right pane of Windows Error Reporting, right click and select New > DWORD Value. Name the newly created registry DWORD (REG_DWORD) as DontShowUI. Double click on same DWORD to get this:
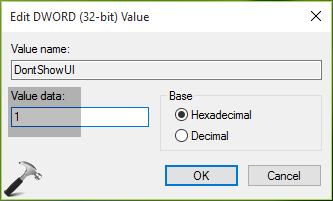
4. Set the Value data to 1 and click OK. Close Registry Editor and reboot to make changes effective.
FIX 2 – Using Group Policy
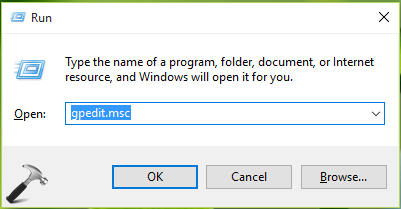
1. Press  + R and put gpedit.msc in Run dialog box to open Local Group Policy Editor. Click OK.
2. In the GPO snap-in, navigate here:
Computer Configuration > Administrative Templates > Windows Components > Windows Error Reporting
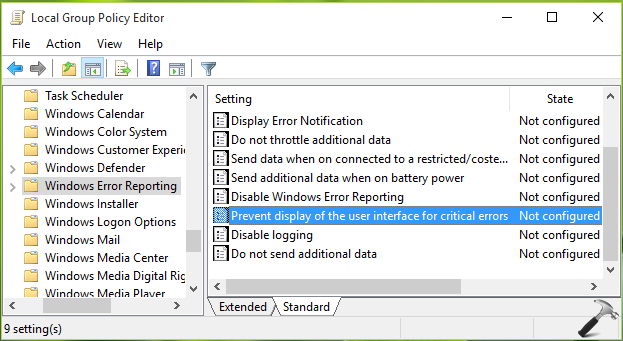
3. In the right pane of Windows Error Reporting, look for Prevent display of the user interface for critical errors setting. Now set the policy status to Enabled from Not Configured (default) and click Apply followed by OK. Close GPO snap-in and reboot the machine.
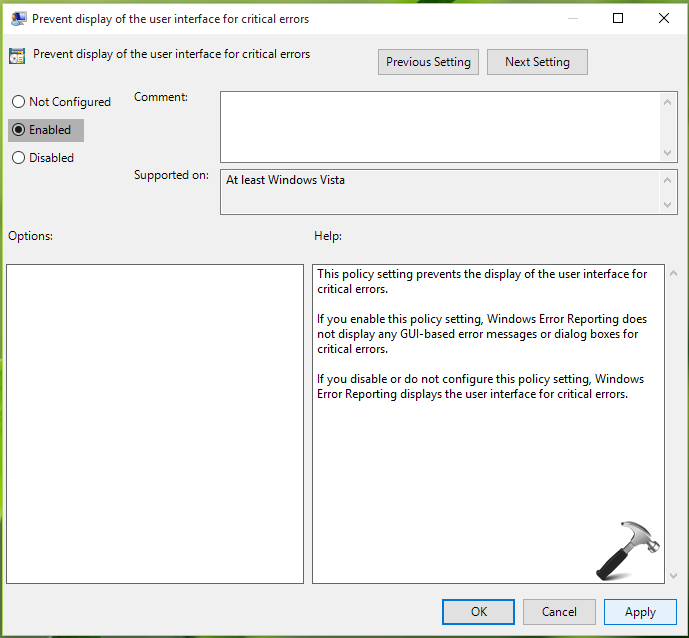
After restarting your system, you’ll find that error message no longer appears now.
Hope this helps!
![KapilArya.com is a Windows troubleshooting & how to tutorials blog from Kapil Arya [Microsoft MVP (Windows IT Pro)]. KapilArya.com](https://images.kapilarya.com/Logo1.svg)


3 Comments
Add your comment
This is great. Really helpful and easy to follow.
Thank you
^^ Glad we could help 😊
Not a fix, just hides that an error is happening. Doesn’t address the issue that caused the error.