If you’re constantly experiencing restarting issues with File Explorer in Windows 11, there are a few effective steps which you can follow to overcome this problem. In this article, we’ll discuss these steps and resolve the issue.

Page Contents
Fix: Windows 11 File Explorer Keeps Restarting
Fix 1: Restart Your Computer
Try to restart your computer. Sometimes, simple things do fix the problem. Glitches or conflicts will be gone after restarting your computer.
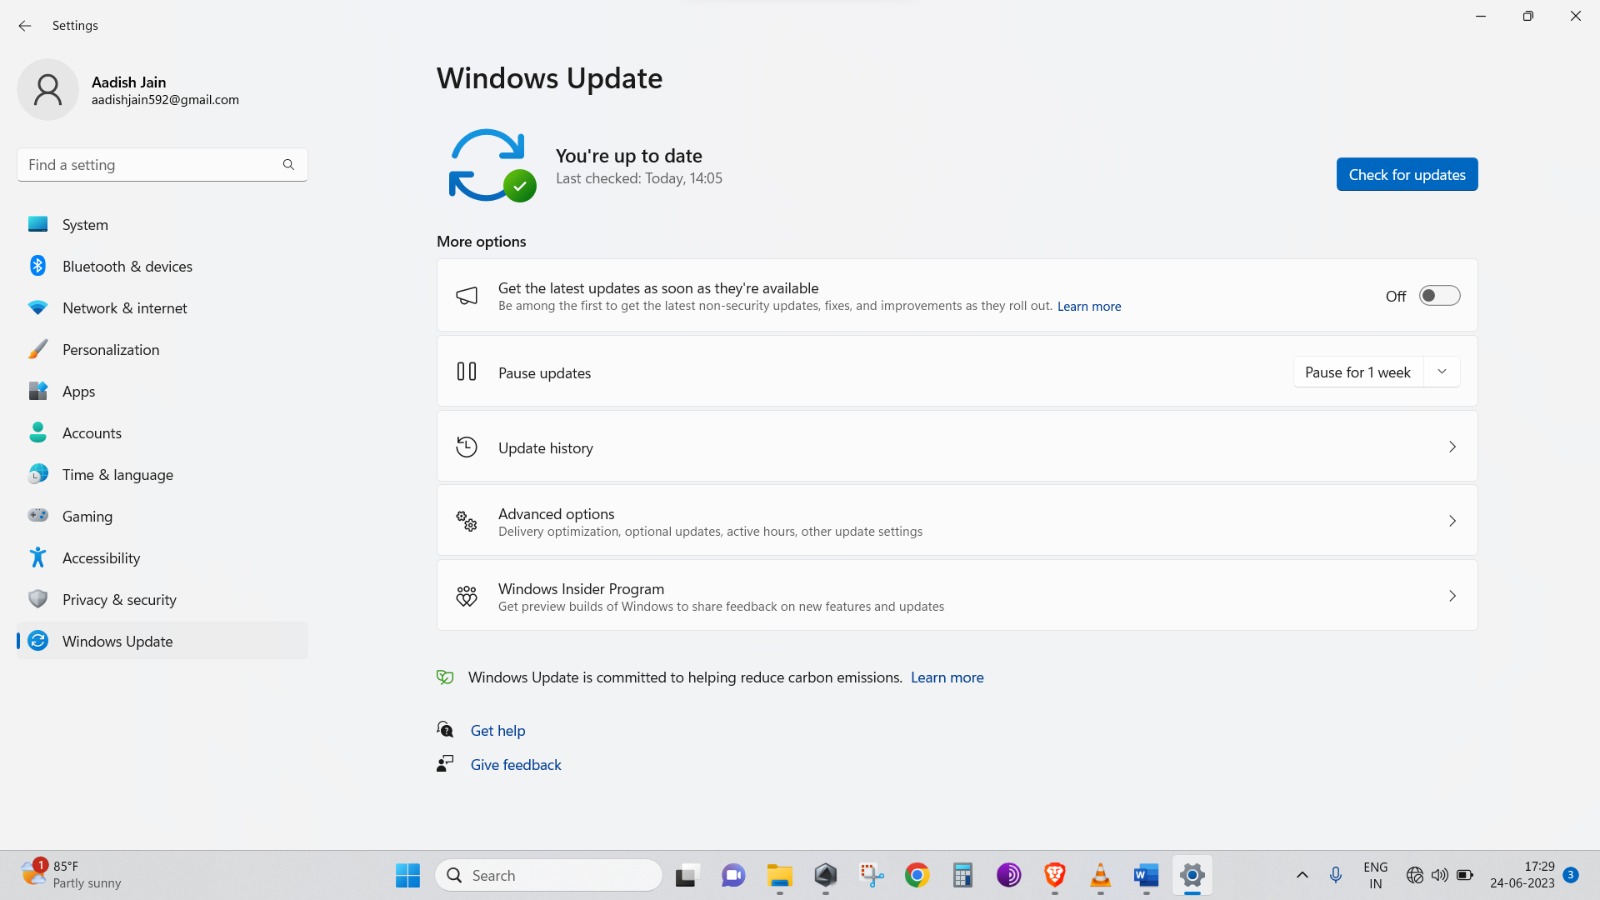
Fix 2: Update Windows 11
Make sure you have updated your operating system with a new update. Follow these steps to update Windows 11:
1. Go to Settings.
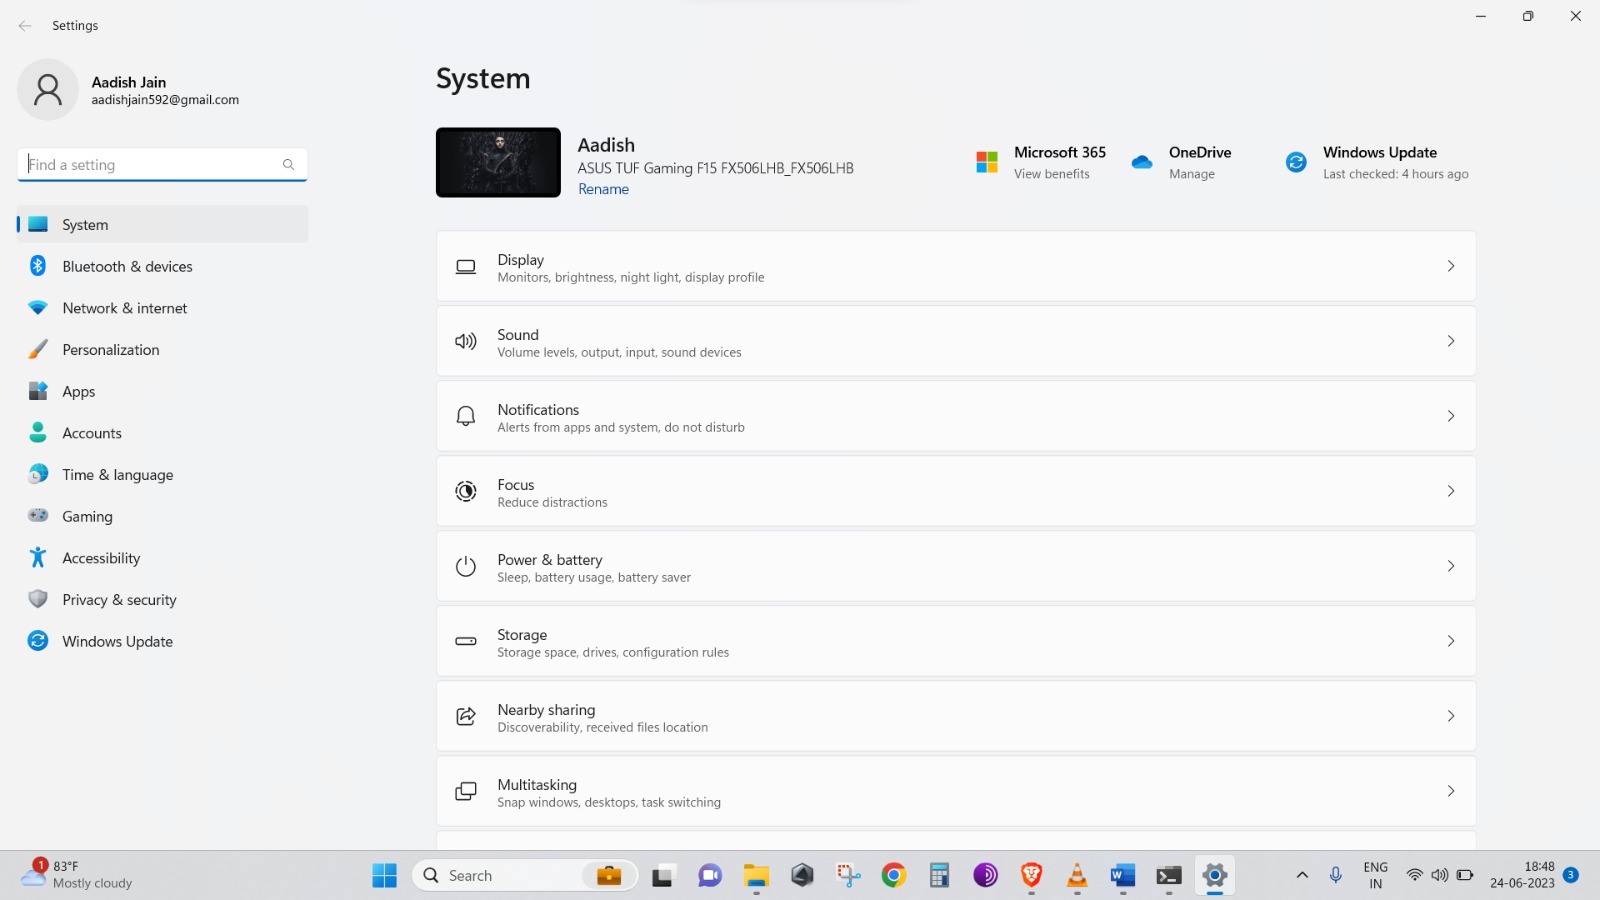
2. Click on Check for updates.
Fix 3: Disable Quick Access In Windows 11 File Explorer
Some people have experienced that disabling Quick Access can resolve the problem with File Explorer restarting. To do so, follow these steps:
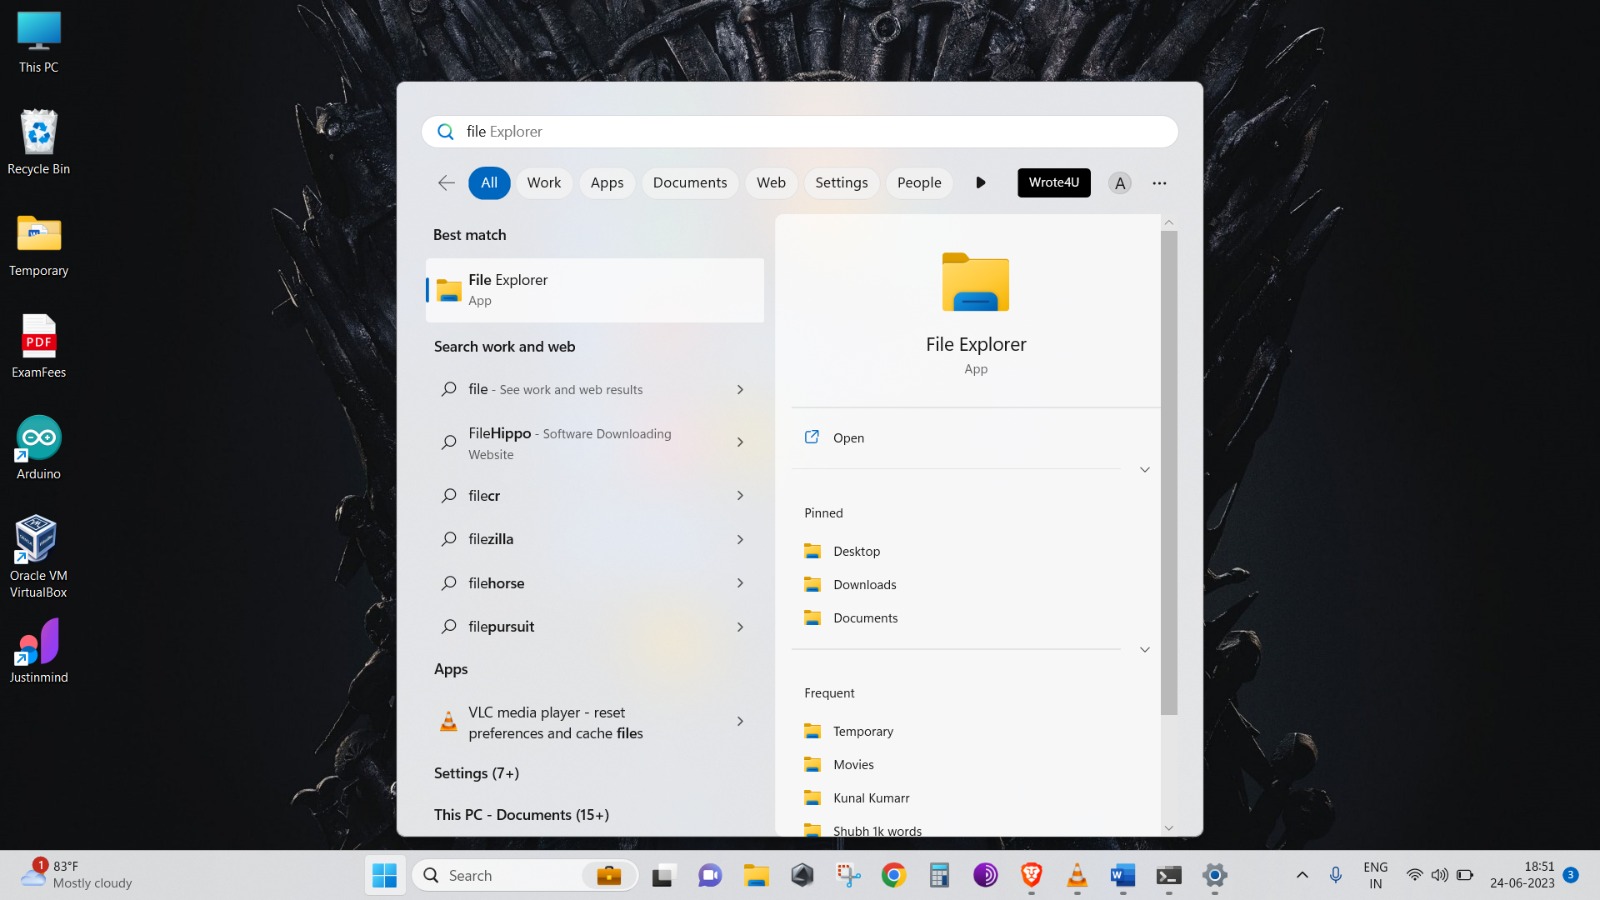
1. Open File Explorer in the Control Panel of the Start icon.
2. Go to the View menu bar and Click on the Options.
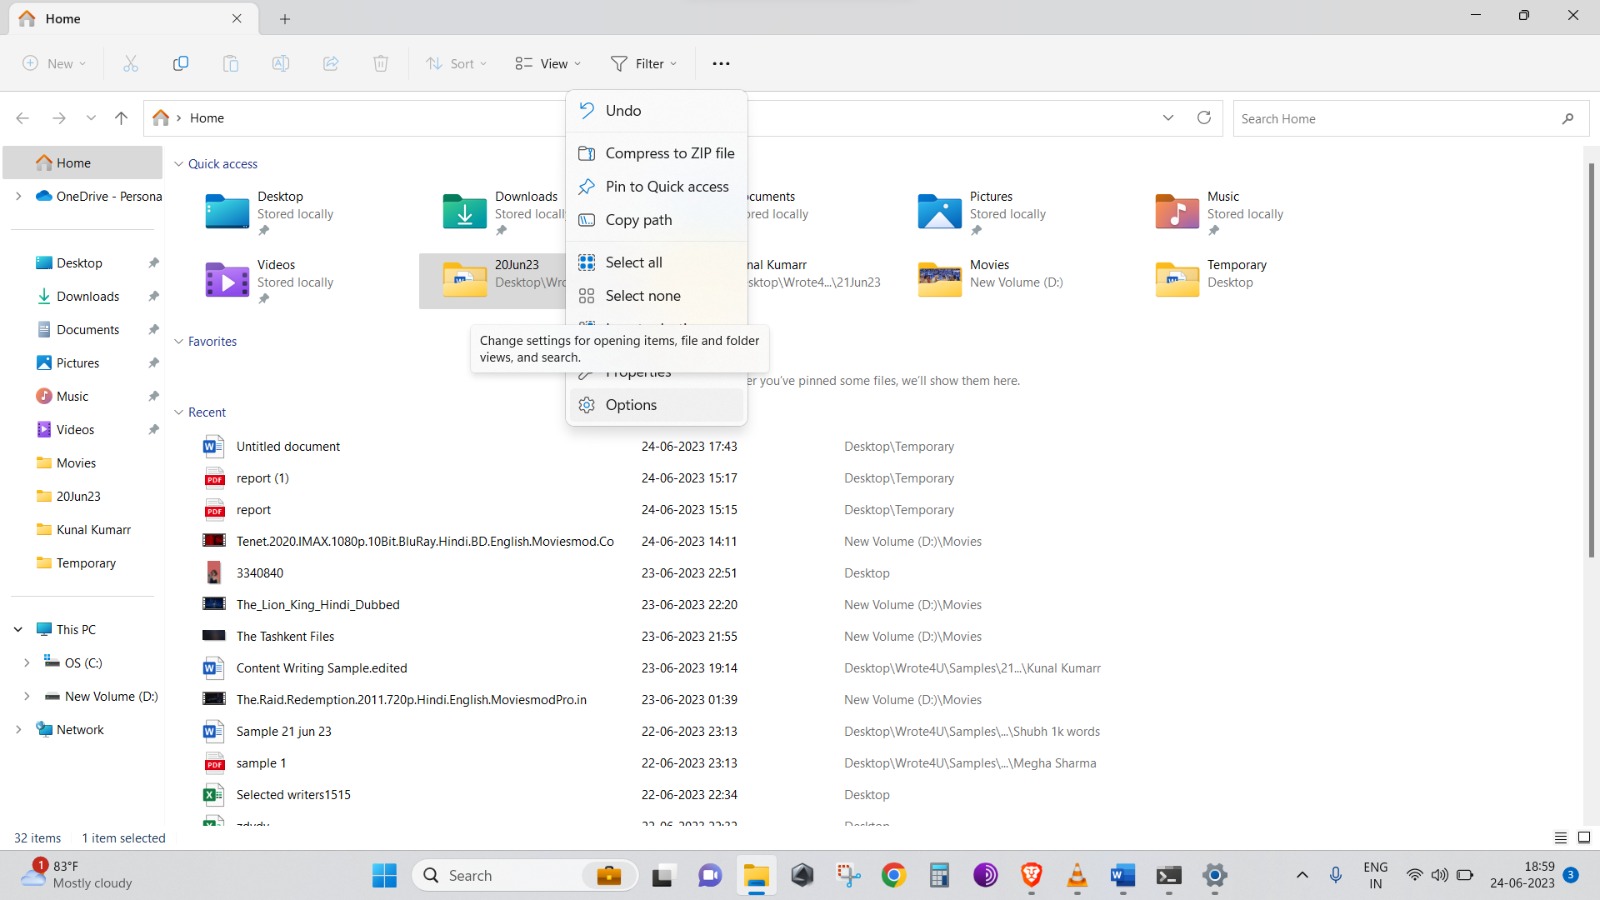
3. In the General tab, change The Open File Explorer option to This PC instead of Quick Access.
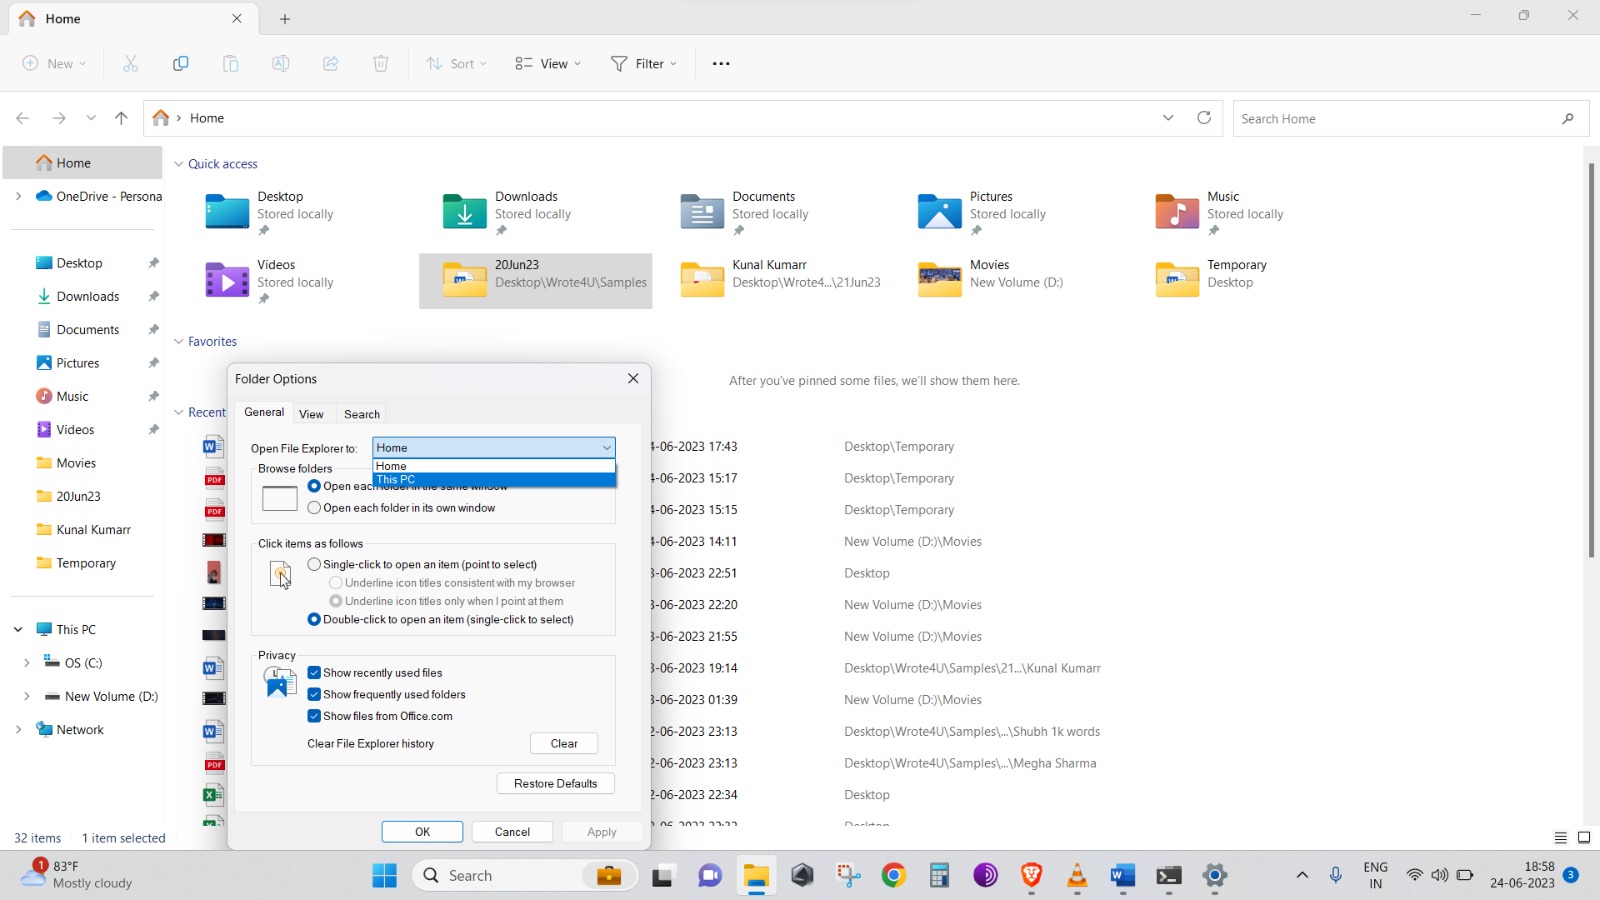
Fix 4: Clearing Windows 11 File Explorer History
Many times, Clearing the history of File Explorer can fix the issue of restarting. Follow these steps to clear the issue:
1. Open File Explorer and go to the View menu bar.
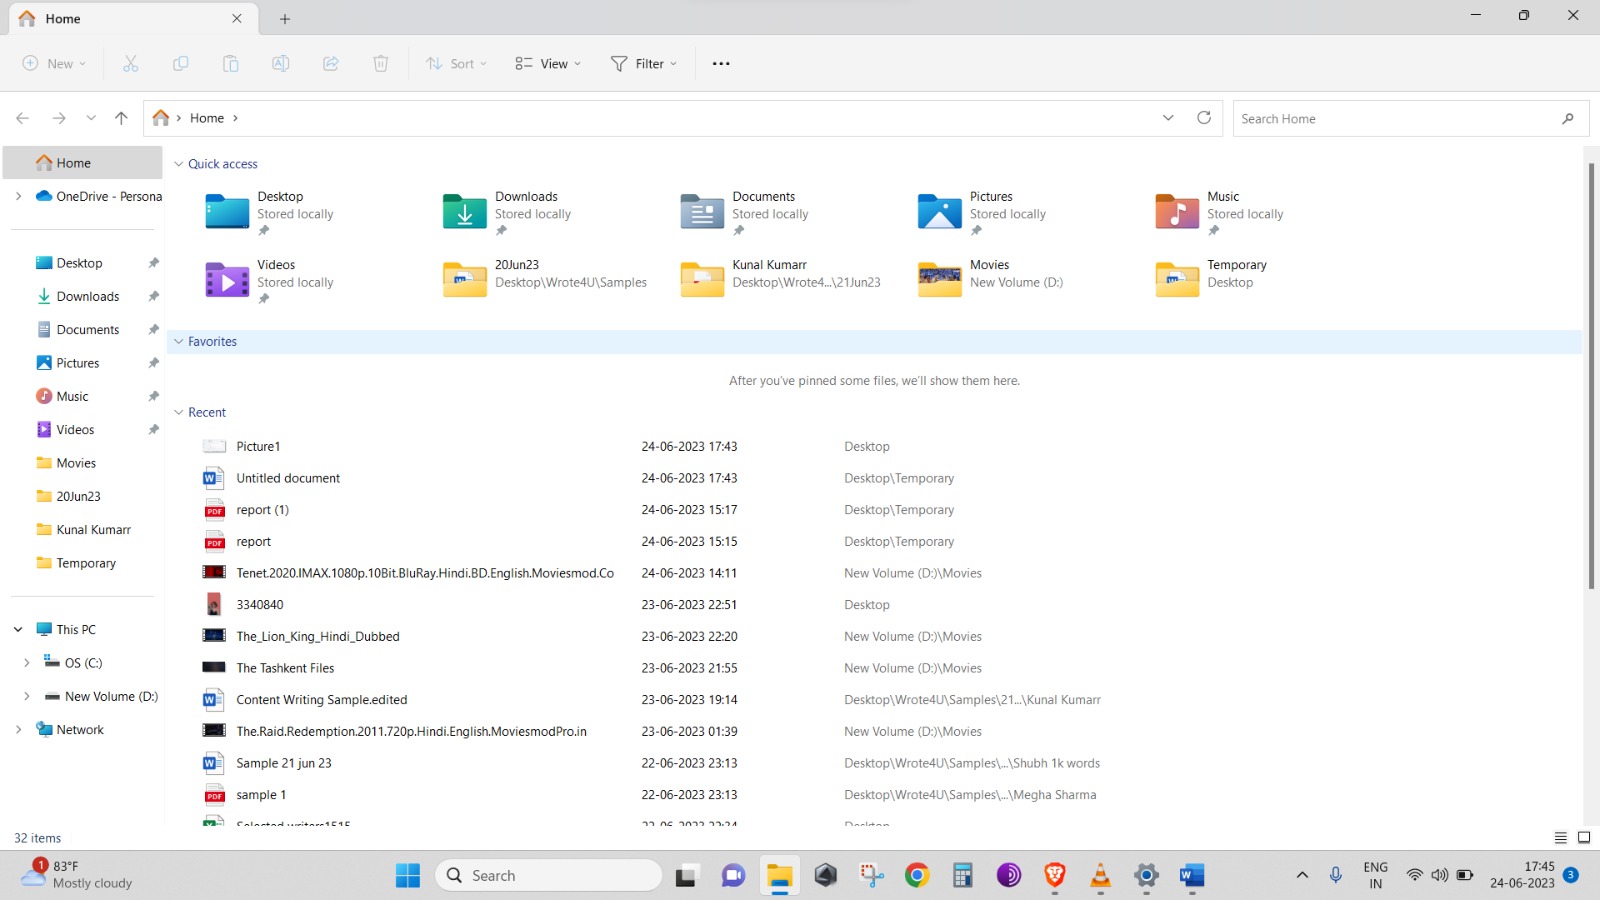
2. Click on Options and navigate to the General tab.
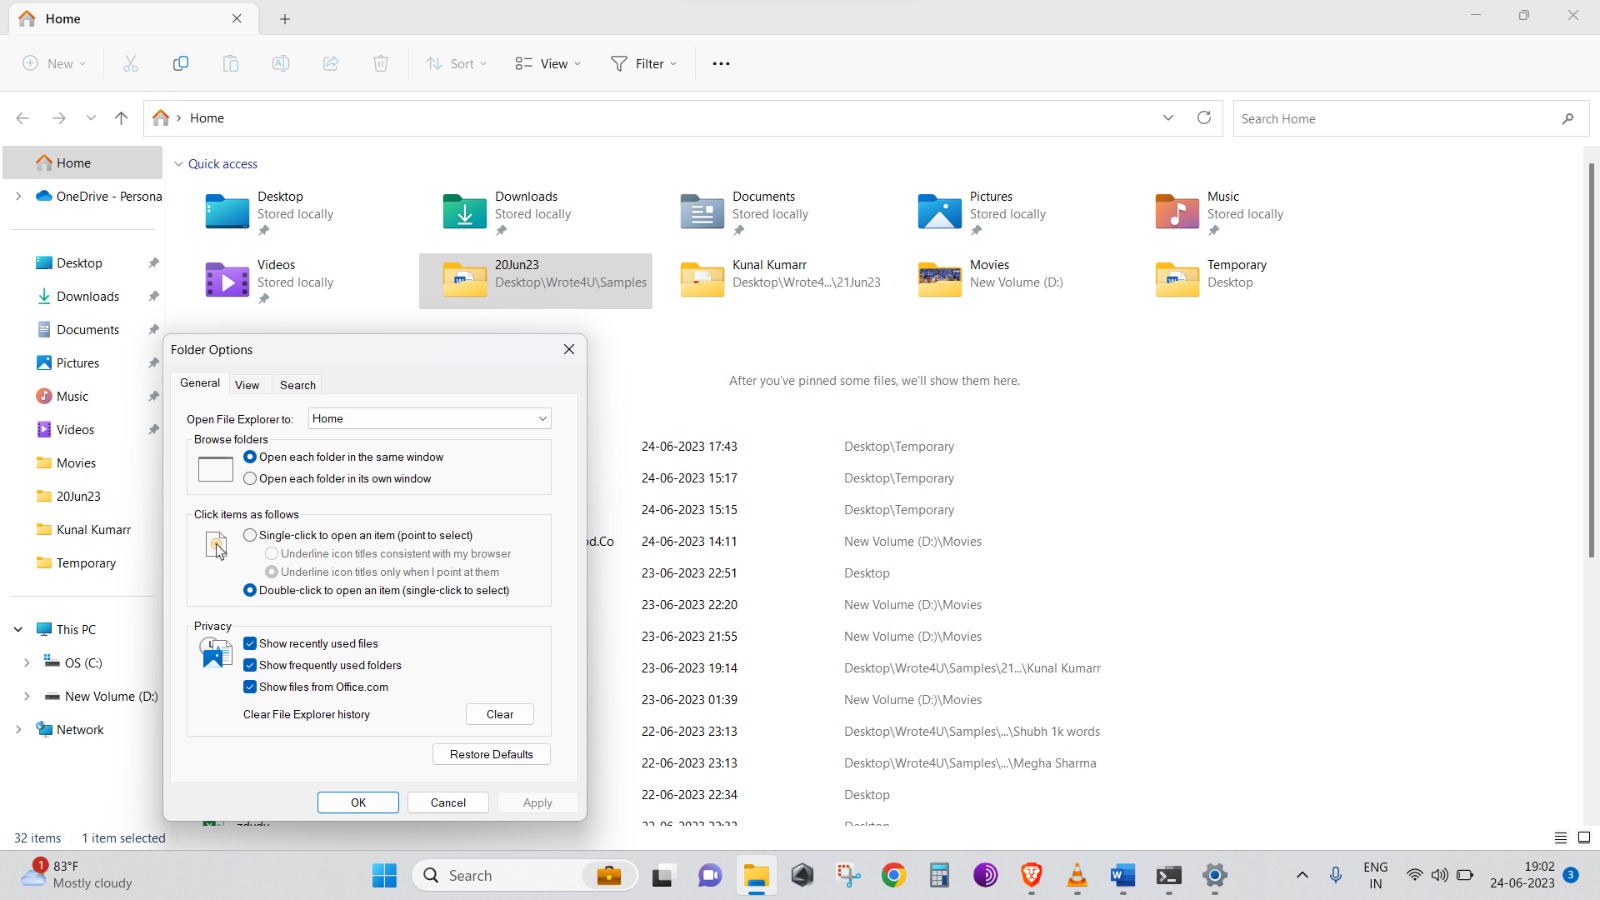
3. Click on the Clear button, under the Privacy section which is next to Clear File History.

Fix 5: SFC Scan
SFC Scan can fix your problems with your PC. If you want to fix the File Explorer issue by running SFC Scan then follow these steps:
1. Search for the command prompt. Click on the run as administrator by right-clicking on the command prompt.
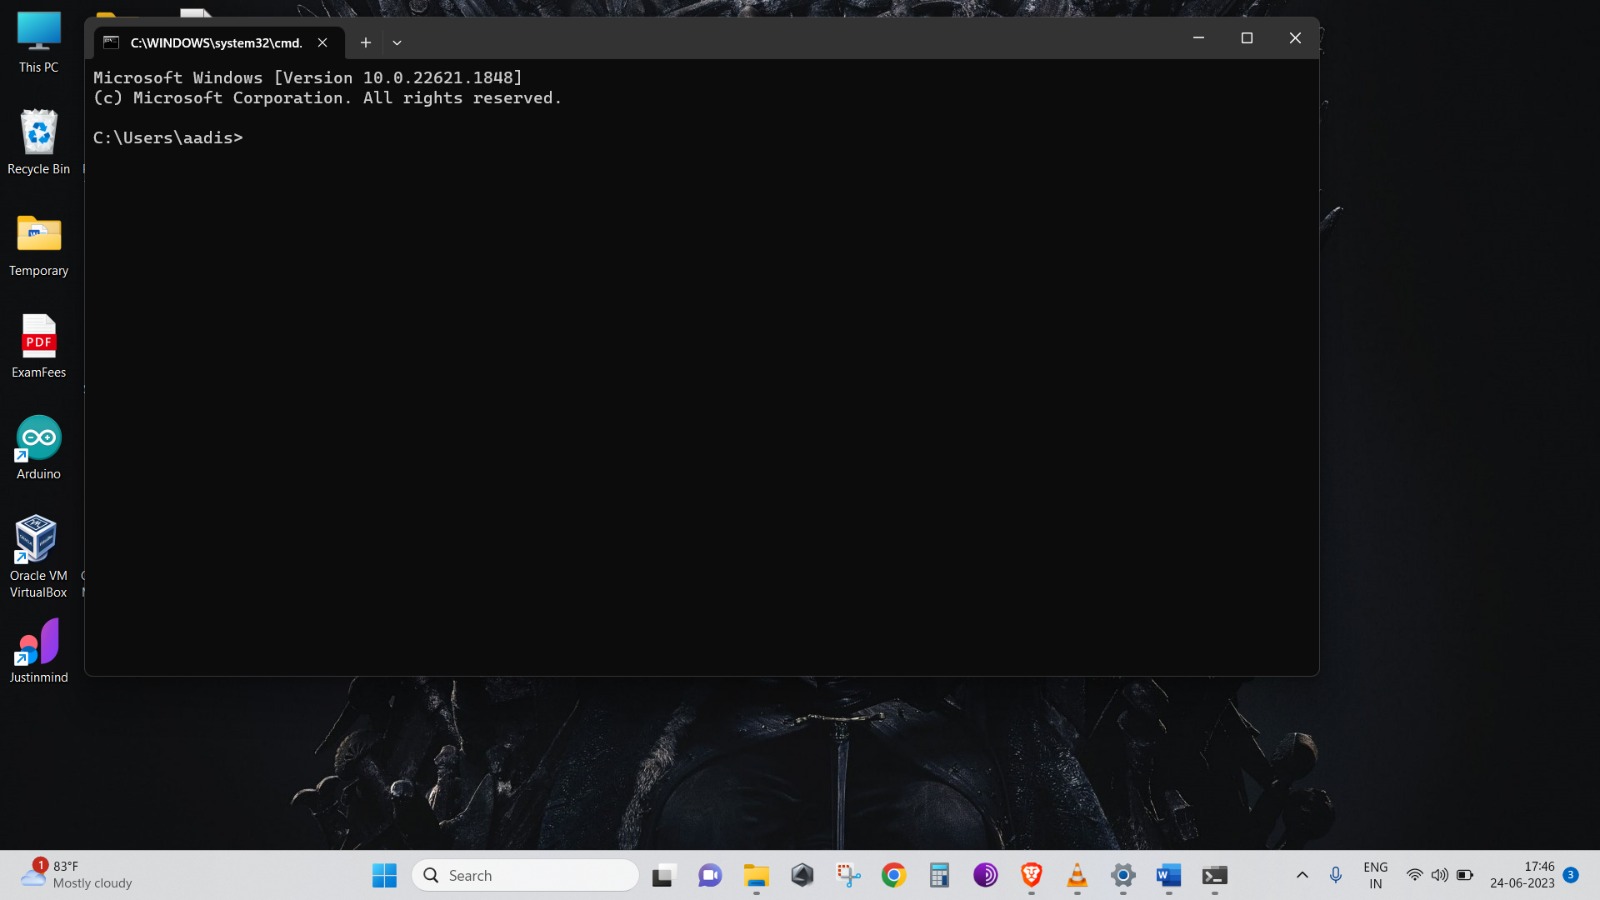
2. Type sfc /scannow command and press enter.
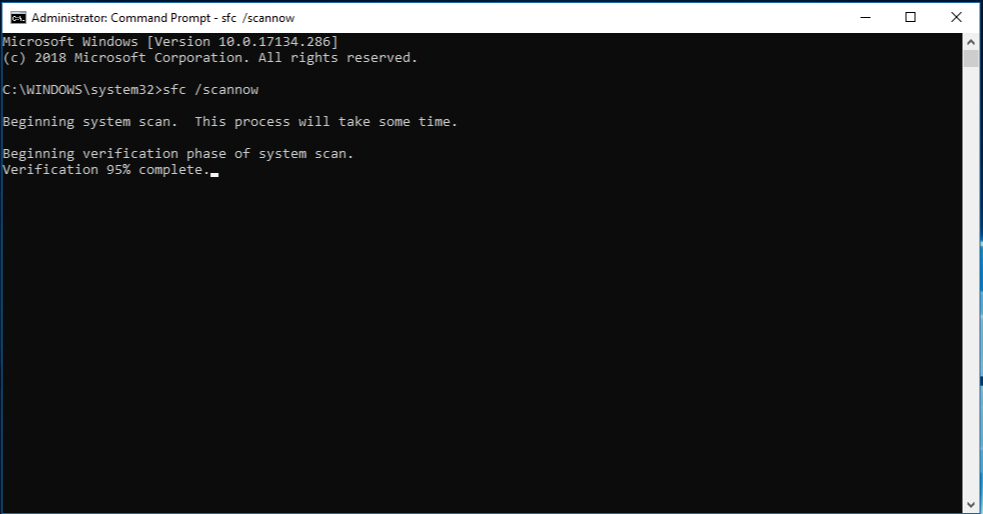
3. The process has started now. Wait for its completion and then restart your PC.
These were some of the most common solutions for File Explorer restart issues. By following these steps, you can resolve your File Explorer restarting issues in Windows 11.
![KapilArya.com is a Windows troubleshooting & how to tutorials blog from Kapil Arya [Microsoft MVP (Windows IT Pro)]. KapilArya.com](https://images.kapilarya.com/Logo1.svg)


Leave a Reply