Usually in Windows 10 or Windows Server, clock is displayed on right most part of the taskbar. In the clock, current time displays along with the date. By default, Windows displays this time in 12-hour format. The time in 12-hour format includes AM for first 12 hours of a day, and PM for rest of the 12 hours of same day. In this article, we will see how you can set clock in 24-hour time format in Windows 10/Server.

When you set the clock to 24-hour format, there is no AM or PM and you’ve the time increasing from 00:00 to 23:59. In Windows 10/Server, you can make this modification either via older Control Panel or using the Settings app.
You can try either of the methods mentioned below to change or set clock in 24-hour time format.
Page Contents
Set clock in 24-hour time format in Windows 10/Server
Method 1 – Using Settings app
1. Right click Start Button or press  + X keys and select Settings.
2. In the Settings app, navigate to Time & Language > Region.
3. In right pane of Region, under Regional format data, click on Change data formats link.
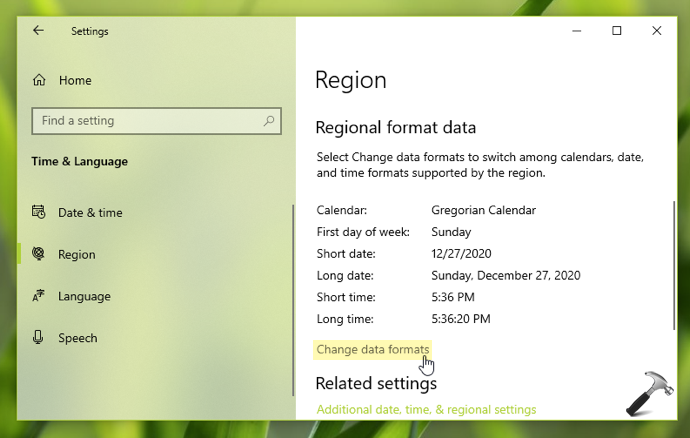
4. Under Change data formats, select Short time in 24-hour format i.e. without AM or PM. Similarly, select Long time in the 24-hour format as well.

Your settings should be saved and applied immediately.
Method 2 – Using Control Panel
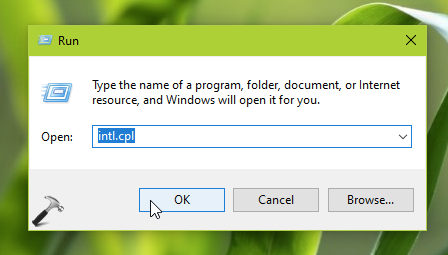
1. Press  + R to open Run, type
 intl.cpl command and click OK.
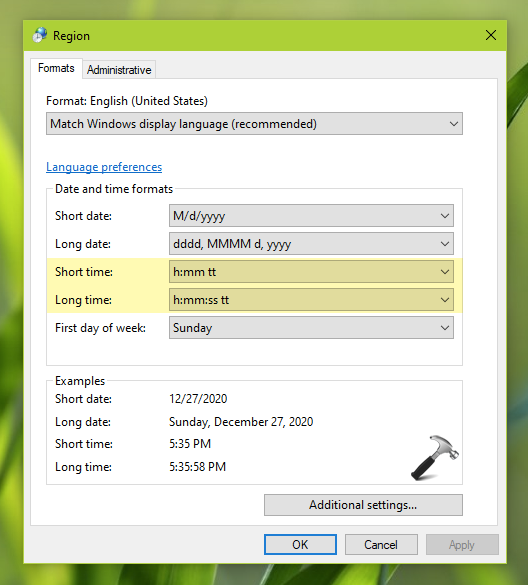
2. In the Region window, on Formats tab, you’ll be able to Short time and Long time in default 12-hour format. Click on the drop-downs next to them and select 24-hour format i.e. time without AM or PM.
3. Once you select the time in 24-hour format, you can see it preview in bottom of same window. Now click Apply, OK.
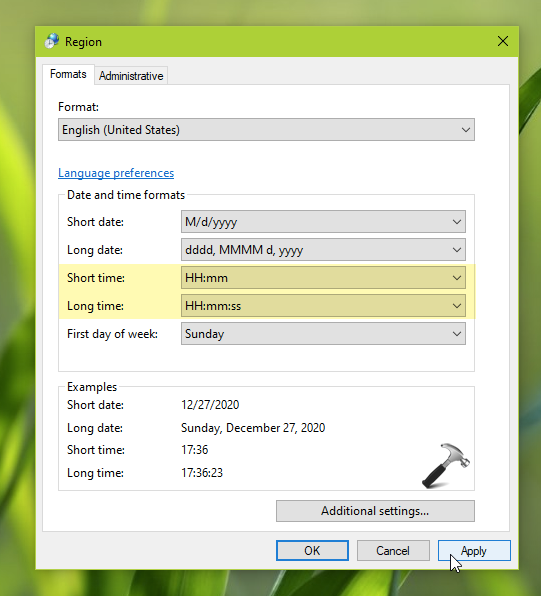
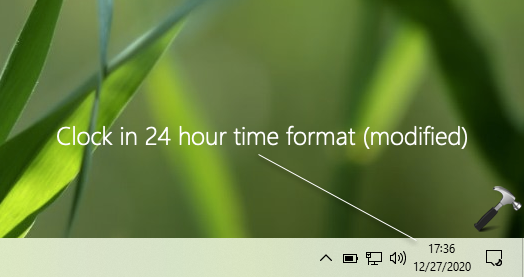
So the clock on taskbar should be immediately switched to 24-hour format time.
That’s it!
Read Next: How To Add Additional Clocks With Multiple Time Zones In Windows.
![KapilArya.com is a Windows troubleshooting & how to tutorials blog from Kapil Arya [Microsoft MVP (Windows IT Pro)]. KapilArya.com](https://images.kapilarya.com/Logo1.svg)


![[Latest Windows 10 Update] What’s new in KB5055612? [Latest Windows 10 Update] What’s new in KB5055612?](https://www.kapilarya.com/assets/Windows10-Update.png)


Leave a Reply