While you can install all of the features and roles using Server Manager, here is how you can uninstall those things. Well, if you’re on GUI based Windows Server, removing roles and features is quite easy. You need to be signed in to administrator account on server to remove any role or feature.
Additionally, before you jump into the process, you must confirm these things:
- Decide what to do with role data – you can either save or delete it
- Plan and migrate role data to another server, if you like
- Must inform domain users about potential interruption of services – because users might be after during the process and you may need to restart server
- Scheduling downtime for services which may be affected
After ensuring above mentioned points, you can opt in to remove roles and features. Here’s how:
Removing Roles And Features In Windows Server 2019
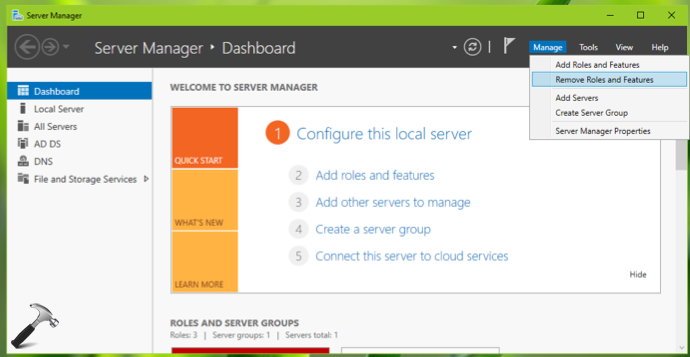
1. Open Server Manager and click Manage > Remove Roles and Features.
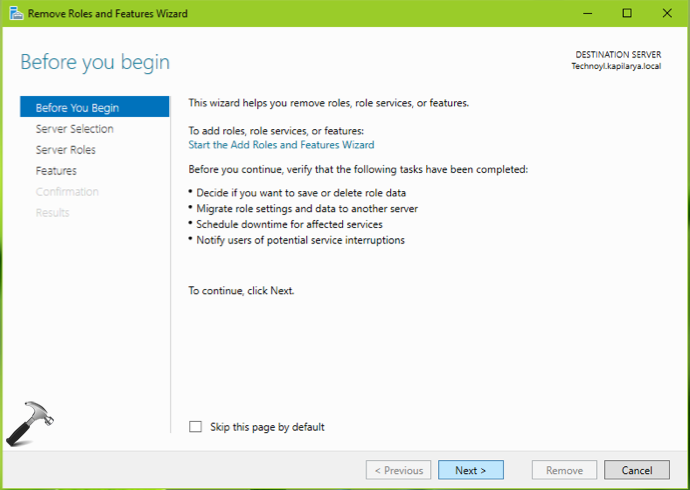
2. This will open Remove Roles and Features Wizard. After reading the proposed instructions, click on Next button under Before You Begin section.
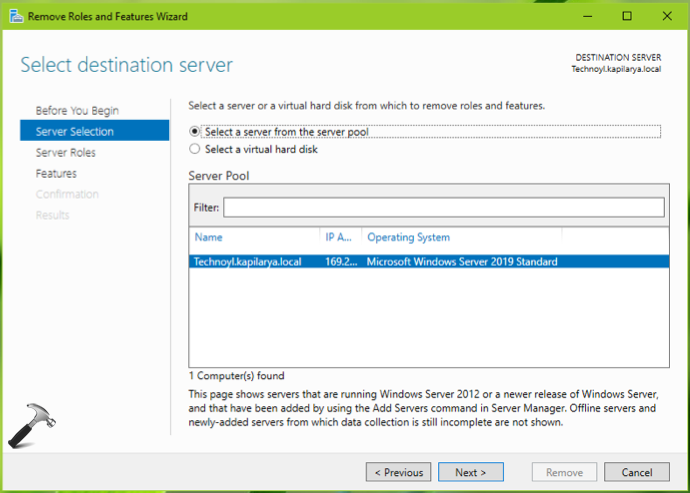
3. Next, select the server from which you want to remove roles and features.
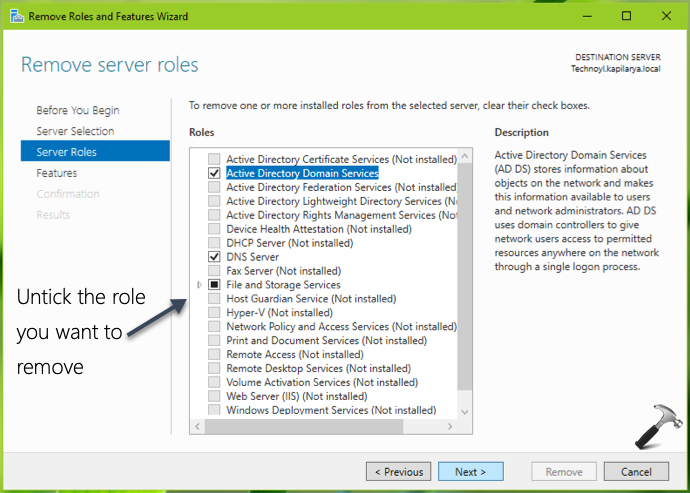
4. Moving on, under Server Roles, untick the option for role you want to remove and click Next.
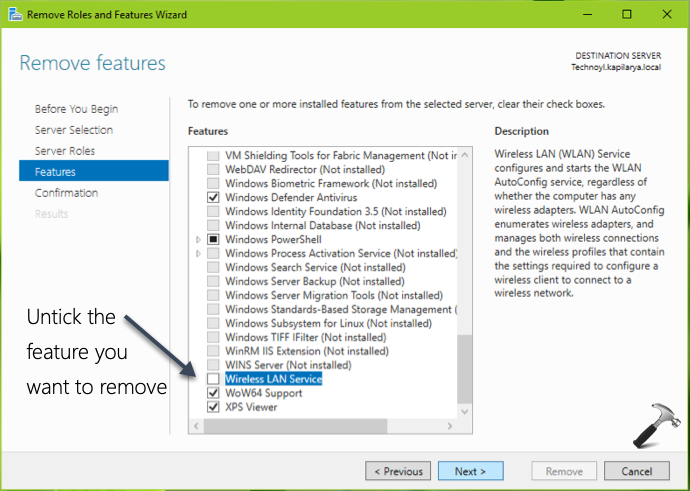
5. Quite similar to previous step, under Features, untick the feature you want to eliminate and hit Next.
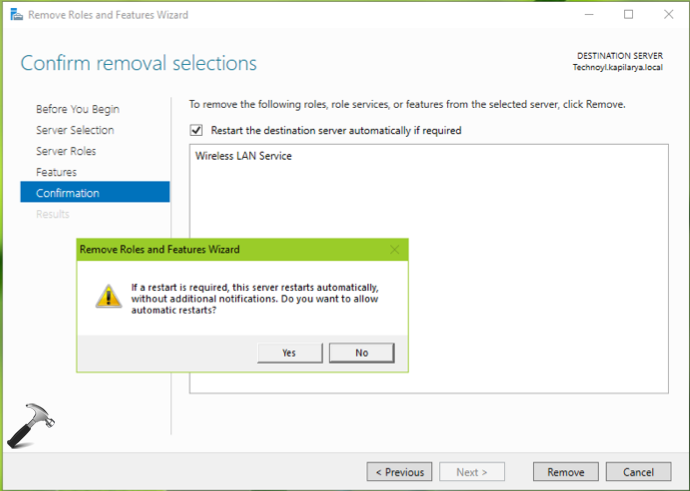
6. Then in Confirmation section, we recommend you to check Restart the destination server automatically if required option. This is because, most of the features or roles may require restarting server. When this option is checked, server will be automatically restarted without additional notifications. Confirm same on the confirmation prompt and hit Remove button.
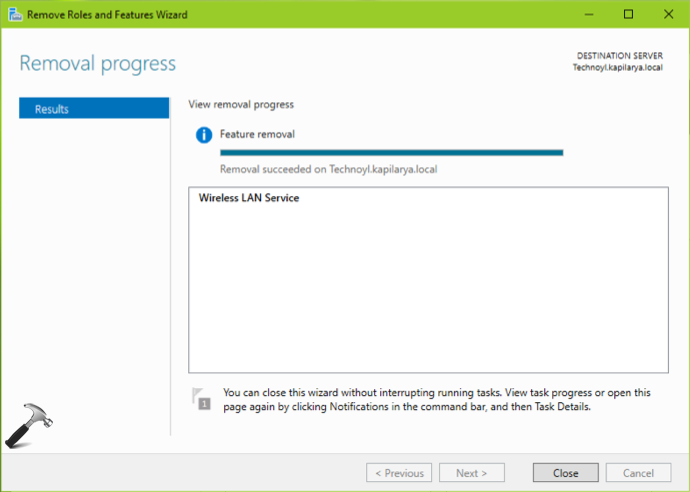
7. Depending upon the feature/role you selected, the server might restart and finally removal is done. You’ll confirmed on the Results section as shown below.
So this is how you can remove roles and features in Windows Server 2019. This guide is equivalently useful for prior editions such as Windows Server 2016/2012.
That’s it!
![KapilArya.com is a Windows troubleshooting & how to tutorials blog from Kapil Arya [Microsoft MVP (Windows IT Pro)]. KapilArya.com](https://images.kapilarya.com/Logo1.svg)




Leave a Reply