If you deleted a file permanently on your system and looking forward to recover it, this article is for you. Usually in such cases, you need to deploy third-party software to recover the deleted data. Well, things are now changed and Microsoft has introduced a new app called as Windows File Recovery, which can help you to recover data in these kind of scenarios. In this article, I will talk about this app and show you how to recover deleted files using Windows File Recovery app.
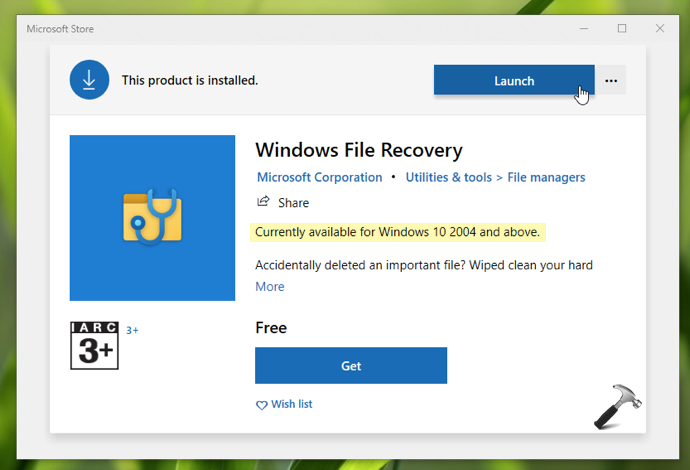
So the Windows File Recovery app is basically a command-line app. It is available free of cost on Microsoft Store. As of this writing, the app is supported on Windows 10 Version 2004 or later. If you’re on Insider Preview build 19041 or later, this app should work on your system. This app it is designed to recover data from hard drive sectors. Usually when you delete the data from your Windows system, it goes to Recycle Bin. When you delete that data even from Recycle Bin, though it is shown deleted but it may remain in sectors of hard drive. It remains there, until new data is written on these sectors. In this phase, you’ll be that space free on hard drive. So if the new data is not written yet on these sectors, you can recover that data using Windows File Recovery app.

Using Windows File Recovery, you can even recover data in specific file format, and also the data for specific user folder.
Recover deleted files using Windows File Recovery app
Since Windows File Recovery completely a command-line app, you don’t get any UI to click. You can try these steps to recover delete files using this app.
1. Download the app from Microsoft Store and launch it.
2. After launching it, you’ll see the Command Prompt window, as shown below.

3. In that window, you’ve type the command to recover in following format:
winfr source-drive: destination-drive: [/mode] [/switches]
To customize this command for different scenarios, you can check this support article. Also, in the Command Prompt window, you’ve been provided example usages.
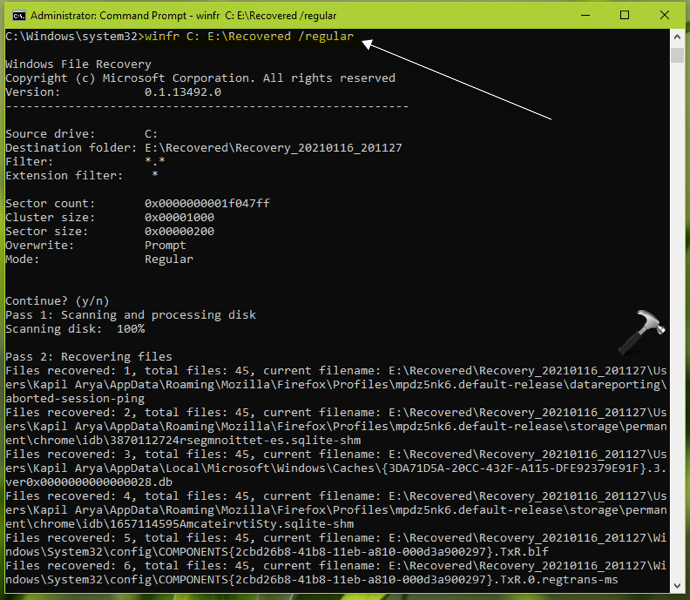
To illustrate you, I’ll be using simple command to recover all deleted files to another drive. So I’ve used command winfr C: E:\Recovered /regular. Here, C: is the source drive, E:\Recovered is the recovery folder on E: drive, and /regular is the mode of recovery which is used for non-corrupted NTFS drives. After executing the command, you can see in below screenshot that the recovery is in progress.

4. Once the recovery is completed 100%, you’ll be asked whether to see recovered files. Press Y to open the recovery folder.

In this way, your files are recovered using Windows File Recovery app.
Check this video for live demonstration of recovering files using Windows File Recovery app:
That’s it!
![KapilArya.com is a Windows troubleshooting & how to tutorials blog from Kapil Arya [Microsoft MVP (Windows IT Pro)]. KapilArya.com](https://images.kapilarya.com/Logo1.svg)


Leave a Reply