Do you want to install Windows Subsystem Linux (WSL) on Windows 11 in an easy way? Well, if you are one of those who are looking for such a piece, then this article is exactly what you need!
WSL stands for Windows Subsystem Linux where you can leverage Linux tools and commands as if they are a part of the Windows environment.
This guide will look at several ways to get WSL on Windows 11 and address frequently asked issues to help you achieve the best experience.
Page Contents
Why Install Windows Subsystem for Linux on Windows 11?
The Windows Subsystem for Linux for Windows 11 provides a seemingly native integration of Linux into the Windows environment for development. WSL enables developers, IT specialists, and tech aficionados to work in Linux distributions such as Ubuntu, Debian and so many others, without the need to have two Operating Systems or Virtual machines.
Being easy to install, friendly towards the most popular Linux distributions, and offering vastly improved performance with the help of WSL 2, this feature is an absolute no-brainer for any developer or tech-savvy user.
Ways to Install Install Windows Subsystem for Linux (WSL) on Windows 11
Way 1: Install Windows Subsystem for Linux Using Command Prompt
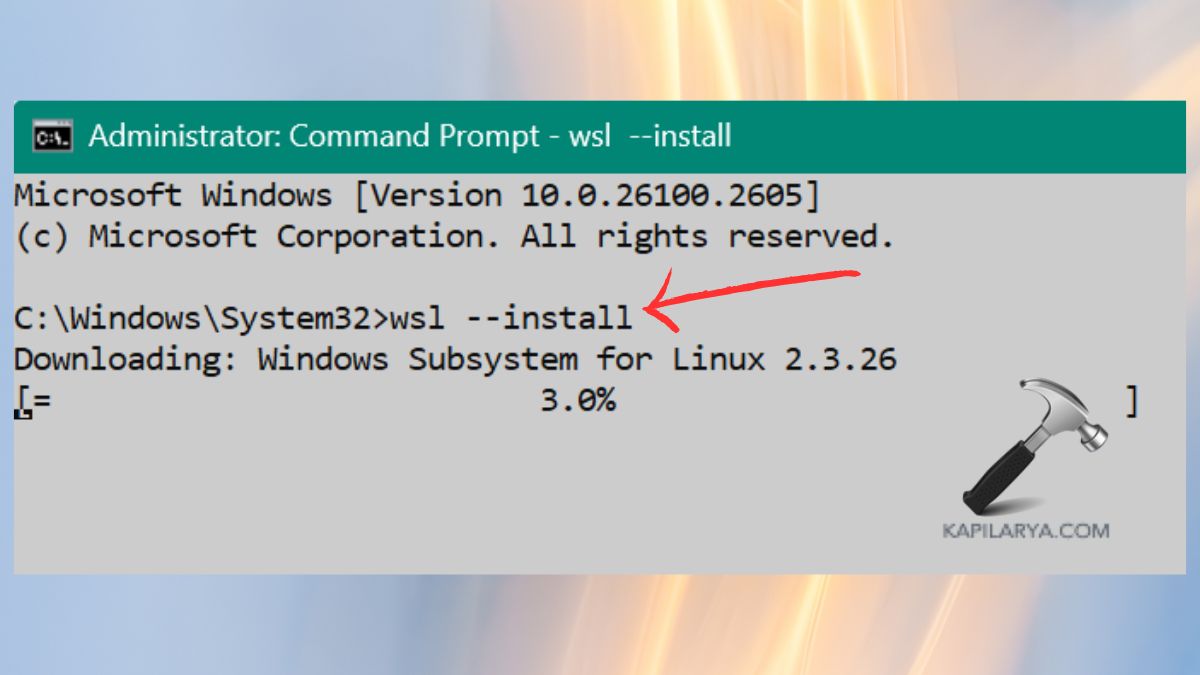
By far, the easiest and quickest way of installing WSL is through the command prompt. This method is easy as it configures the distro to install the default WSL and basic components on your machine. Here’s how:
1. Open Windows search by pressing the Windows key +S. Type Command Prompt, right-click it, and click on Run as Administrator.

2. Press Enter after typing the following command.
wsl --install

There will be a default Linux distribution, such as Ubuntu. You can select other distributions as well. After that, allow the installation process to finish as you restart your pc.
Way 2: Install WSL Using Windows Features
That is why, if you like working with the GUI more, you can always enable WSL via Windows Features.
1. Type “Turn Windows features on or off” in the search bar on the start screen and click it.

2. Check the boxes for-
- Windows Subsystem for Linux
- Virtual Machine Platform
Click OK to save changes.

3. Your system will restart in order to implement the change.
4. Go to the Microsoft Store, type in the name of the preferred Linux distribution (that is Ubuntu), and download it.

This method suits those who do not prefer to type configuration commands rather, they prefer to implement the configurations systematically through a graphic user interface.
Way 3: Install Windows Subsystem for Linux via Terminal
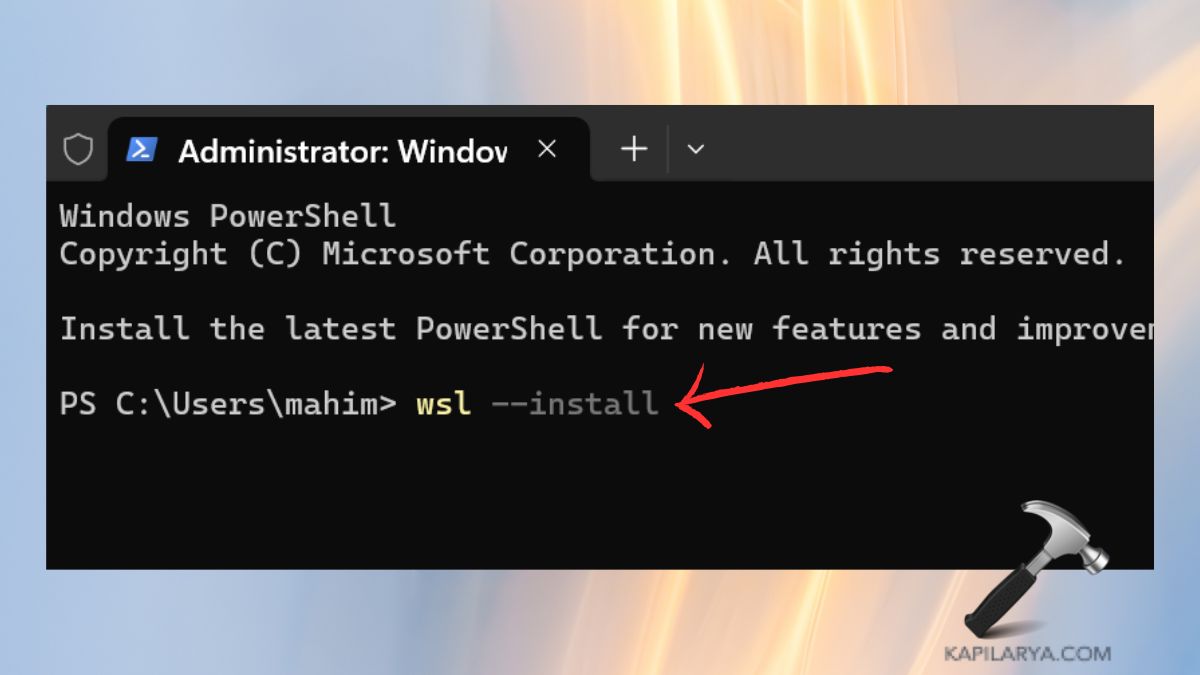
Another useful method of installing WSL can be done via PowerShell or Terminal which gives a broader control over all the process. They are particularly helpful for users with enhanced requirements wishing to fine-tune the configuration of WSL.
1. Enter Windows key + X, and click on Terminal (Admin).

2. Enter the following command.
wsl --install

3. You can view the available distributions and install one by running this command-
wsl –install -d
4. To ensure that WSL is running smoothly after installation open Terminal and type the letters ‘wsl’.
#1 What are the system requirements for installing WSL on Windows 11?
In order to run WSL on Windows 11, the following is a checklist must be met by the operating system.
1. Operating System: Windows 11 or Windows 10 (Build 19041 or higher).
2. Architecture: The operating system requires a 64-bit processor with virtualization support enabled in BIOS.
3. Disk Space: For the Linux distribution, the space must be free of at least 10 GB.
#2 How do I update the Windows Subsystem for Linux to the latest version?
If you want to get the latest features, use the one below.
wsl --update

This brings the kernel of the WSL up to date and also checks whether the tools are compatible.
#3 How do I switch between WSL versions?
Here is the way you can switch between WSL 1 and WSL 2 with these commands-
1. To instantly set a unique and specific version for ALL distributions.
wsl --default-version "1 or 2"

2. Use in order to replace the version for a specific distribution.
wsl --set-version "distribution-name" "1 or 2"
That’s it!
![KapilArya.com is a Windows troubleshooting & how to tutorials blog from Kapil Arya [Microsoft MVP (Windows IT Pro)]. KapilArya.com](https://images.kapilarya.com/Logo1.svg)


Leave a Reply