If you’ve switched to Microsoft account from local account in Windows 10, you’ll need to verify your account. The verification helps Microsoft security team to protect your info and authorize your account for its successive use. Unless you verify your account, you can’t use it in some of the apps or Windows features such as clipboard synchronization.
Worth to mention here that verification is usually not required in some of the apps when you enter incorrect credentials. This is because those apps may need to generate unique app password using which you can sign-in on the app. Well, we recommend you to have your Microsoft account verified on your Windows 10 to save yourself from hiccup that may occur with any app, when you use them. Also, we also suggest you to set up identity verification app for safeguarding your Microsoft account.
Here’s how you can verify your Microsoft account in Windows 10 machine.
How To Verify Your Microsoft Account In Windows 10
1. Right click Start Button or press  + X keys and select Settings.
2. In the Settings app, navigate to Accounts > Your info.
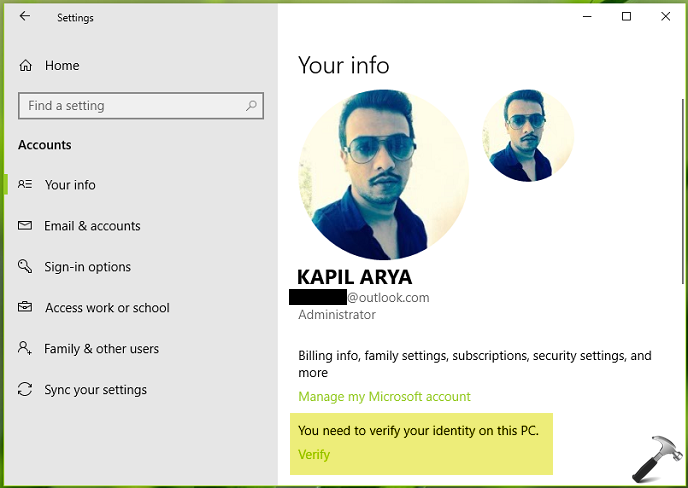
3. On the right pane of the window, under You need to verify your identity on this PC, click Verify.
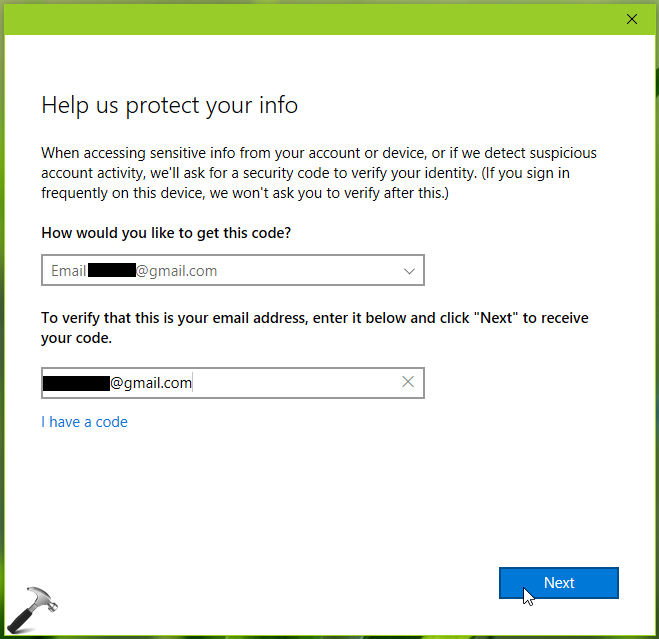
4. Next, on the window so open, you can select how you want to receive the security code (via email, SMS, authenticator app etc.). In this example, we opted for email option to receive recovery code. Click Next.
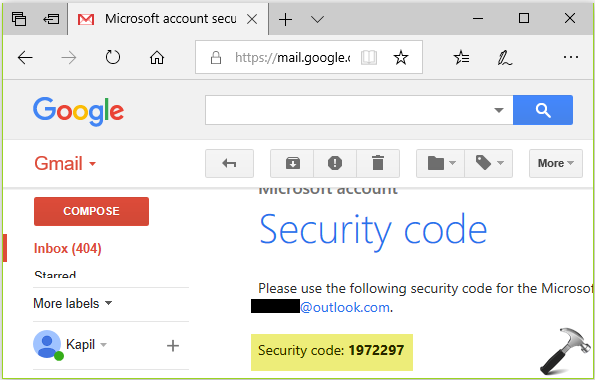
5. Then we checked our recovery email account, where we got the code. We copied the code from there.
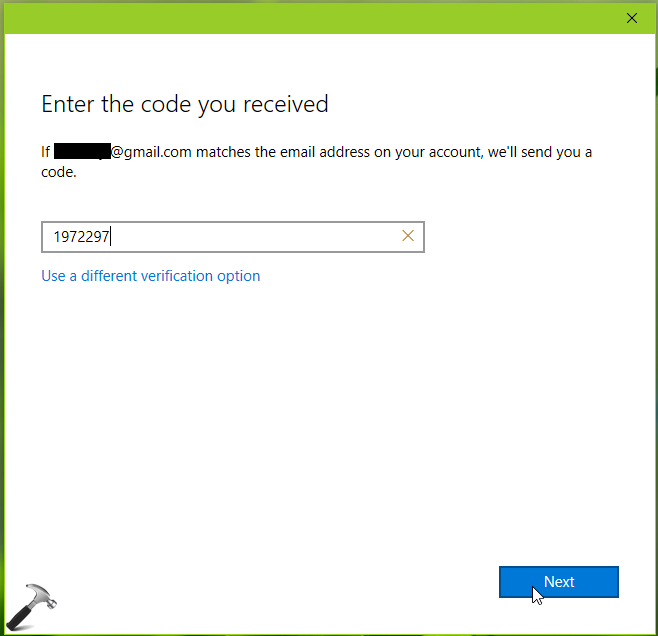
6. Now we pasted the code on the window where it is asked and clicked Next.
In few seconds the above shown window disappeared and finally we have our account approved (the You need to verify your identity on this PC section removed).
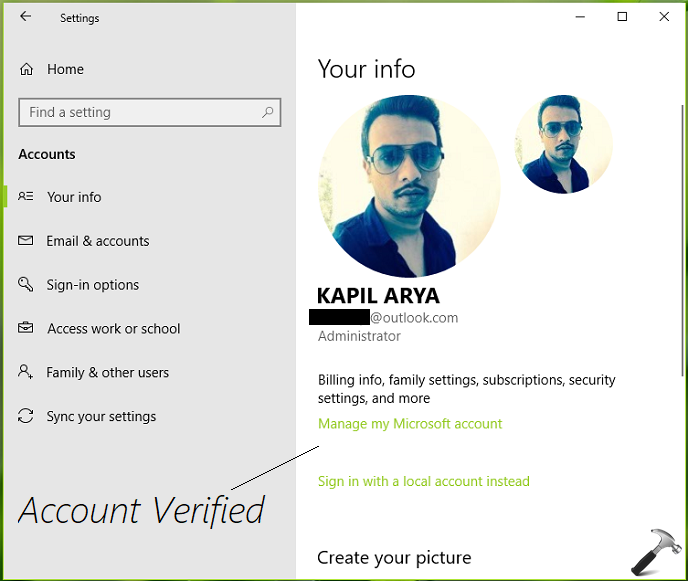
Thus in this way, your Microsoft account is verified and it is ready to use for Windows features.
That’s it!
![KapilArya.com is a Windows troubleshooting & how to tutorials blog from Kapil Arya [Microsoft MVP (Windows IT Pro)]. KapilArya.com](https://images.kapilarya.com/Logo1.svg)






Leave a Reply