When your Windows installation is getting old, you’ll will ended up having lots of temporary files created on the machine. These temporary files or created while you install Windows Updates, while installing and using programs/apps. Sometimes temporary files may take a large stack of your hard drive and thus getting less space problem while sharing newer and important files.
Thanks to Disk Cleanup utility in Windows, that came pre-installed and help you to reduce temporary files overhead. The Disk Cleanup utility is present in Windows 7 or later editions. This post shares the benefits of Disk Cleanup utility and how to use it remove unnecessary files from your Windows installation, to free up space on harddisk.
Page Contents
What Is Disk Cleanup Utility In Windows 10/8/7?
The Disk Cleanup is in-built Windows program that provides you the UI for deleting temporary files, previous Windows installations etc. As of Windows 10, Disk Cleanup removes following general items to clear disk space:
- Downloaded program files
- Temporary Internet files
- Delivery Optimization files
- Recycle Bin
- Thumbnails
- Offline web pages
- DirectX Shader cache
- System Compression
Disk Cleanup also proves to be helpful in removing the system files for following items:
- Windows Defender Antivirus
- Windows upgrade log files
- Device driver packages
- Previous Windows installation(s)
- Temporary Windows installation files
Disk Cleanup is quite simple, easiest and safe way to clear up unnecessary files from Windows installation, hence it is referred as “utility“. You can run it on any drive that is attached to your machine – not just the drive on which Windows is installed.
Here’s how you will use Disk Cleanup on your Windows.
How To Use Disk Cleanup Utility In Windows 10
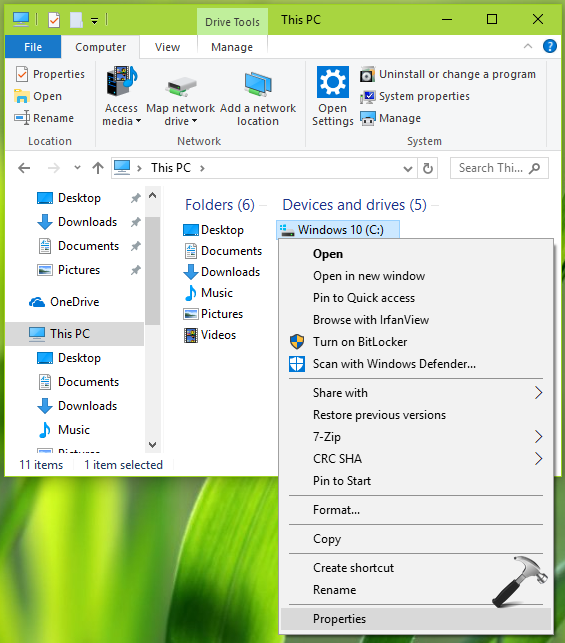
1. Press  + E to open This PC. Right click the drive for which you want to run Disk Cleanup. In this example, we’ll run it for the drive on which Windows is installed.
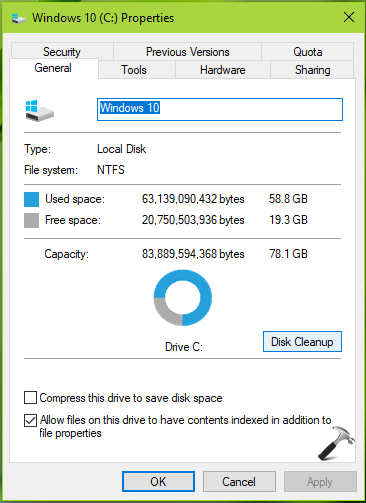
2. On the drive property sheet, click Disk Cleanup button.
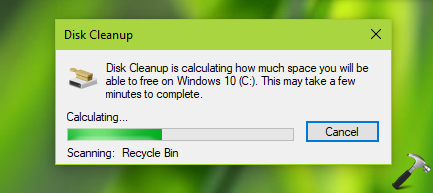
You’ll now see a small Disk Cleanup box which is initializing the utility and calculating the disk space you can cleanup.
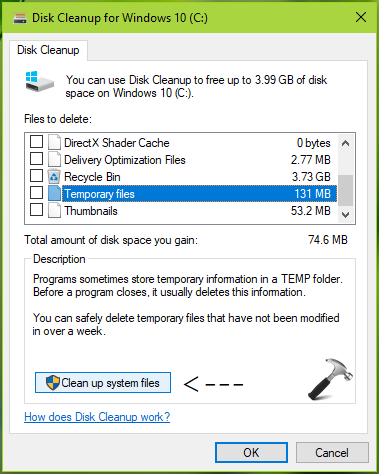
3. On the Disk Cleanup window, you can check mark those items for which related files you want to delete. While you check mark these items, make sure you go through the Description provided below. It will help you to conclude which items to select. When you’re done, click OK.
4. In the confirmation prompt, select Delete files.
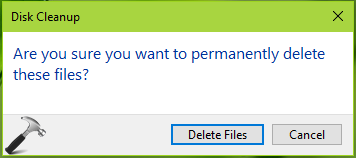
In few moments, files related to general items will be removed.
How To Remove Previous Windows Installation Files Using Disk Cleanup?
5. To remove previous Windows installation and other system files, click Clean up system files button on Disk Cleanup window shown in step 3. This would require admin privileges.
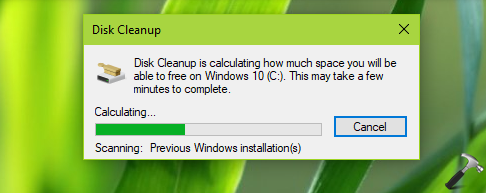
6. On the Disk Cleanup window, you can now select system file related items mentioned earlier and click OK to delete related files.
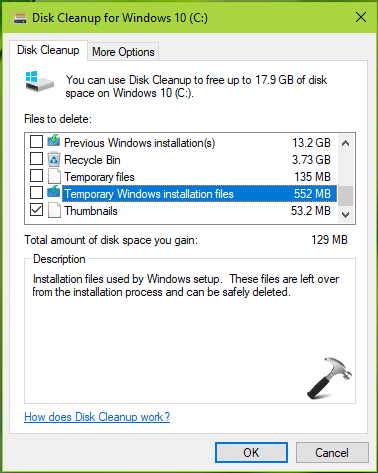
Here’s selecting Previous Windows installation(s) and Temporary Windows installation items will remove $WINDOWS.~BT, $WINDOWS.~WS and Windows.old folders from your system.
Hope you find the Disk Cleanup utility useful!
![KapilArya.com is a Windows troubleshooting & how to tutorials blog from Kapil Arya [Microsoft MVP (Windows IT Pro)]. KapilArya.com](https://images.kapilarya.com/Logo1.svg)




3 Comments
Add your comment
I don’t understand how to run disk cleanup in Win 10 when I have win 7 pro on my laptop. I bought it four years ago for emergencies and I am having one of those emergencies now! My desktop barely runs Win 7 Home and isn’t upgradable to win 10; this laptop might be except Toshiba no longer produces or supports laptops! If I knew that, I never would have bought this… I got an error message when trying to install something via Windows Update before tomorrow (Patch Tuesday) but even the Windows Troubleshooter didn’t help…
Thank you! This got me 5GB back!
^^ Glad to help Rachel!