If you are on Windows 11 and you want to upgrade your Windows 11 to a new version or build, this article is for you. Usually, for making such a kind of upgrades, you can use Windows Update. When the new version or build update arrives, you can install it like rest of the updates. But if for some reason you are not able to get those update installed, you can upgrade your version or build using ISO file. In this guide, we’ll see how to upgrade Windows 11 using ISO file.
For making this upgrade, you will need to download Windows 11 ISO file using this guide. Make sure you download the same language Windows 11 ISO file as of the Windows 11 installed on your system. If you do not download the same language Windows 11 ISO file, you won’t be able to keep your data while performing this upgrade.
How to upgrade Windows 11 using ISO file
1. Right click on the Windows 11 ISO file you have downloaded and select Mount.

2. When the file has been mounted, you will be getting a File Explorer window opened. You will be taken to the DVD drive it has been mounted to. Double click on the setup.exe file to launch it.
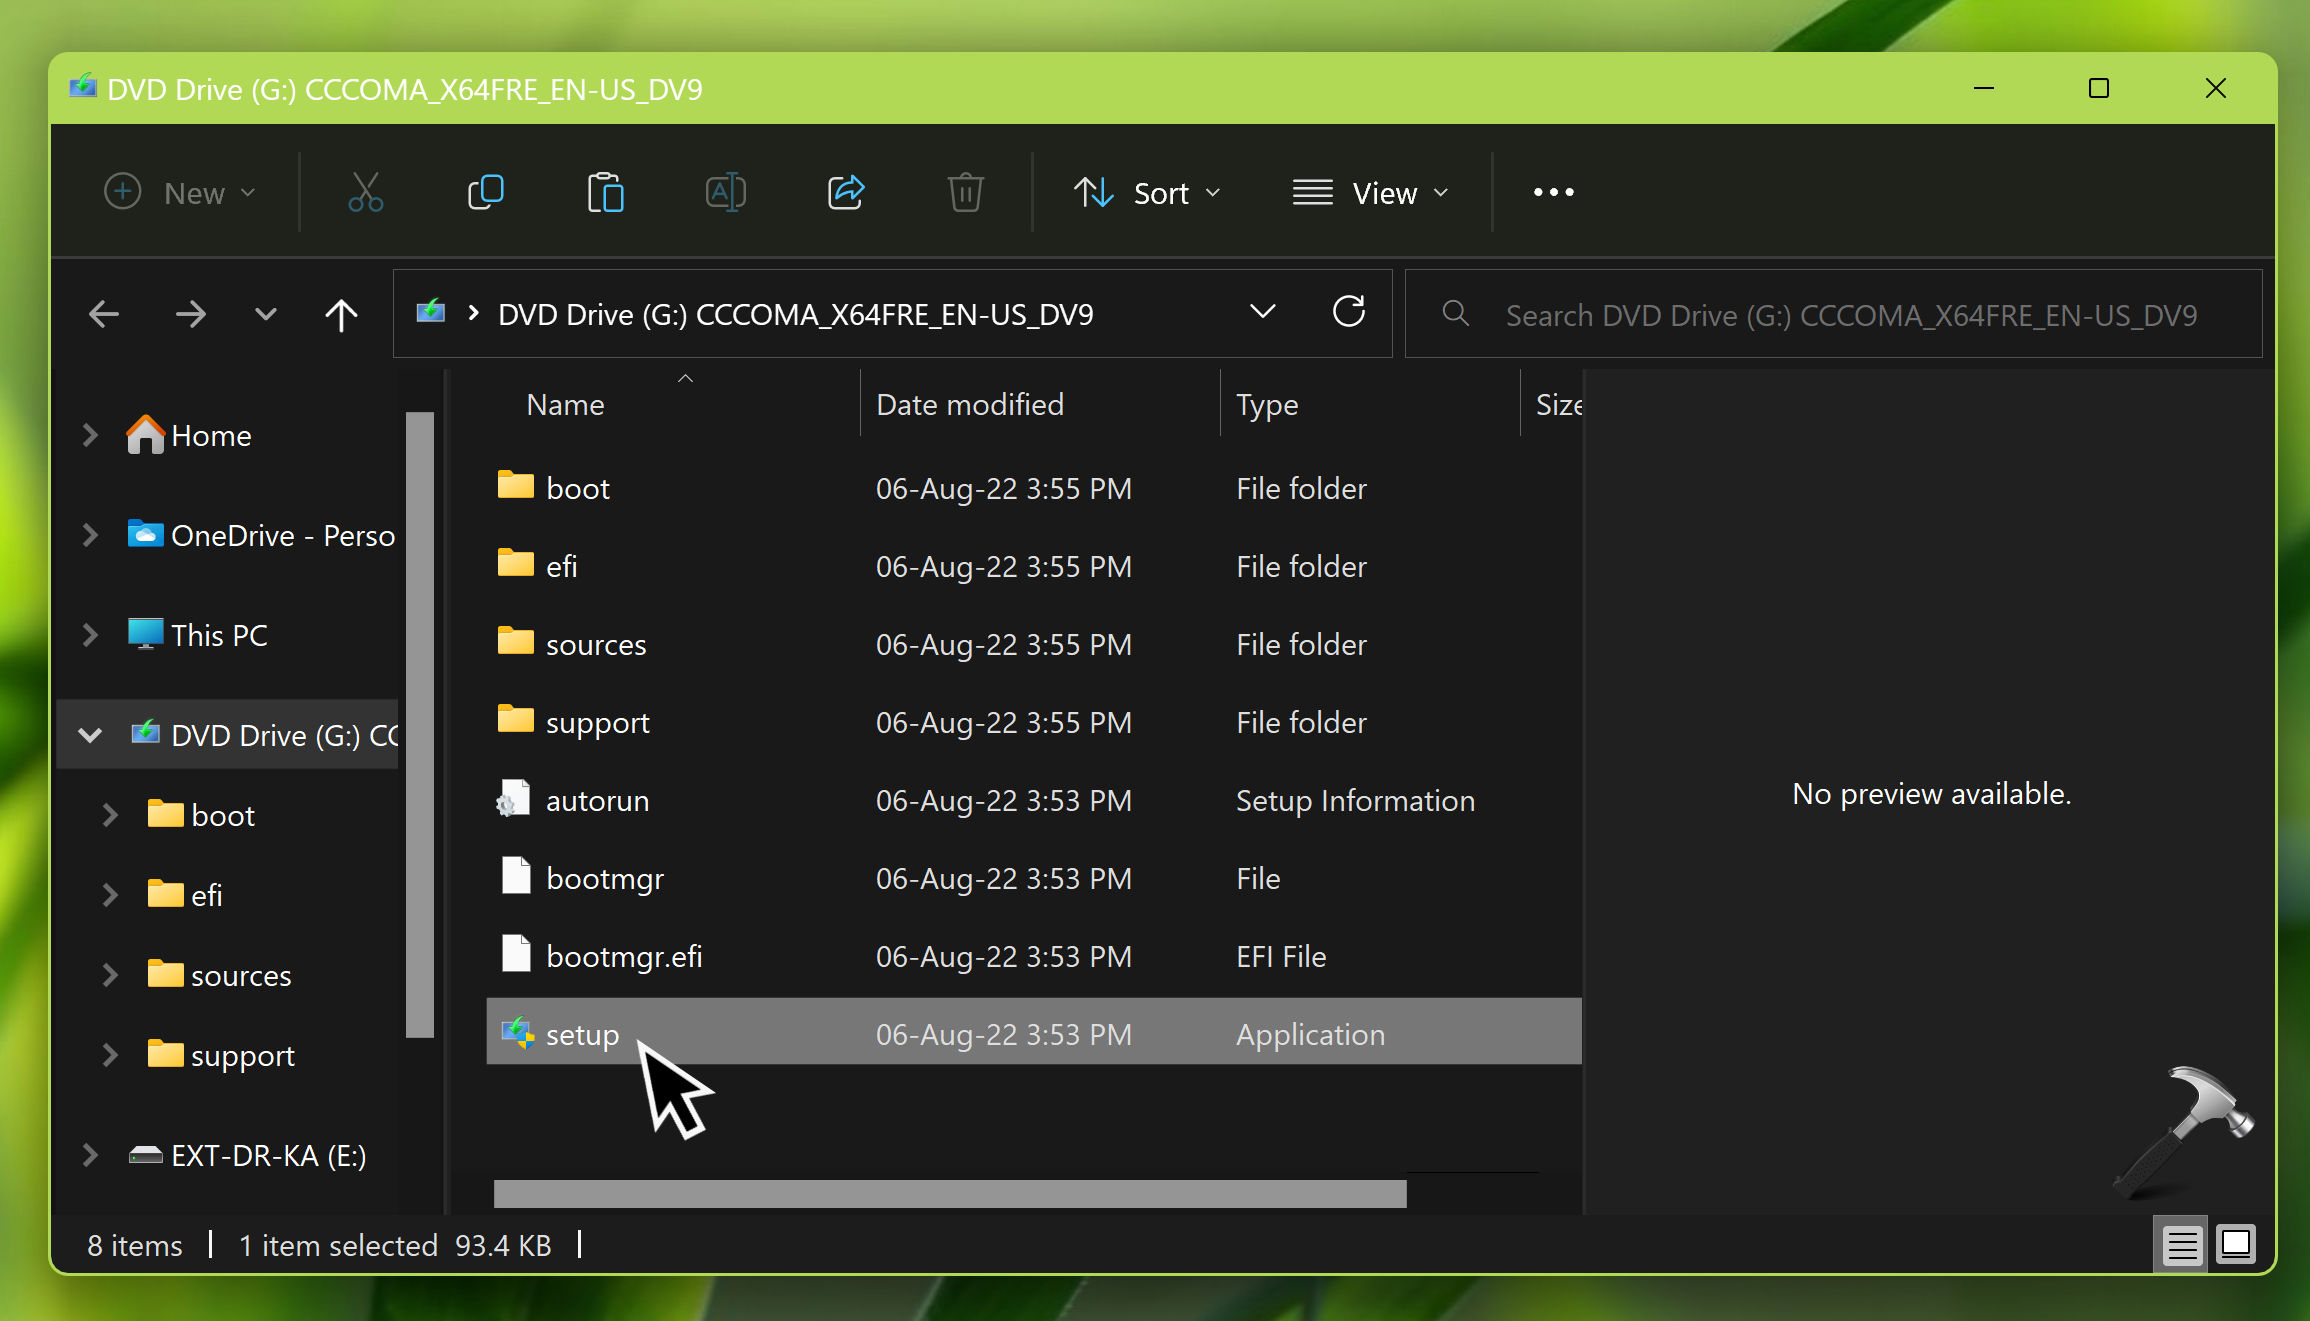
3. Let the setup preparing to 100%.

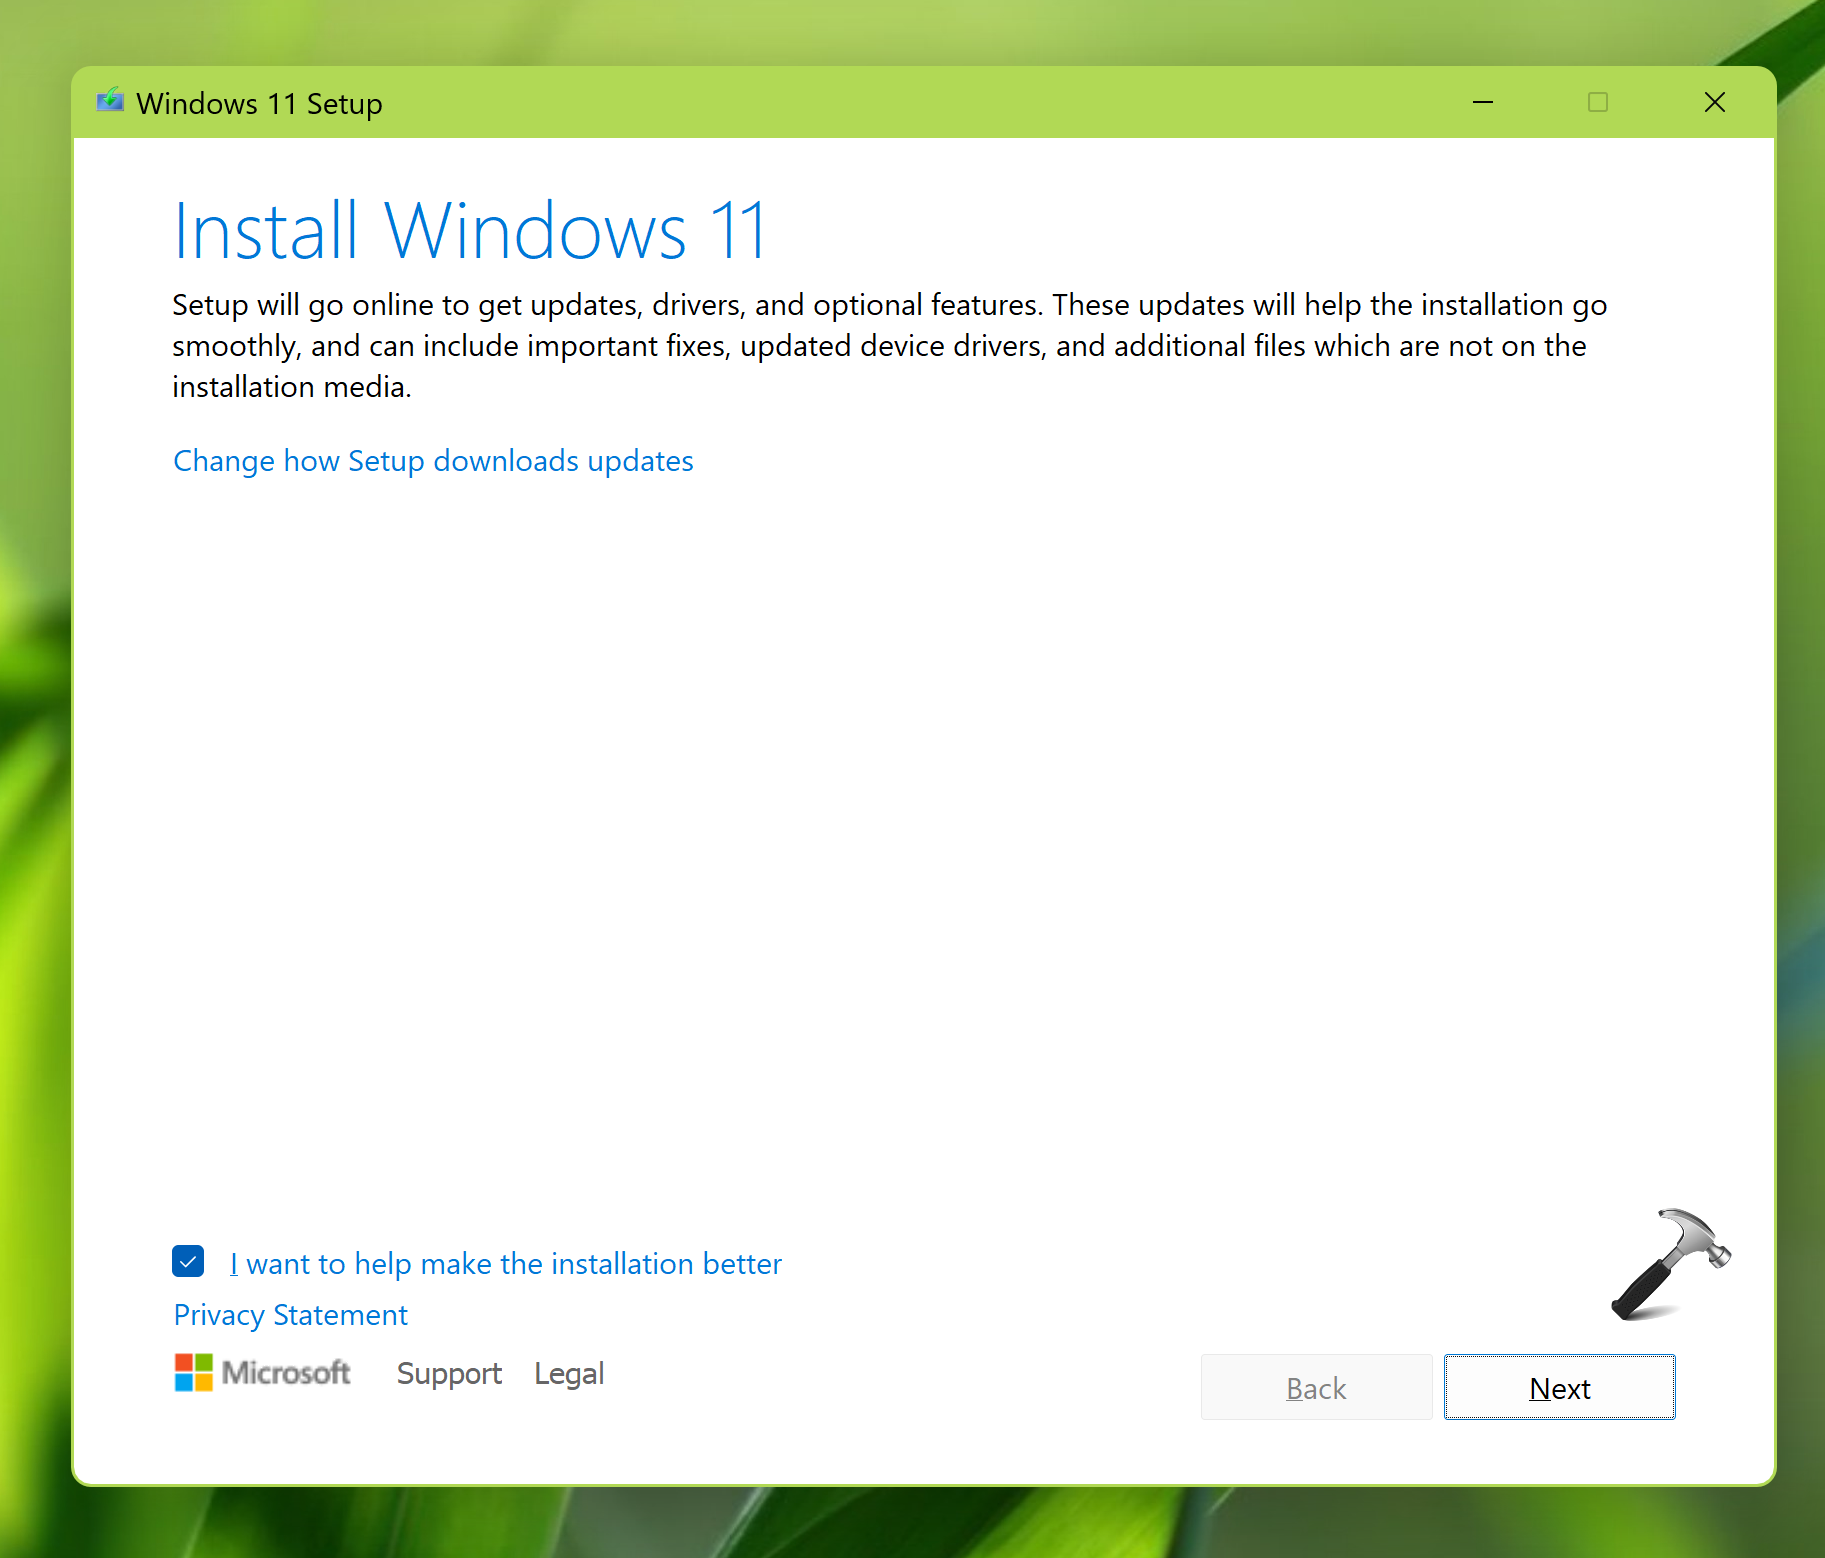
4. In the initial Install Windows 11 screen, Click on Change how setup downloads updates.
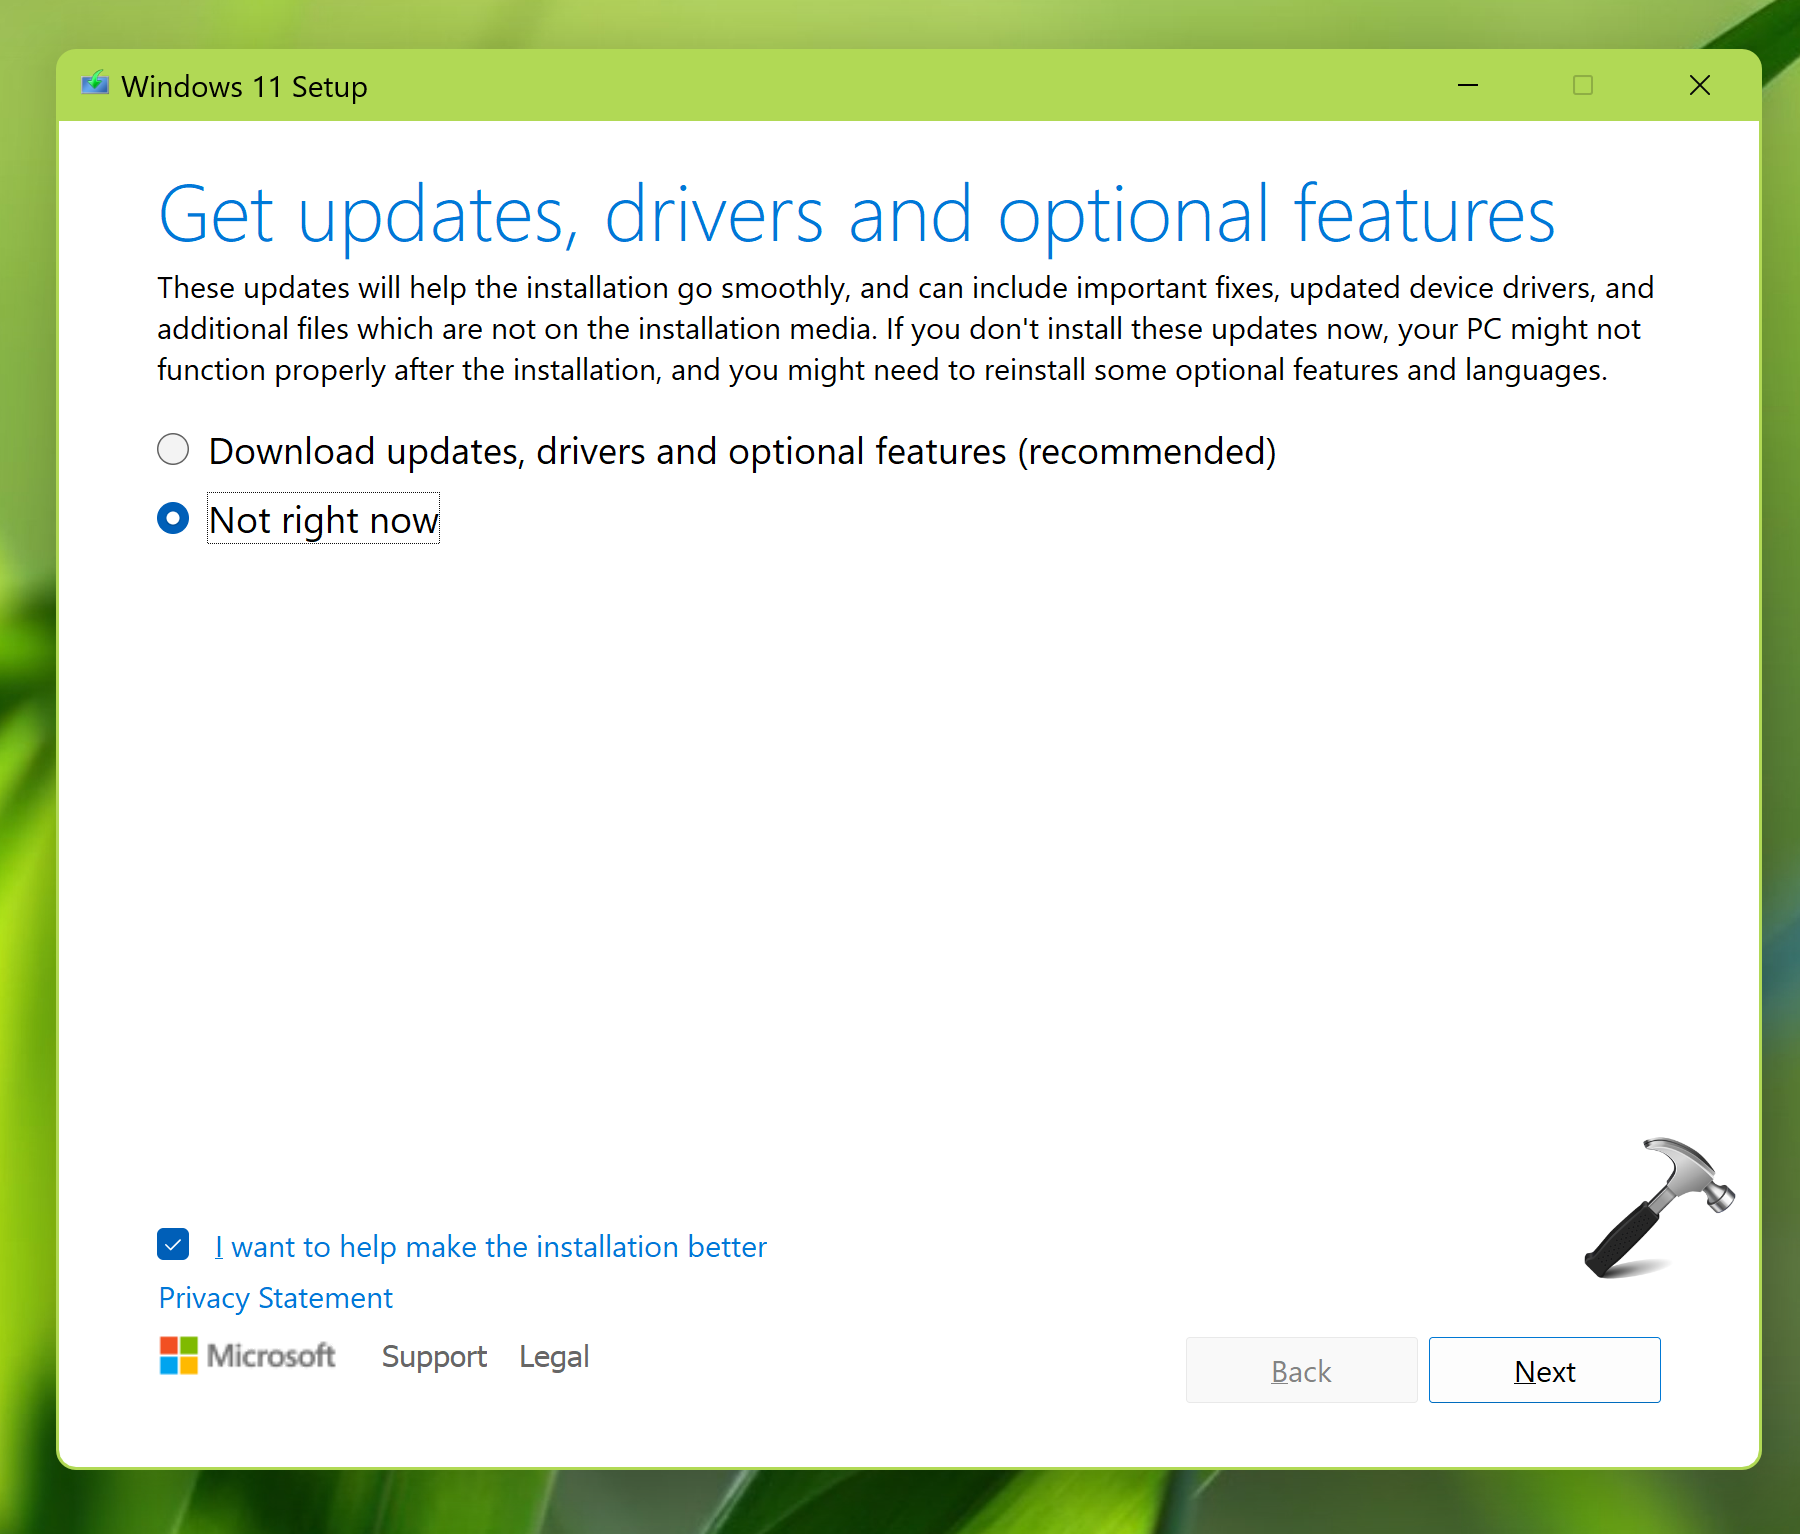
5. Under Get updates, drivers and optional features, select the relevant option. If you do not want any updates, you can select Not right now.
6. Now Windows 11 setup will start checking your PC. This may take a while.

7. Next, accept the licensing terms to continue.

8. Finally, you will be seeing ready to install screen. Here, you can click on Change what to keep.
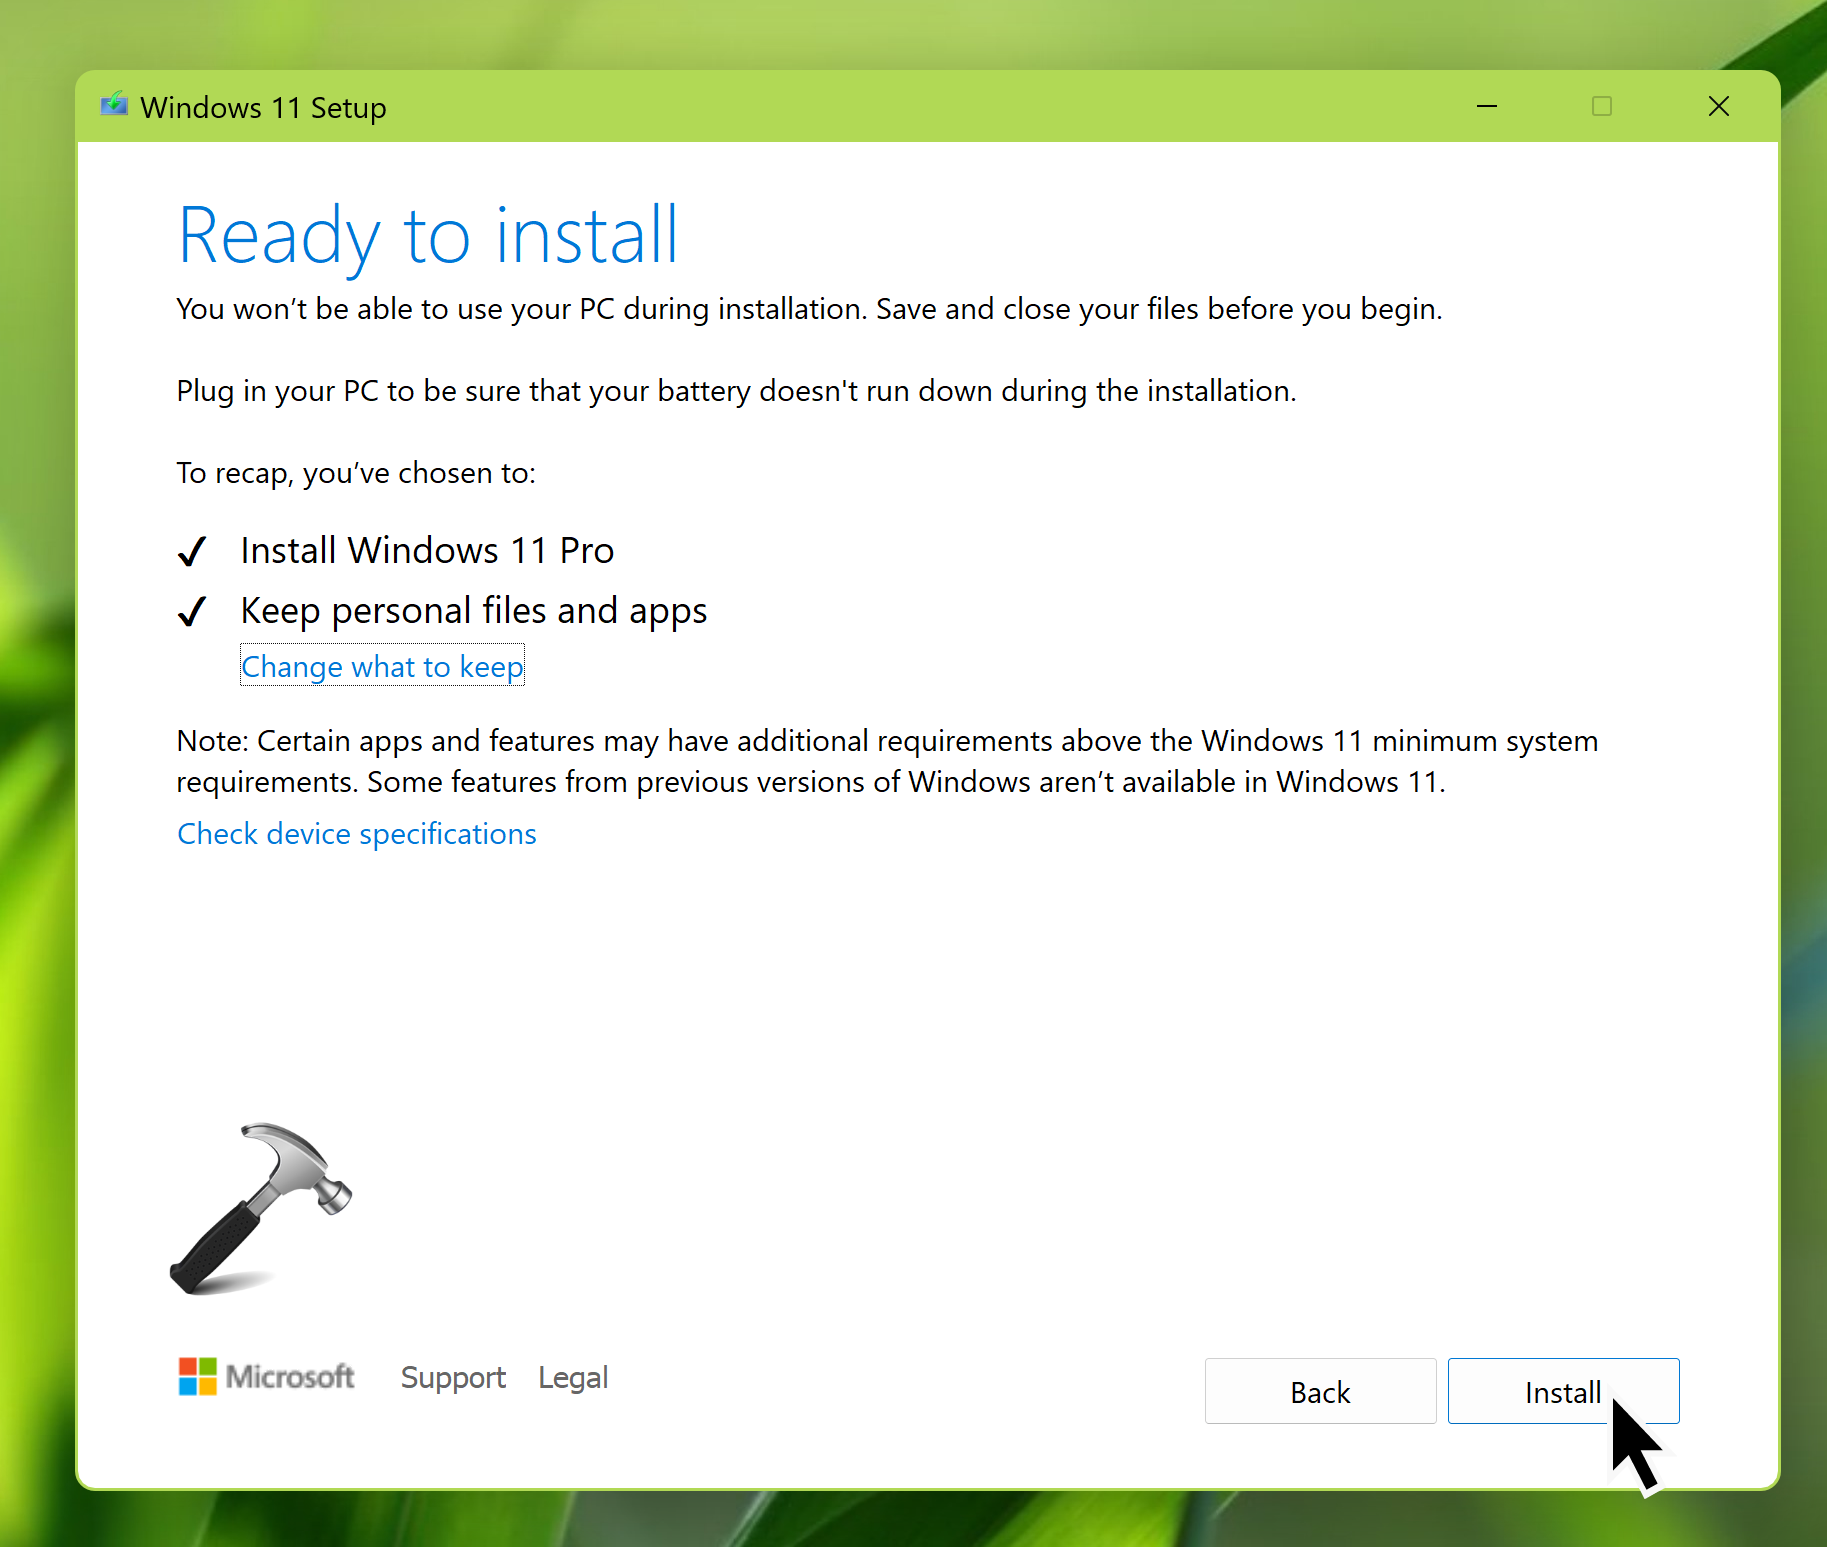
9. Under Choose what to keep, you can select a relevant option. Now, when you click on the Next button, you will be again taken to ready to install screen shown in step 8. As soon as you hit the Install button there, you’ll be taken to next step.

10. Now Windows 11 new version will be installed, your system will automatically restart several times.
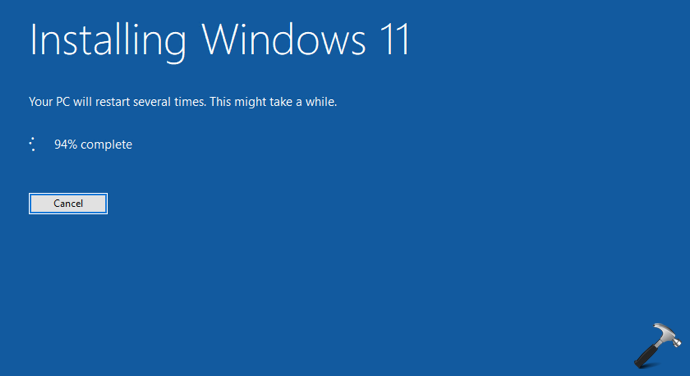
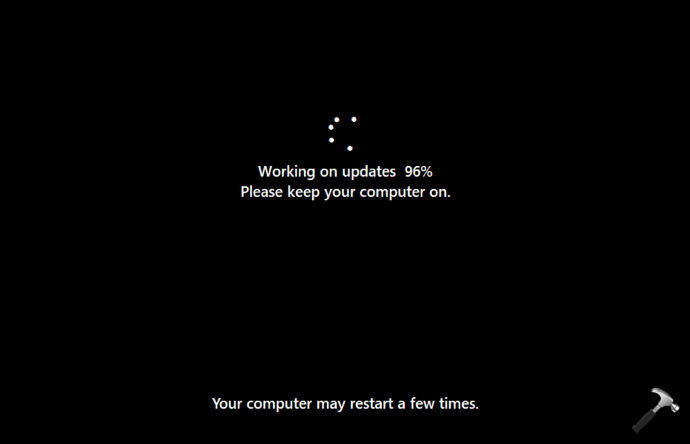
11. After restart, It will be working on updates and migrating your data.
12. Once upgrade is completed, you’ll be able to sign in to your account. If you selected to keep nothing at step 9, you need to create a new account at this stage.

13. Finally, You will see first time sign-in animation.

In this way, the upgrade to new version or build has been completed here.
If you have any question about these steps, do let us know via your comments. We will be happy to help you.
![KapilArya.com is a Windows troubleshooting & how to tutorials blog from Kapil Arya [Microsoft MVP (Windows IT Pro)]. KapilArya.com](https://images.kapilarya.com/Logo1.svg)




6 Comments
Add your comment
Hi, I tried to uptade my pc with Eindows 11 installed, but the installation fail with this message:
“Sorry, we’re having trouble determining if your PC can run Windows 11. Please close Setup and try again”
Have you got some ideas to fix this issue?
Thanks in advance.
^^ You need to make sure Windows 11 system requirements are met. Check Windows 11 eligibility using this guide: https://www.kapilarya.com/check-windows-11-eligibility-using-pc-health-check-app.
All I got after this was Installation Failed. Windows 10 still on. No different than when I try it through the windows update on the computer. This is so frustrating.
^^ Make sure your system meets Windows 11 requirements.
Quick question. When you get the question Get Updates, drivers, optional features do you check the “Not right now?”
^^ If you want updates, opt to get updates else select Not right now.