

With the release of Windows 11 24H2, people want to work with the novelties that this newest version of Windows contains. These updates make a dramatic change in their operating systems’ performance subsequent to improvement in designs and security from one update to another as Microsoft brings new editions to its product. Whether you are planning to upgrade your own computer or are engaged in business and using the latest Win Server version, you make sure that your software is up-to-date when you switch to new update on Windows 11.
In this guide, we will show you how you can easily upgrade your PC to Windows 11 24H2 and take full advantage of everything that Microsoft has to offer.
Page Contents
How to upgrade to Windows 11 Version 24H2 (2024 Update)
Method 1: Upgrade to 24H2 Windows 11 from Windows Update
1. Open Settings app on Windows PC.
2. Go to “Windows Update” and tap “Check for Updates” button.
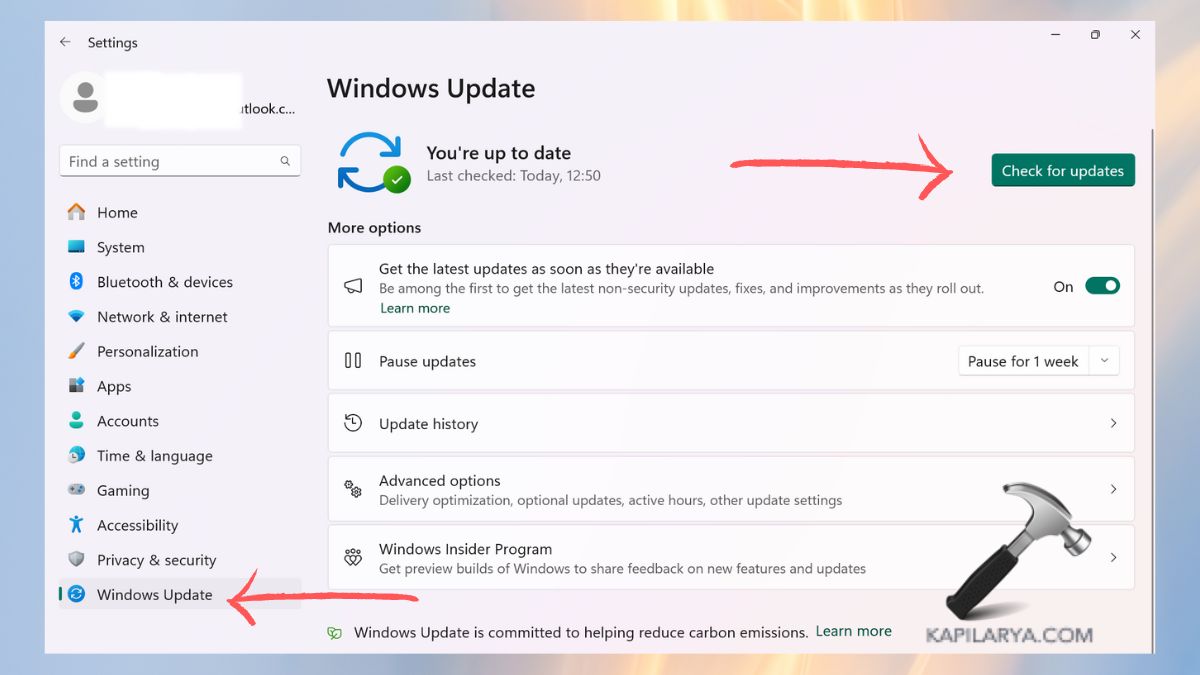
3. Now, Windows 11 24H2 update will appear, so tap on “Download and install”. After it completes, restart the PC.

Method 2: Upgrade to 24H2 from ISO file
With these steps, you can easily download ISO file and install the latest Windows version. If you’re unable to download with these, follow this guide to download ISO file in four effective methods.
1. Visit this official page to download Windows 11 24H2 Disk Image (https://www.microsoft.com/en-us/software-download/windows11).
2. Scroll down for the heading “Download Windows 11 Disk Image (ISO) for x64 devices”. Choose “Windows 11” option and tap “Download now”.

3. Select your language and tap “Confirm”.
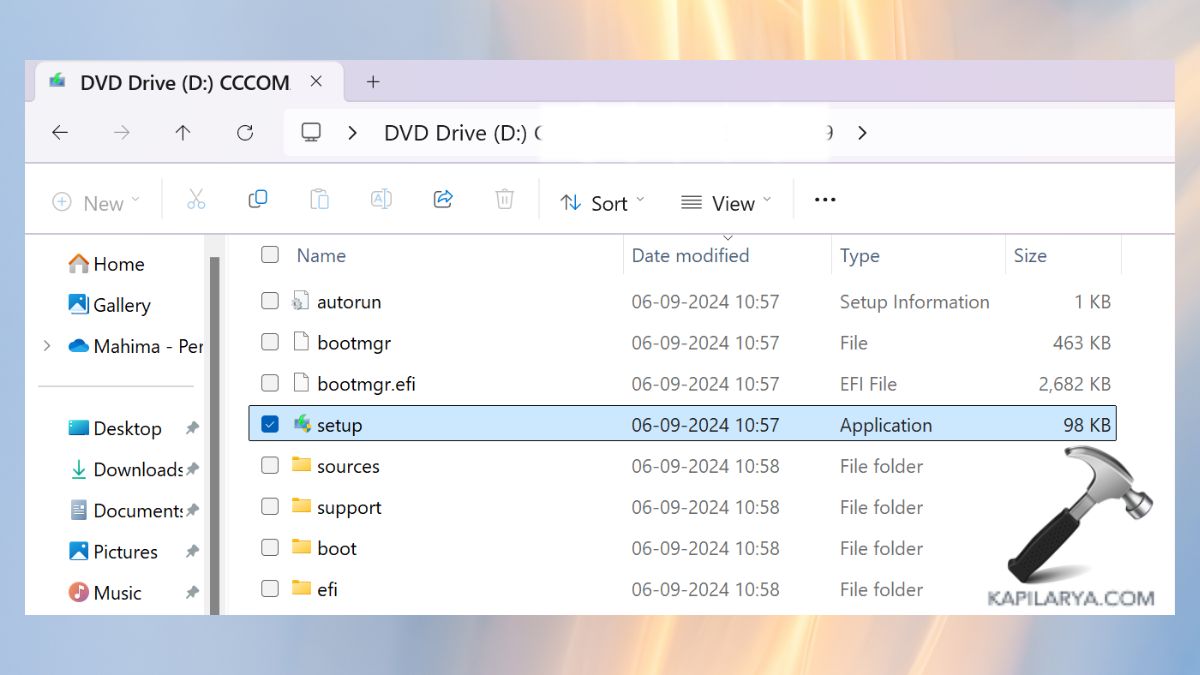
4. When the file is downloaded, open File Explorer to it’s location. Right-click on the file and choose “Mount”.

5. Now, tap open the file labelled as “setup.exe” and accept the User Account Control pop up.
6. On the new screen, tap “Change how Setup downloads update”.

7. Choose either of the two options and click “Next”.

8. Let it scan for the updates and follow the on-screen instructions.
Method 3: Upgrade to Windows 11 24H2 from Installation Assistant
1. Again, go this official website to download the Installation Assistant (https://www.microsoft.com/en-us/software-download/windows11).

2. Open the Windows 11 Installation Assistant file from File Explorer. It can ask for you to scan the PC health so tap on it and download the file.
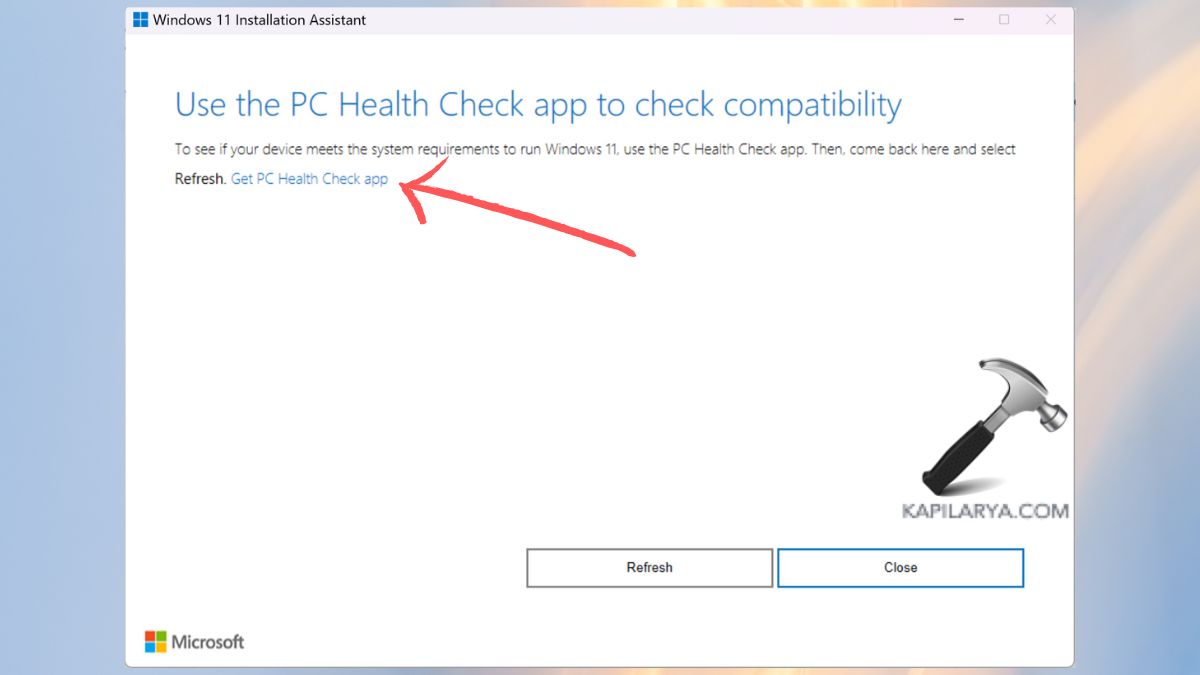
3. Open the PC health check up file and accept the terms to install it.
4. Tap on “Check now” and if your PC passes the check, go back to Installation Assistant and tap “Refresh”.
Here is how you can check eligibility using PC Health Check app.

5. Accept it’s terms and conditions and tap “Install”.

Method 4: Upgrade to 24H2 from Insider Program
1. For this, again open the Windows Settings app and go to Windows Update.
2. Select “Windows Insider Program”.

3. Tap on “Get Started”.

4. Choose “Link account” and sign in with your Microsoft account. Then, choose your insider program.

5. Afterwards, follow the “Method 1” shared previously in this article to complete the installation.
Though, if you experience any error while performing any of these methods on how to upgrade PC to Windows latest version – 24H2 Windows 11, leave a comment below so we can help you out.
That’s it!


2 Comments
Add your comment
24H2 crash all 3 of my Dell Laptops; 2 I7’s and 1 I9. One of the I7’s is completely destroyed; no OS and all data is gone. I even appears to have destroyed my BitLocker Key.
Automatic recovery worked on the other I7, but the desktop and all applications are gone.
I saw a brief story that Microsoft and Intel are having another version of their old [40 years] feud.
Microsoft did not like something Intel with the Intel coding; and the story said that Microsoft will no longer support Intel – I7, I9, and I10’s. I haven’t seen anything on the Stock Market yet; but BOTH Company’s will take a Big Hit!
it did not work it said we could not connect and i was connected to a internet