Windows 10 comes with lots of built-in apps that may be useful to users. Though these apps are developed by Microsoft after hard testings, but they may fail to work properly if they don’t get the favorable environment. In either cases, some users may found that apps are not responding for long time. For non-responsive desktop apps, we all follow the strategy to kill those apps using Task Manager.
With Windows 10 V1803, Microsoft has realized that built-in apps need a ‘terminate’ option which will help the users to kill the apps easily. Thus the company has added the Terminate option in advanced settings for the apps. The option can be used on pre-installed apps to kill them and their relative process. This is handy, if you can’t open Task Manager due to anonymous reason and you need to kill an app urgently.
App termination currently seems to work with built-in apps only at the moment. In future, we may see its extension to third-party apps as well. Here are the steps you need to follow, in order to terminate an app:
Page Contents
How To Terminate Built-in Apps In Windows 10
1. Right click on Start Button or press  + X keys and select Settings.
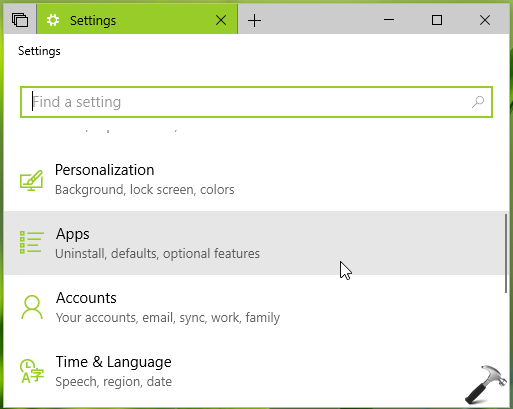
2. In the Settings app, select Apps.
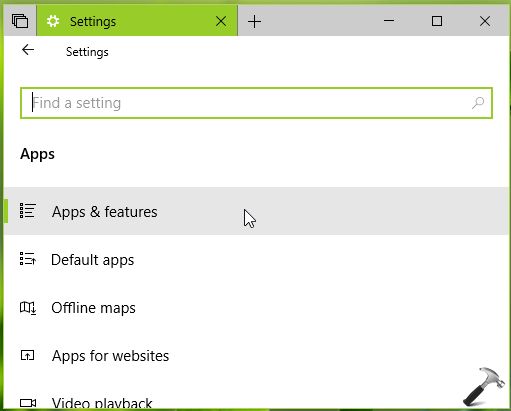
3. Next, under Apps, select Apps & features.
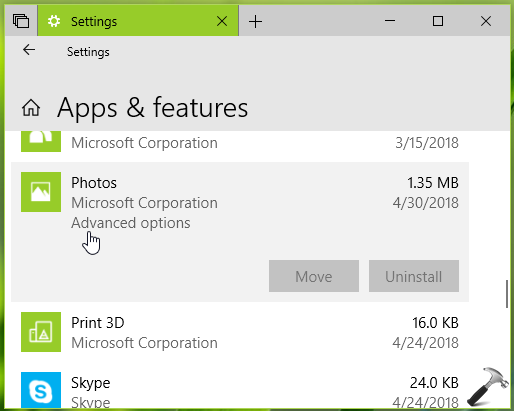
4. Now highlight the app you want to terminate and click Advanced options link.
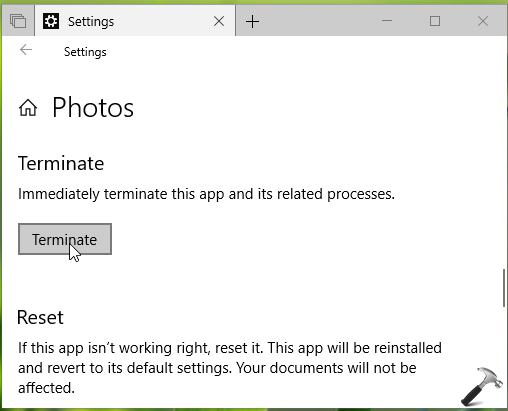
5. Finally, on the next screen, hit the Terminate button to immediately kill the app and its related processes.
So this is how you can terminate non-responding apps in Windows 10.
Hope you find the article useful!
Also check:
1. How to re-register a specific app in Windows 10
2. How to reset apps in Windows 10
3. How to uninstall pre-installed apps in Windows 10
4. How to move apps to different drive in Windows 10
5. Fix: Apps re-open automatically after restart or shutdown in Windows 10
![KapilArya.com is a Windows troubleshooting & how to tutorials blog from Kapil Arya [Microsoft MVP (Windows IT Pro)]. KapilArya.com](https://images.kapilarya.com/Logo1.svg)




![[Latest Windows 10 Update] What’s new in KB5055612? [Latest Windows 10 Update] What’s new in KB5055612?](https://www.kapilarya.com/assets/Windows10-Update.png)


Leave a Reply