We all know that OneDrive is popular cloud storage service from Microsoft. If you’ve personal Microsoft account with Outlook or Live ID, you receive 5GB of free cloud storage. You can store your important files to cloud and then you can access them from anywhere. You can also share cloud storage files to specific people, if required.
With Windows 10, Microsoft has provided a close integration of OneDrive. You can allow OneDrive to startup automatically, configure OneDrive Files On-Demand, sync OneDrive over Metered connection etc. In this article, we’ll show you how to setup OneDrive in your Windows running system.
How To Setup OneDrive In Windows 10/8/7/Server
Refer below mentioned steps to setup OneDrive on your system.
1. If you’re using Windows 10, OneDrive sync client came pre-installed on it, so you can go to step 2 directly. If you’re using previous Windows OS, you can download official OneDrive sync client from here.
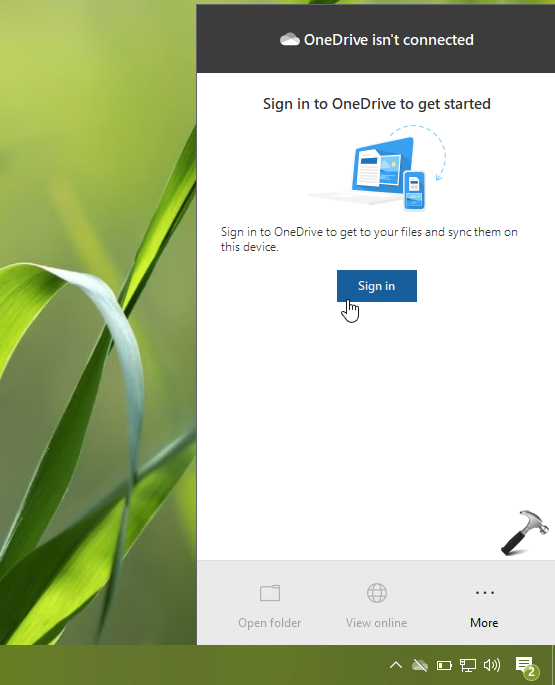
2. Now click on OneDrive icon present in taskbar. Then click on Sign in option.
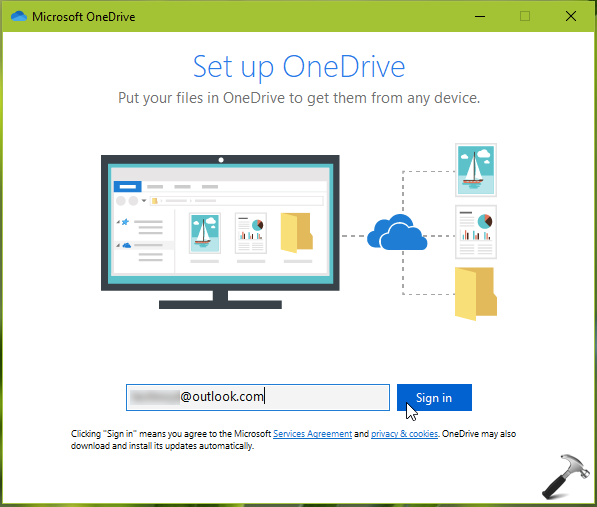
3. Next, in Set up OneDrive window, type the email address you want to use OneDrive with. Click on Sign in button.
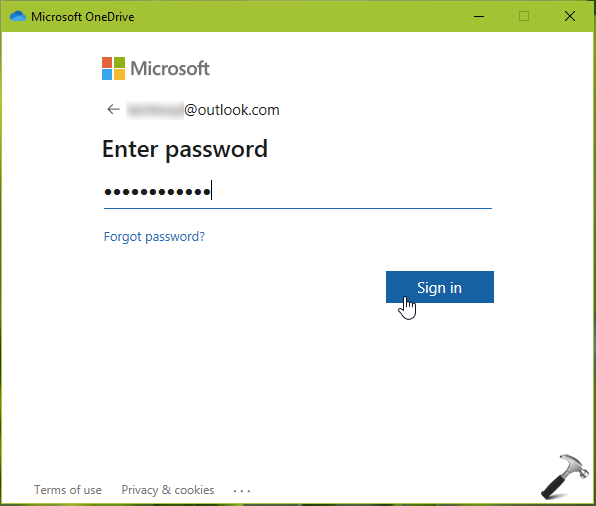
4. Moving on, provide credentials for your email address. If you’ve setup two-step verification on your email account, complete it.
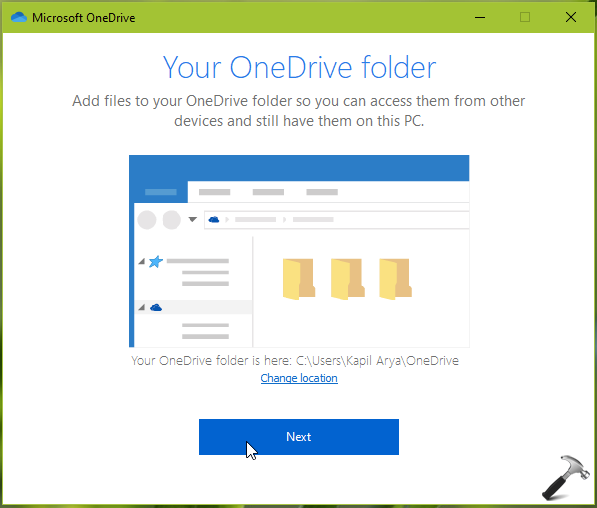
5. After signing in, you’ll see Your OneDrive folder screen. The default location for your OneDrive folder is %userprofile%/OneDrive. If you like, you can click on Change location link provided on screen to change folder location to something different.
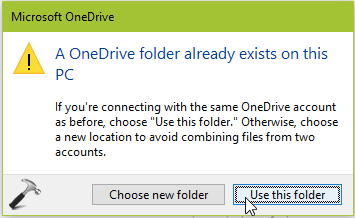
6. If you’ve previously synced default OneDrive folder with sync client, you’ll see A OneDrive folder already exists on this PC message. Select a relevant option here.
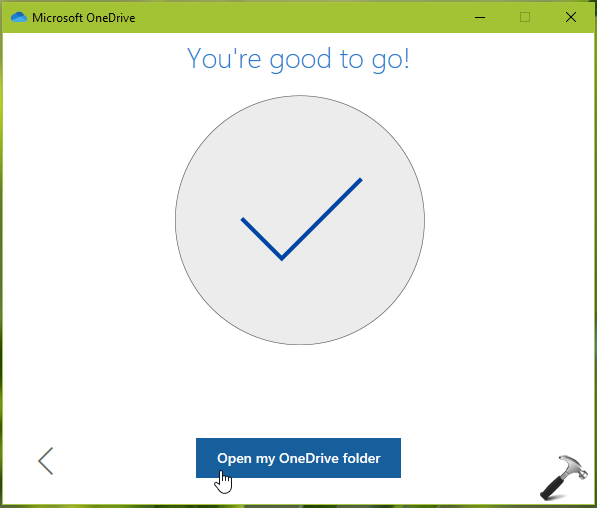
7. Go through the tips you’ll provided now and reach the screen shown below. In this way, you’ve finally completed set up of OneDrive. Click on Open my OneDrive folder to start syncing your files.
That’s it!
![KapilArya.com is a Windows troubleshooting & how to tutorials blog from Kapil Arya [Microsoft MVP (Windows IT Pro)]. KapilArya.com](https://images.kapilarya.com/Logo1.svg)





Leave a Reply