Windows Spotlight is a very nice lock screen feature that you get in Windows 10 (build 10586 or later). We’ve already discussed about this feature in our past. We’ve also shared you the fix under following link, in case if this feature is not working on your machine:
FIX: Windows Spotlight Not Working In Windows 10
If you like this feature, you might have thought of saving spotlight images displayed on your lock screen. Because there is no direct option that could allow to save those pictures directly into your hard drive, the thought might have lost somewhere. This article is exactly about it, which will share you how to save those nice images that Windows Spotlight featured on your system.
So without wasting time anymore, let us see what you need to get Windows Spotlight images saved on your machine, such that you can use them, where you like.
How To Save Windows Spotlight Images In Windows 10
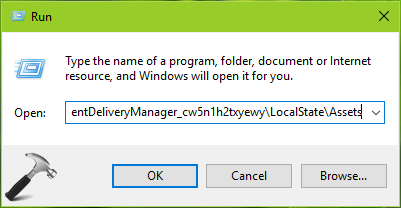
1. Press  + R and paste following in Run dialog box and click OK.
C:\Users\<USERNAME>\AppData\Local\Packages\Microsoft.Windows.ContentDeliveryManager_cw5n1h2txyewy\LocalState\Assets
*Substitute <USERNAME> with user account name on your system and C: with you system root drive.

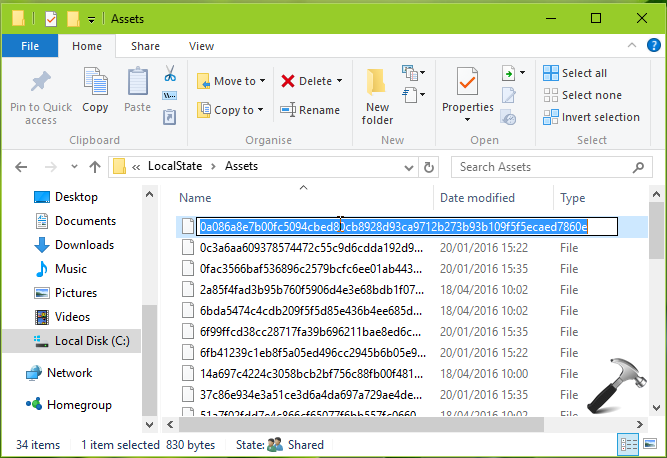
2. Now in the File Explorer window, click View and check Hidden items. In the Assets folder, you’ll see many files with long names. These files are actually those different images which Windows Spotlight had already featured on your lock screen. But those files don’t have any extension with them, hence they’re not usable.

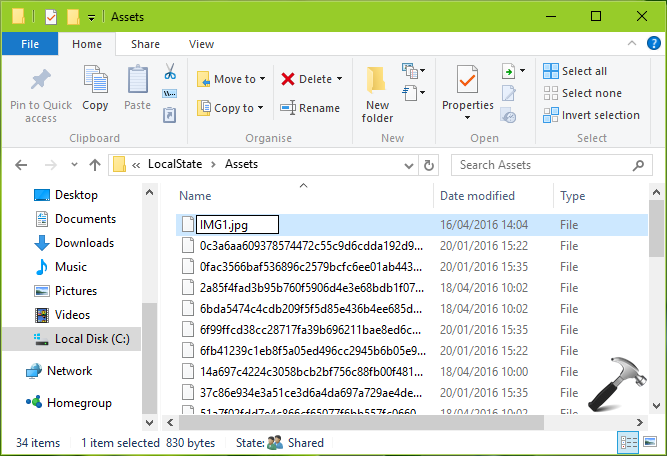
3. You’ve to add the .jpg extension to these file names by renaming them, so that they could be visible as images. While you rename these files, you can give them a shorter name as well.

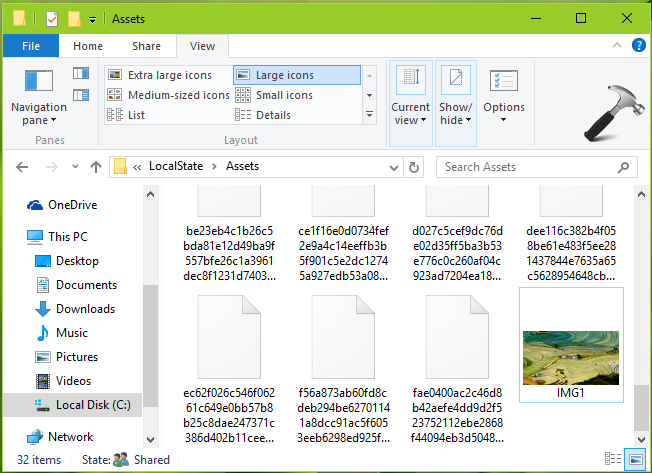
Once you renamed files and added .jpg extension to them, the images become visible as thumbnail, like the IMG1 shown in below screenshot.

Hence, in this way, you can all rename all of the images files and add them necessary .jpg extension to create your collection. As the images are visible now, you can move them to Pictures library or any other different location, so that they can used for various purposes.
Checkout following video to illustrate this method:
Hope you enjoyed the tip and find it useful!
![KapilArya.com is a Windows troubleshooting & how to tutorials blog from Kapil Arya [Microsoft MVP (Windows IT Pro)]. KapilArya.com](https://images.kapilarya.com/Logo1.svg)


2 Comments
Add your comment
View all files + show hidden files does not show anything!:-(
^^ If your installation is new, you need to wait for some days so that Spotlight stores new files. If Spotlight is not working, refer: https://www.kapilarya.com/fix-windows-spotlight-not-working-in-windows-10.