Previously, we’ve seen how to create a System Restore point in Windows 11. Now in this guide, we will see how to restore your Windows 11 to an earlier date. Restoring your system to an earlier date will not affect personal files in your user folder (this folder can be accessed when you run %UserProfile% command). However, the System Restore process will remove software or apps, updates and drivers installed right after you created the restore point you wish to go back to.
Sometimes, you may need to restore your Windows 11 even in instances when it is not booting. This is very critical situation and System Restore can help you to get your system back. For your convenience, this guide is divided into two parts. In first part, you’ll read how to restore your Windows 11, if it is not booting at all. In the second part, you will read how to restore your system if it is booting but you want to move to earlier point because of performance issues.
Page Contents
How to restore your Windows 11 to an earlier date
CASE 1: If your Windows 11 is not bootable
When your system is not bootable to Windows, this is the most frustrating situation. Here is how you can perform System Restore in this case.
1. Start your Windows 11 machine, and quickly shut it down before it reaches or if it is at boot screen. Do this two times repeatedly.
2. On the third time, your Windows 11 will automatically display ‘Your PC couldn’t start properly’ message. Now press Esc key for recovery options.
 Note: If steps 1-2 didn’t worked, you can use Windows 11 installation media to boot into recovery options. Follow steps 1-5 of this guide.
3. You must be then taken to advanced recovery options for Windows 11. In that screen, you’ve to choose System Restore option.

4. Under Restore files and settings, click on Next.
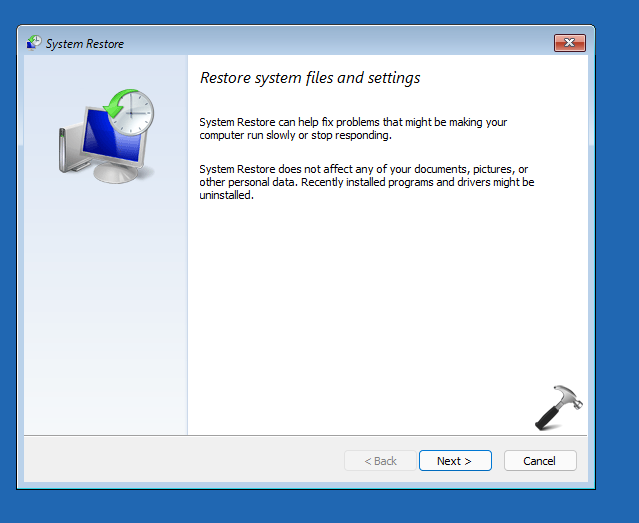
5. Moving on, then select the restore point you created earlier and that you wish to restore. Click Next.

6. Click on Finish button then.
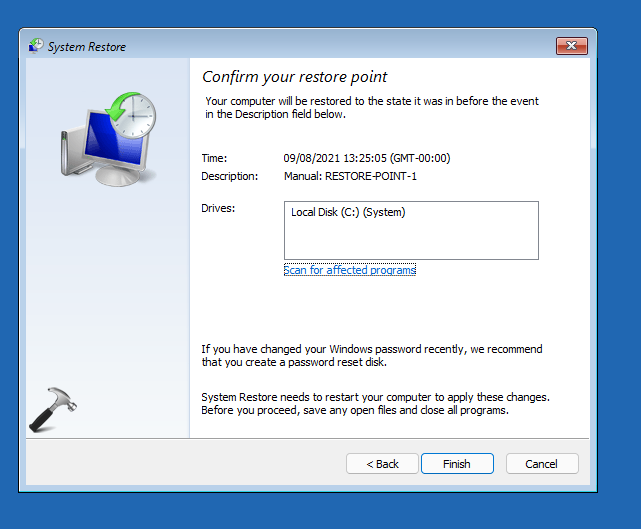
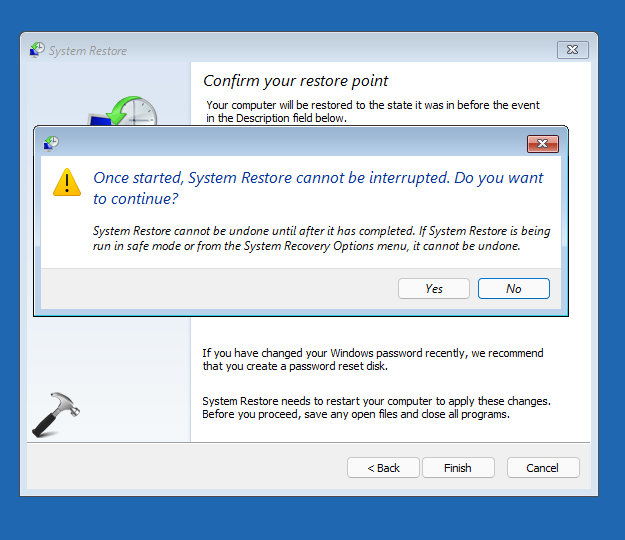
7. You’ll now see a confirmation prompt, click Yes in that.
 Note: Before clicking Yes, make sure you system enough battery or it is plugged to a power source. Once you click Yes, the restore point you’re restoring to will not be available again, if System Restore is currently interrupted.
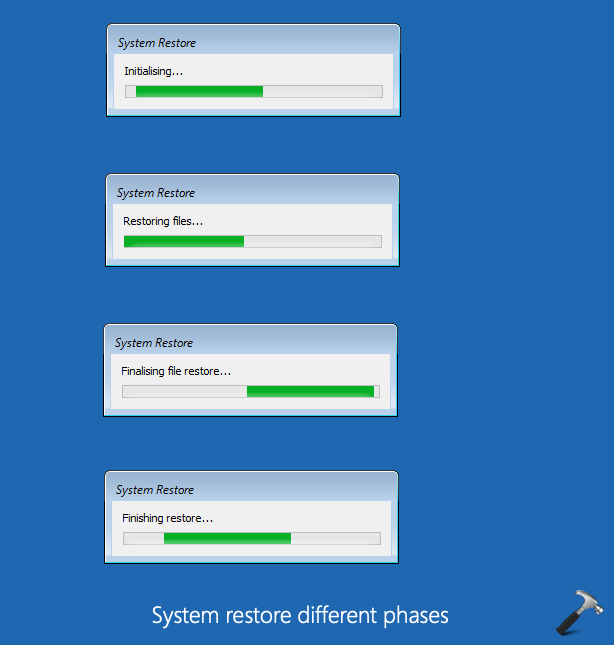
8. The restore process will now start and you’ll see different stages as shown in below screenshot.
9. Once completed, you’ll be notified that ‘System Restore completed successfully’. Click on Restart button and then you’ll be able to login as usual to use your system.

In this way, we completed the restore process for non-bootable Windows 11 system.
CASE 2: If your Windows 11 is bootable
If you system is bootable, but you want to restore because it is not behaving as expected, try below steps.
1. Press  + R and type
 sysdm.cpl in Run. Click OK or press Enter key.

2. In System Properties window, under System Protection tab, click on System Restore button.
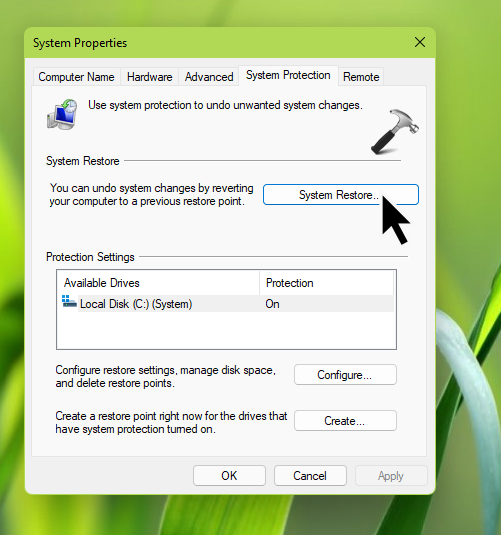
3. Click Next in the System Restore window.

4. Select the restore point you want to restore. You can click here on Scan for affected programs to see which apps or program will be affected, when you restore to selected point.

5. After reviewing affected programs, click Close to go back to previous window. Using Scan for affected programs button, you should able to pick up best restore point which is beneficial to you.

6. Finally, hit the Finish button. From here, next screens displayed are same as mentioned in steps 7-9 of CASE 1 mentioned above in this article.

That’s it!
Related: Download latest Windows 11 Preview Build.
![KapilArya.com is a Windows troubleshooting & how to tutorials blog from Kapil Arya [Microsoft MVP (Windows IT Pro)]. KapilArya.com](https://images.kapilarya.com/Logo1.svg)


Leave a Reply