Windows 11 is the latest operating system by Microsoft. It comes with some basic system requirements and if your system meets them, you can upgrade from your Windows 10 to Windows 11 for free. If you are using Windows 11 for your day-to-day tasks, and if it is not working as expected then you can Reset windows 11. In this article, you will read out the steps to Reset Windows 11 without losing your data.
See, you can Reset Windows 11 in two different ways. The first way involves keeping your files and only settings you have configured will be lost. Well, the second way involves a complete Reset by deleting everything on the system and making it like a clean install. The benefit of using reset as recovery option in Windows 11 is that you do not need to reactivate the system. You can just Reset your system and then start using it like a brand new installation.
Here are the steps you need to perform in order to Reset Windows 11 without losing your data or files.
Page Contents
How to reset Windows 11 without losing your data
Manual steps
1. Press  + X keys and select Settings.
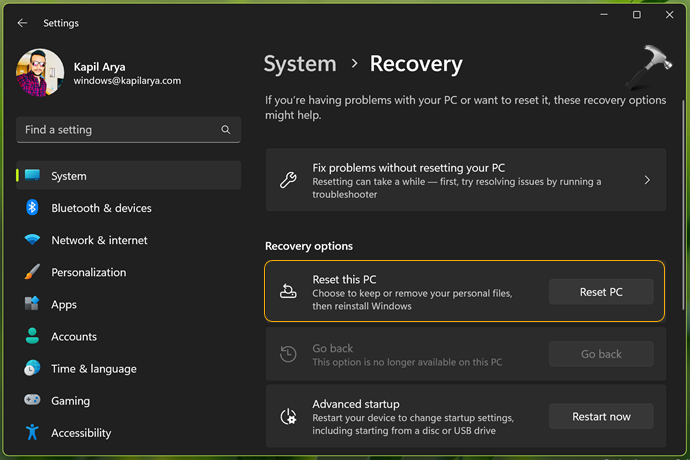
2. Go to System > Recovery. Under Recovery options, click on the Reset PC button to start Reset Windows 11 wizard.
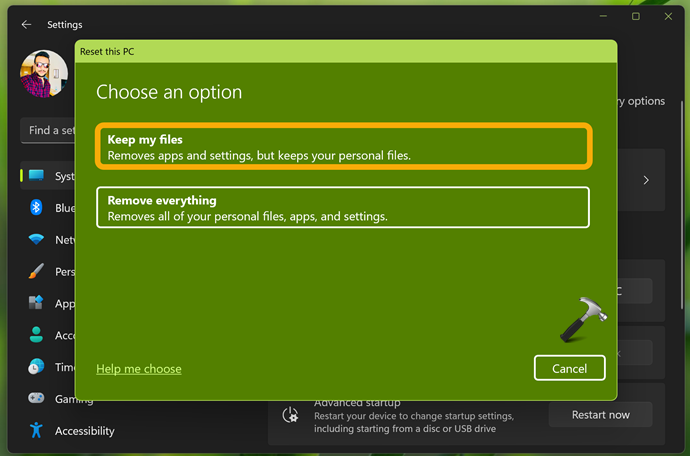
3. Now under Reset this PC, you have to choose an option. Select Keep my files in order to Reset Windows 11 without affecting your data.
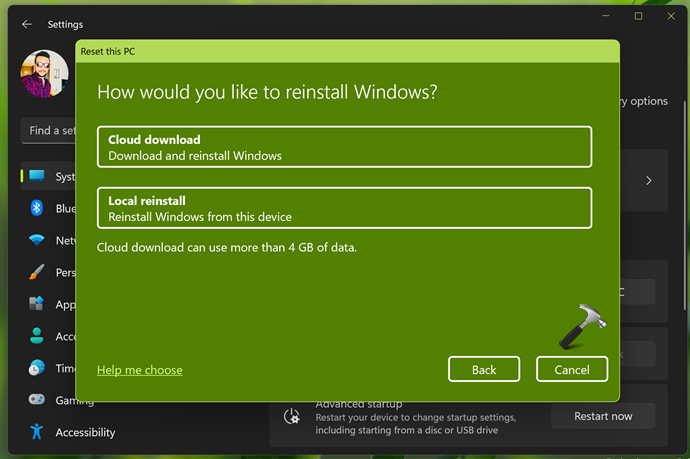
4. Then you will be asked how you want to reinstall windows. Here you can select Cloud download or Local reinstall. If you select first option, make sure you are connected to the Internet for performing cloud download. While for the second option, you do not need necessarily connectivity for Internet.
5. Whatever option you choose in previous step will be shown under additional settings. Click Next to proceed.

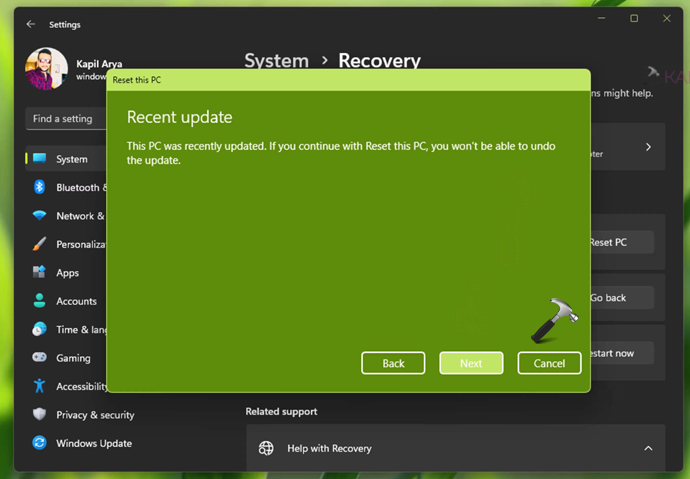
6. If you have made any recent update, you will be able to maintain that update. This means your current build number will not be affected by this Reset process.
7. Under ready to Reset this PC, you can click on View apps that will be removed.
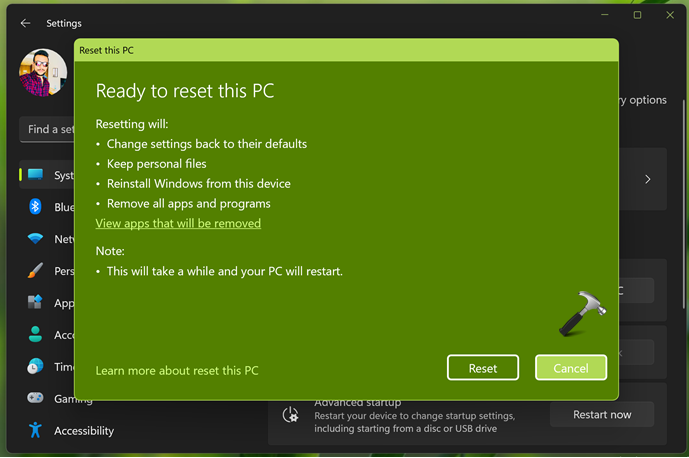
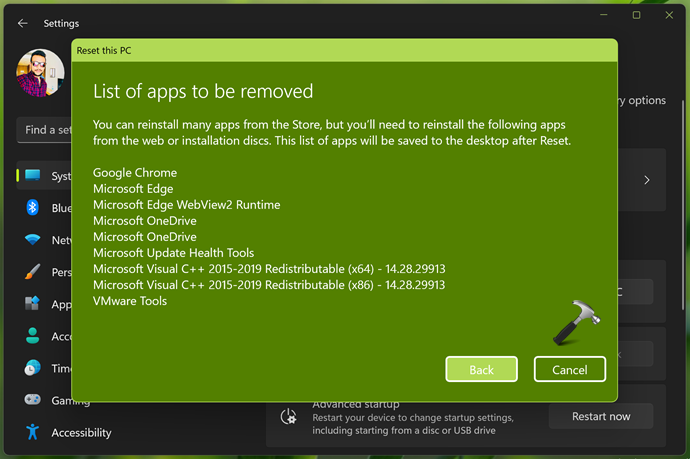
8. Under list of apps to be removed, you will be provided information about the apps you would lose by this Reset process. You can take a screenshot of this screen, however you will also be provided the list of apps removed later after reset.
9. Now when you hit the Reset button in step 7, Windows will start preparing for Reset and after that it will automatically restart.

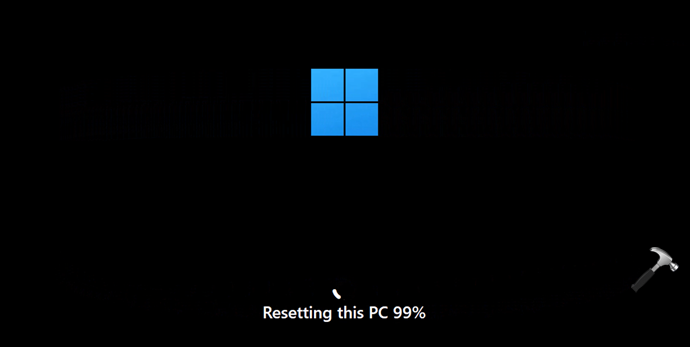
10. After restart, you will see Resetting this PC screen which will move from 1% to 100%. This screen will take time depending upon your data and system specifications. Once it reached to 100%, your system will reboot automatically.
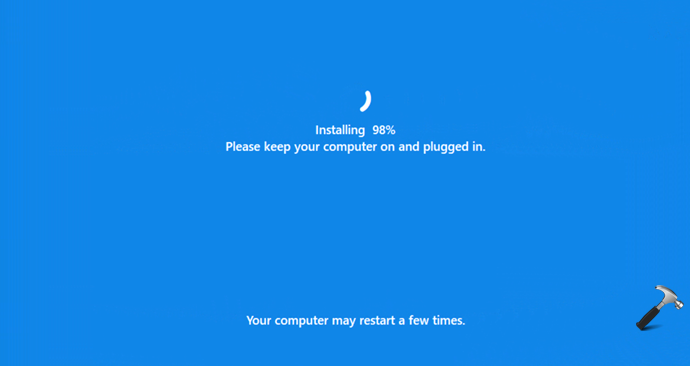
11. After restart, Windows will be installing and this screen will also move from 1% to 100%.
12. After the installation, you will be taken to the lock screen. You can pull it up to reach login screen. Since this was reset without affecting your data, your account has been preserved here and you can directly log in to it.
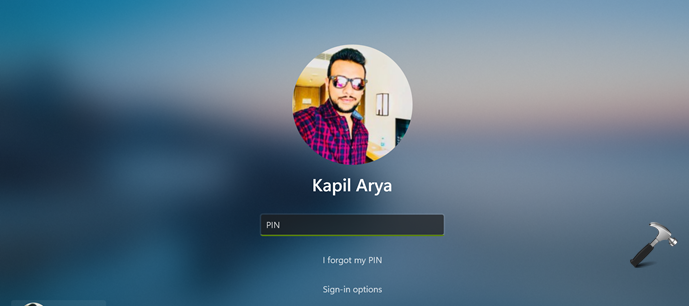
13. Once you logged in, you will see this first time sign-in animation. This will take a while to complete.

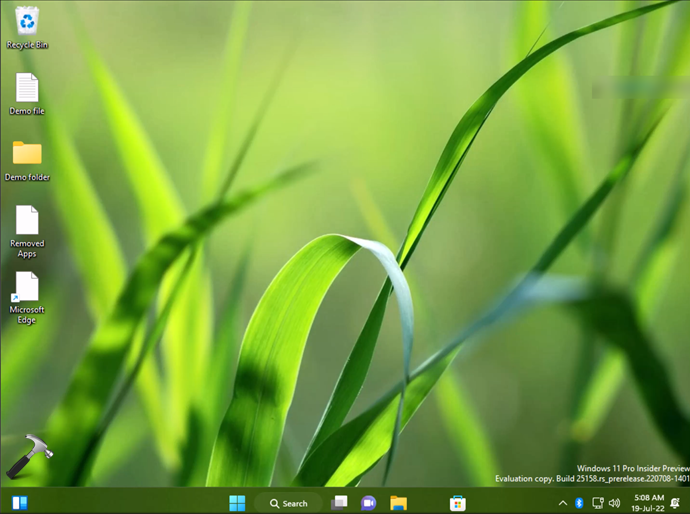
14. Finally, you are now landed to Desktop and the process of Reset is now complete. No data has been affected by the process.
Video guide
You can also check out following video to illustrate all of the above steps:
That’s it!
Related: How to make clean install of Windows 11.
![KapilArya.com is a Windows troubleshooting & how to tutorials blog from Kapil Arya [Microsoft MVP (Windows IT Pro)]. KapilArya.com](https://images.kapilarya.com/Logo1.svg)


Leave a Reply