We all know that ‘cache’ is a set of information that is often used. The cache is stored in hidden or inaccessible place, usually. Font cache corresponds to set of fonts that are installed on your system and often used. The font cache thus helps the system the load the fonts quickly. However the ‘cache’ thing sometimes suffers with corruption problem. That is, if the cache is corrupted, loading the fonts would not working as usual, unless corruption is fixed.
So in case if you’re facing problems with fonts on your system, resetting or rebuilding font cache is the solution that will help you. The below mentioned steps will guide you to rebuild the font cache in Windows 10. You’ll need to follow these steps using administrative privileges.
How To Reset Font Cache In Windows 10
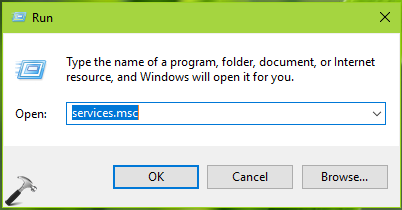
1. Press  + R and type services.msc in the Run dialog box, hit Enter key to open Services snap-in.
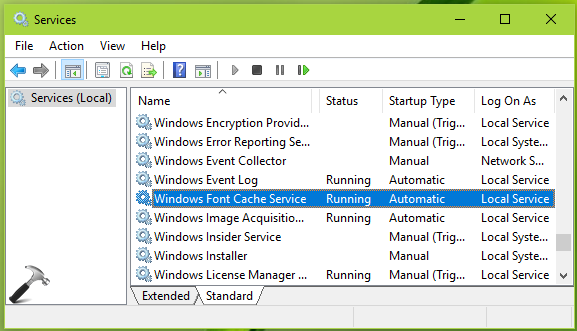
2. In the Services snap-in, locate the Windows Font Cache Service. It must be running by default. Double click on it to modify its status.
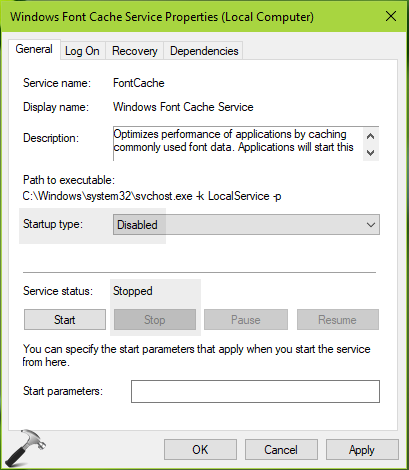
3. On the service property sheet, set the Startup type to Disabled. Click on Stop button to terminate the service then. Click Apply followed by OK.
Exit Services Snap-in.
4. Open File Explorer and navigate here:
C:\Windows\ServiceProfiles\LocalService\AppData\Local\FontCache
*Replace C: with your system root drive. Here, AppData is hidden folder. To make it visible click View > check Hidden items in File Explorer ribbon. If you get access denied in opening any of the folders, take the ownership of that folder.
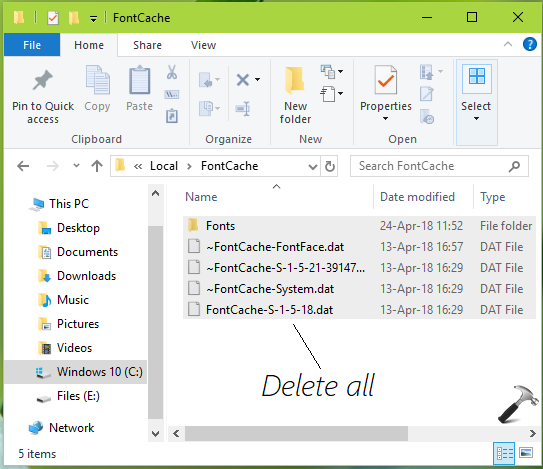
5. In the FontCache folder, delete all the contents. Next, run %WinDir%\System32 command to open System32 folder. Locate the FNTCACHE.DAT file and delete it.
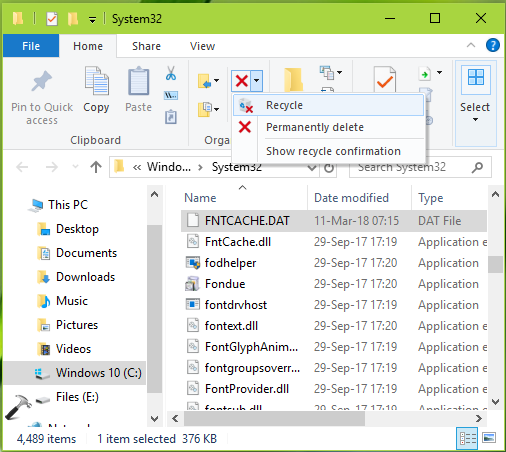
Now all you need to do is to reboot the machine. Once you restart the machine, Windows will automatically generate new font cache. In this way, you’ve now reset or rebuilt the font cache for your Windows 10.
That’s it!
![KapilArya.com is a Windows troubleshooting & how to tutorials blog from Kapil Arya [Microsoft MVP (Windows IT Pro)]. KapilArya.com](https://images.kapilarya.com/Logo1.svg)


![[Latest Windows 10 Update] What’s new in KB5055612? [Latest Windows 10 Update] What’s new in KB5055612?](https://www.kapilarya.com/assets/Windows10-Update.png)


Leave a Reply