There might be different reasons why Windows Search or Cortana is not working on your Windows OS. Without Windows Search, its really time consuming to look out for the items and access them. Hence fixing broken Windows Search feature becomes of prime importance.
Windows usually stores the search indexing to a database file, named as Windows.edb.
Page Contents
What is Windows.edb file in Windows 10/8/7?
All the data relating indexing including file and folder’s meta data are stored by Windows to this Windows.edb file. It is located in %programdata%\Microsoft\Search\Data\Applications\Windows folder. If your OS installation is quite old, Windows.edb file size may become huge. In such a case, you may consider deleting this file and allow Windows to create new one from scratch.
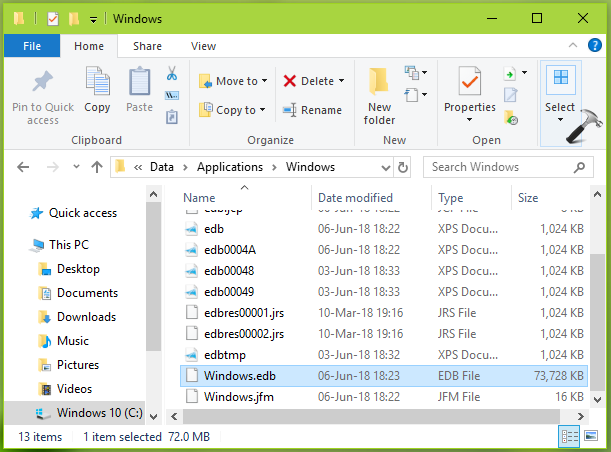
In order to fix most of Windows Search issues, resetting and rebuilding search index is common solution. Here’s how you can perform this in your Windows OS.
How To Reset And Rebuild Search Index In Windows 10/8/7
Make sure you’ve stopped Windows Search service and set Startup type: Disabled in Services snap-in, before you start.
PART 1 – Reset Search Index In Windows 10/8/7
Registry Disclaimer: The further steps will involve registry manipulation. Making mistakes while manipulating registry could affect your system adversely. So be careful while editing registry entries and create a System Restore point first.
1. Press  + R and put regedit in Run dialog box to open Registry Editor (if you’re not familiar with Registry Editor, then click here). Click OK.
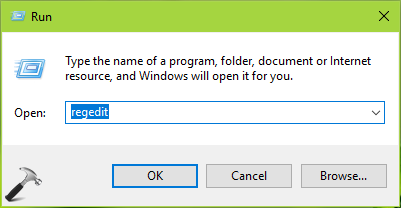
2. In left pane of Registry Editor window, navigate to following registry key:
HKEY_LOCAL_MACHINE\SOFTWARE\Microsoft\Windows Search
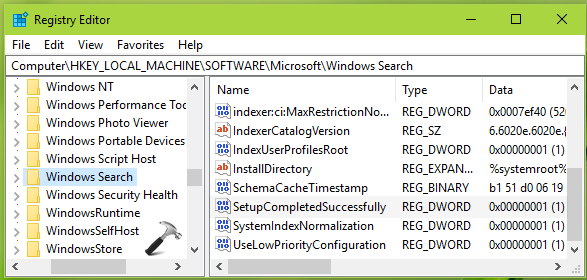
3. Now in the right pane of Windows Search registry key, double click on SetupCompletedSuccessfully named registry DWORD (REG_DWORD) to modify its DWORD’s Value data:
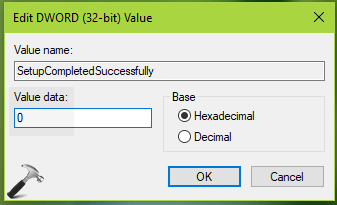
4. Change the Value data from 1 to 0 and click OK. Close Registry Editor and reboot the machine.
5. Next, make sure you’ve enabled View > Hidden items option in File Explorer ribbon. Press  + R and type following and press Enter key:
%programdata%\Microsoft\Search\Data\Applications\Windows
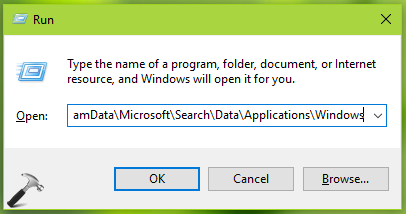
6. In Windows folder, look for Windows.edb file and right-click on it, select Delete.
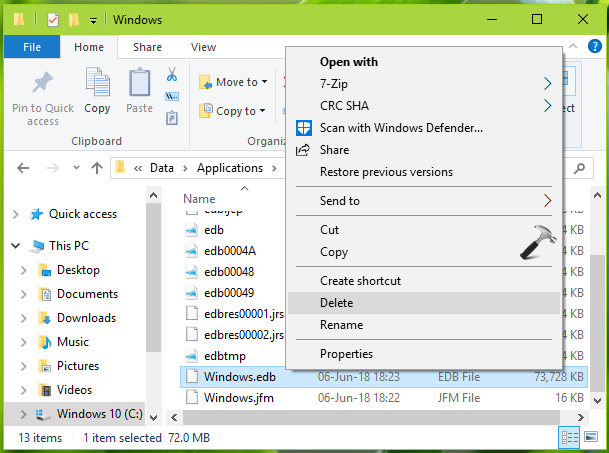
Above steps should reset Windows search index to default.
PART 2 – Rebuild Search Index In Windows 10/8/7
1. Search for indexing options using Windows Search/Cortana and pick same from results.
2. Then in Indexing Options, click on Advanced button.
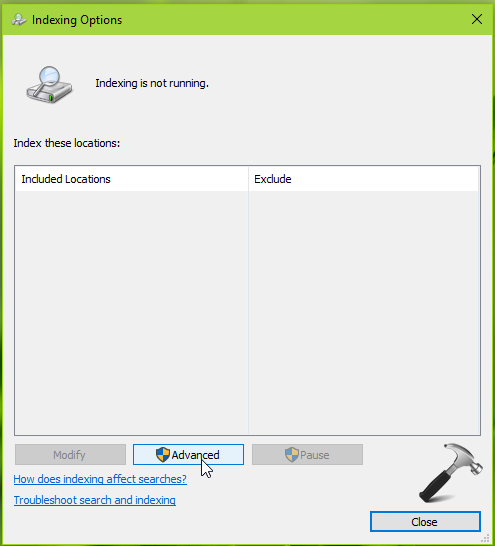
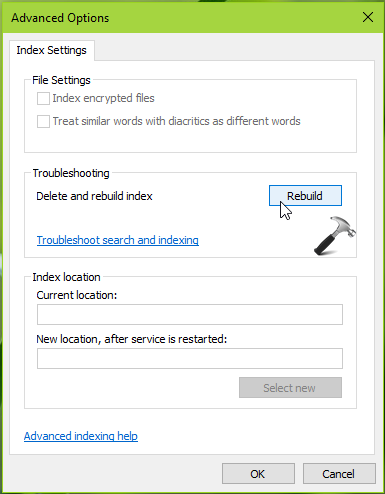
3. Next, for Advanced Options, under Troubleshooting, click on Rebuild button to delete and rebuild index.
4. Since rebuilding index is time consuming process, hence confirm on the below shown message if you can continue, by clicking OK.
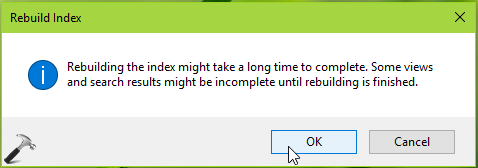
Now Windows will start rebuild search index and it will some few minutes. Note that search will broken until Windows finishes this operation.
In this way, we’ve reset and rebuild search index in Windows 10. You can now start Windows Search service in Services snap-in.
That’s it!
![KapilArya.com is a Windows troubleshooting & how to tutorials blog from Kapil Arya [Microsoft MVP (Windows IT Pro)]. KapilArya.com](https://images.kapilarya.com/Logo1.svg)


![[Latest Windows 10 Update] What’s new in KB5055612? [Latest Windows 10 Update] What’s new in KB5055612?](https://www.kapilarya.com/assets/Windows10-Update.png)


6 Comments
Add your comment
at what point should i re-enable windows search in services?
^^ It is already mentioned in the article. After you’ve reset and rebuild search index 😎.
There is no Windows.edb file under %programdata%\Microsoft\Search\Data\Applications\Windows
^^ Make sure you’ve allowed hidden items to appear in File Explorer (refer step 5).
This is great information to know. However, my problem was that the different drives weren’t included so all I needed to do was click on “Modify” under Indexing Options and then include all the drives. Then many more items were indexed and I was good to go!
^^ Thanks for adding it!