In our earlier article, we’ve seen what is RAID and what importance its serves for Windows users. We’ve also seen what are different type of RAID levels in that article. Now in this article, we’ll show you how to perform recovery of data from different RAID levels.
When your data deleted intentionally or accidentally from RAID configuration and you need to recover it, there are very less options available. In earlier days, you would have to employ third-party data recovery service for this purpose. But nowadays we’ve some great tools that can do the same job as the third-party recovery service would do. These tools can help you securely recover data from different RAID levels. Stellar Data Recovery Technician is one such pioneer tool, which we’ll be using for RAID data recovery, in this article.
So without wasting the time anymore, let us see how you can recover RAID data in your Windows 10.
How To Perform RAID Data Recovery In Windows 10
1. Download the Stellar Data Recovery Technician tool and complete its installation.
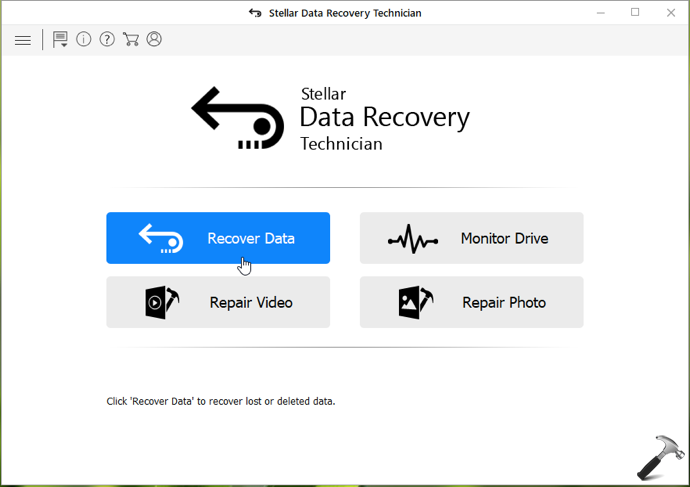
2. After installing the tool, launch it and you’ll see below shown screen. To recover data from RAID drives, select the Recover Data option.
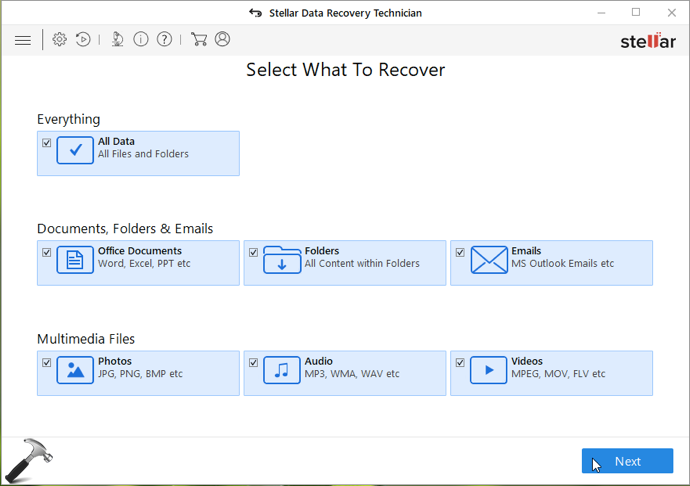
3. Then in the next screen, choose the type of data you want to recover. By default, you’ve all the options selected, so you can simply click Next, if you’re opt to recover all type of data. Or you can select to recover particular type of data.
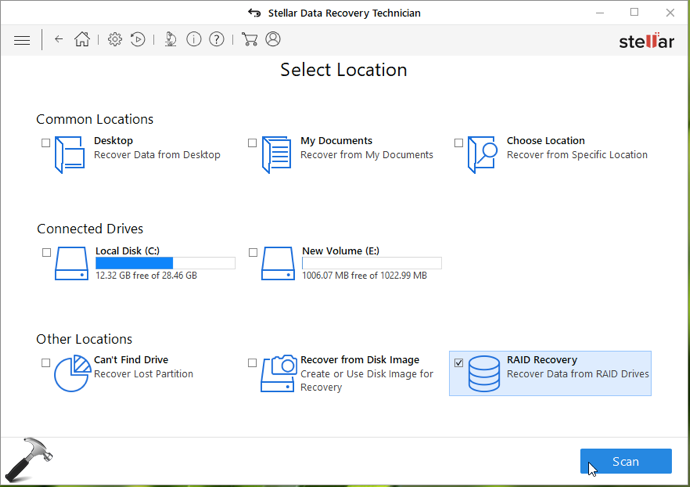
4. Moving on, you now need to select the location to recover data from. Here you can select the RAID Recovery option and click Scan.
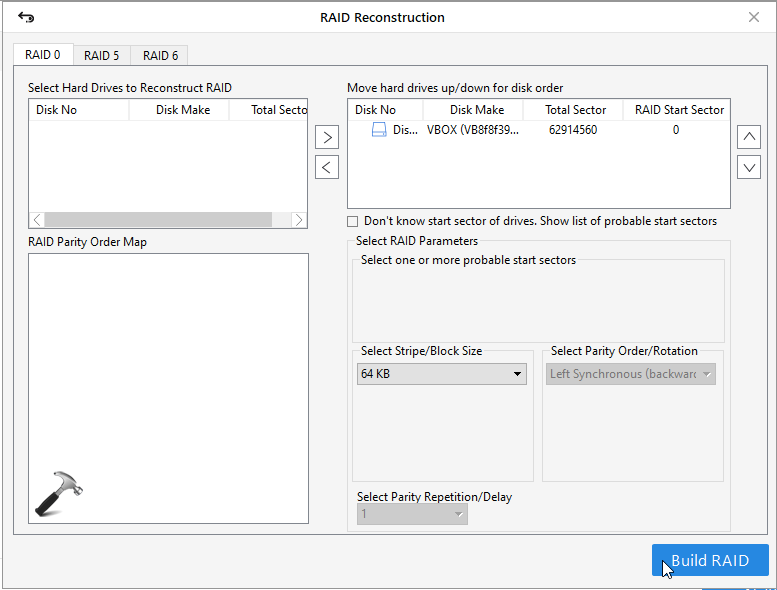
5. Then select the RAID configuration from RAID 0, RAID 5, RAID 6. Add the disks to correct disk order and then select RAID parameters. Finally, click on Build RAID.
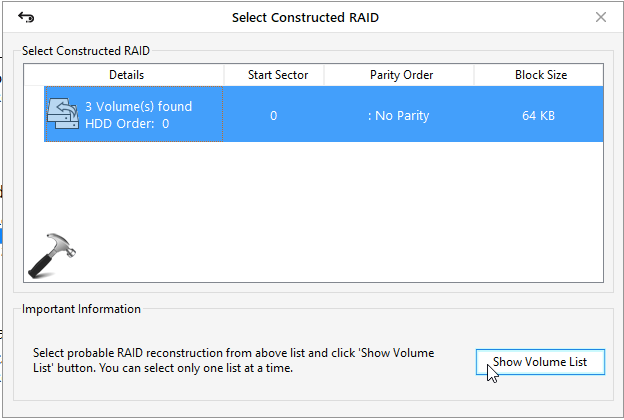
6. Now the constructed RAID will be shown. You can select RAID construction of your choice and then hit Show Volume List button.
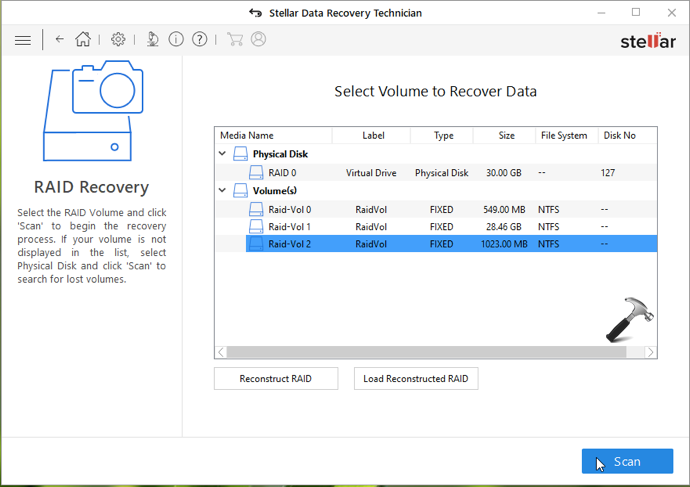
7. Next, you’ll be shown the list of physical disk/volumes to recover data. Select the appropriate disk/volume to recover data and click Scan.
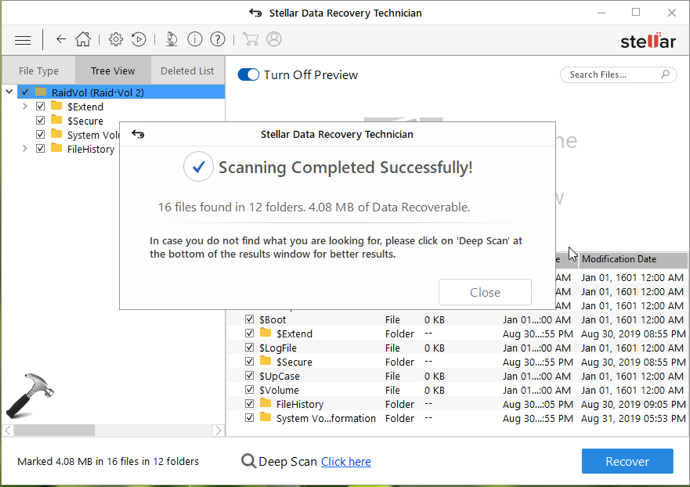
8. As the scan completes, you’ll results for how much files found and the amount of data you can recover. Close the scan box.
9. Finally, hit the Recover button and then you’ll be asked to choose the location to save recovered data. Provide a convenient location and your recovered data will be saved to that location.
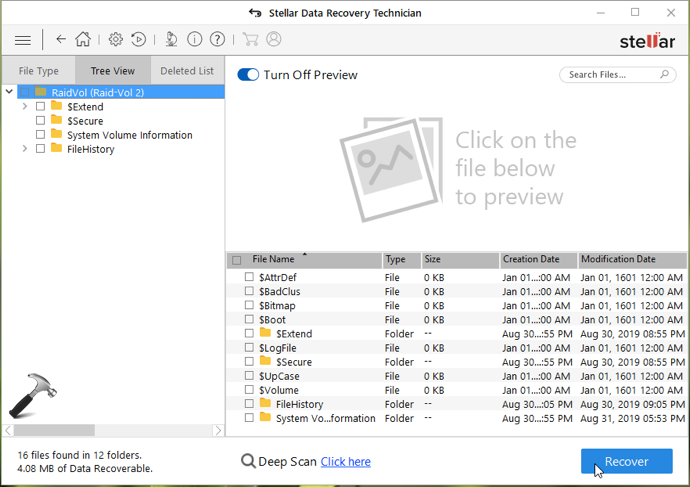
In this way, you’ve successfully recovered data from RAID drives.
Stellar Data Recovery Technician is quite useful tool for RAID 0, 5, 6 data recovery. It supports recovery from the most common file systems such as NTFS, FAT, exFAT partitions and drives. In case if you need to extract data from damaged encrypted drive, this tool may provide you big help. Support for Virtual RAID construction sets a class for this software because sometimes you don’t have information about RAID parameters when they’re potentially damaged. With the help of Virtual RAID construction, you can search lost volumes plus RAW data recovery is possible.
If you’re spending on this tool, I would assure that you won’t regret for your money. The tool delivers the best in-class performance and would offer exactly for what it is built. In this modern age, data has become an essential part of our lives. Keeping it secure and safe is becoming a challenge for everyone. Tools like Stellar Data Recovery Technician would certainly grown as a prime necessity in near future. Using this tool makes you more advanced today and will provide brilliant confidence for safeguarding your data next generation.
Other benefits of this tool:
- You can recover data of any type such as photos, videos, documents, archive, audio in commonly used formats.
- Along with hard drives, the data can also be recovered from USB, memory card, camera.
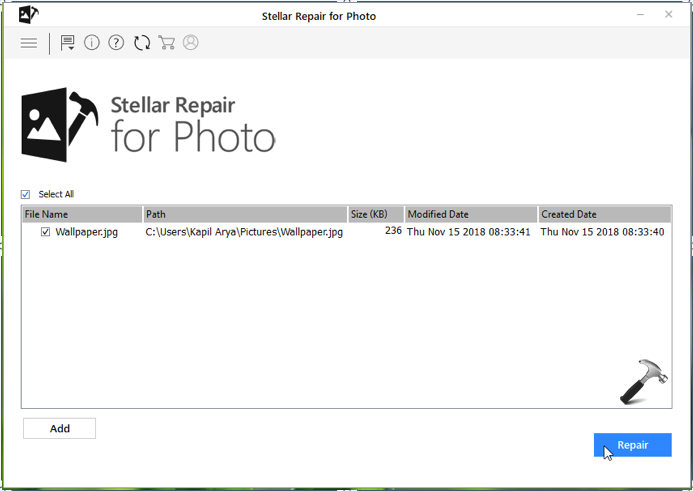
- You can also repair photos and videos using this software.
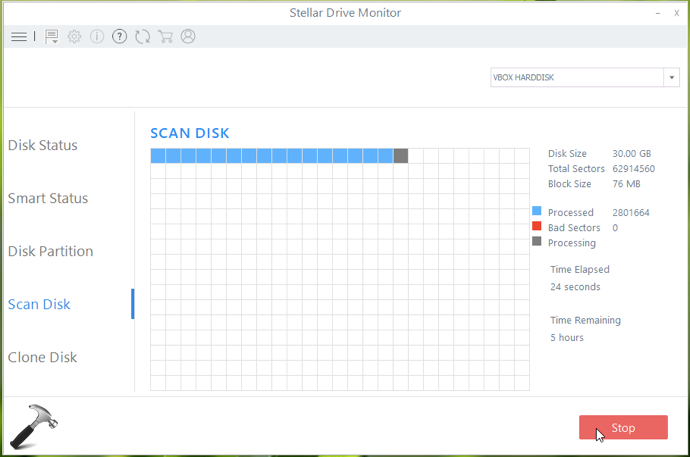
- The tool offers a special feature Monitor drive, which can be used to track the performance of hard drive.
- You can preview the files to recover, which is very useful when you’ve to sort recovery files in a large folder.
We hope you’ll find this tool useful!
FYI: This article mentions third-party software, which is shared here for convenience of readers. It is always advisable to create a System Restore point first, before using these tools.
![KapilArya.com is a Windows troubleshooting & how to tutorials blog from Kapil Arya [Microsoft MVP (Windows IT Pro)]. KapilArya.com](https://images.kapilarya.com/Logo1.svg)


![[Latest Windows 10 Update] What’s new in KB5055612? [Latest Windows 10 Update] What’s new in KB5055612?](https://www.kapilarya.com/assets/Windows10-Update.png)


Leave a Reply