Since the web is moving towards to HTTPS, there is a increase in number of security certificate authorities (CAs) and variety of certificates issued. Windows 10 comes with some built-in certificates installed from leading CAs. But if you’re going to visit a website/app whose root certificate is not pre-installed on your machine (due to its vendor, type or format), you might get following prompt in the browser, where you need to trust the CA on your own. It might be possible you need to do this every-time you visit the website/app.
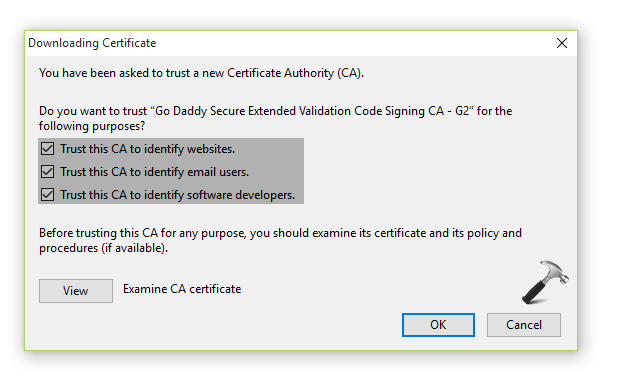
To avoid this, you can install the root certificate to your machine from the CA. All CAs publicly and freely allows the download of their root certificate through repository. Root certificate is top-most security certificate issued by a CA and all other intermediate certificates follows a tree-structure analogy starting from root certificate. So if root certificate is present on your machine, all the certificate issued in hierarchical order after it, will be automatically trusted by your system.
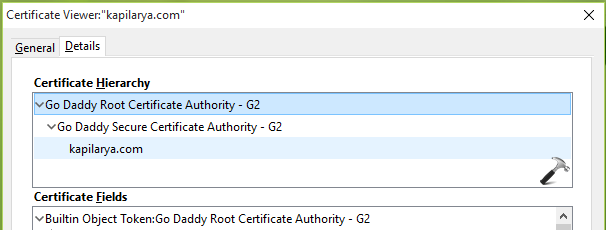
In this article, we’ll see the steps to manually add a trusted root certificate to your Windows 10 machine.
How To Install Trusted Root Certificate In Windows 10
1. Press  + R and put secpol.msc in Run dialog box. Click OK to open Security Policy snap-in.

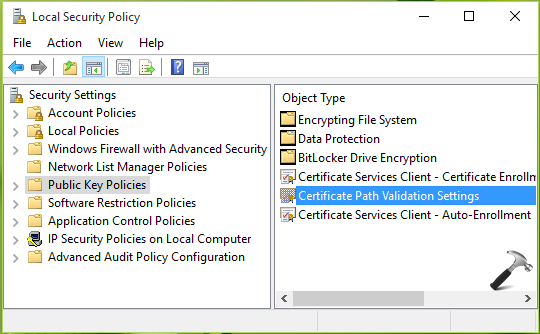
2. In Local Security Policy snap-in, click Public Key Policies > Certificate Path Validation Settings.
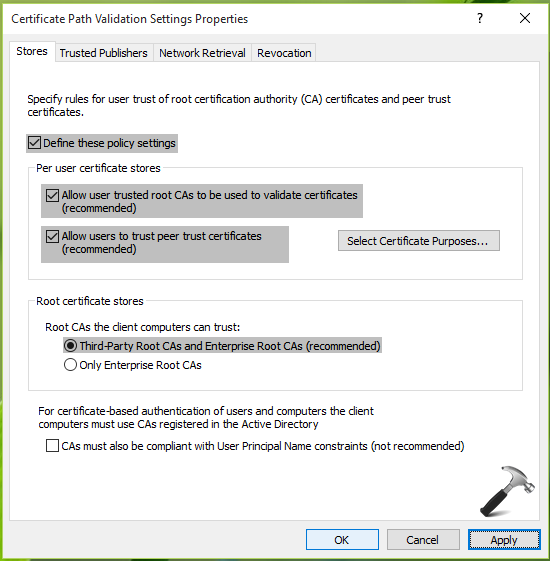
3. Then in Certificate Path Validation Settings Properties, under Store tab, check Define these policy settings. Make sure you check Allow user trusted root CAs to be used to validate certificates and Allow users to trust peer trust certificates options here. Under Root certificates stores, select Third-Party Root CAs and Enterprise Root CAs option. Click Apply followed by OK.
Close Local Security Policy snap-in.
4. Press  + R and put certmgr.msc in Run dialog box. Click OK to open Certificate Manager snap-in.

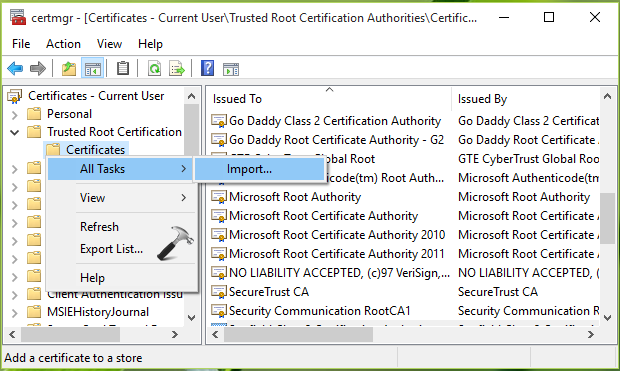
5. In Certificate Manager window, click Trusted Root Certification Authorities > Certificates. Right click on Certificates and select All Tasks > Import.
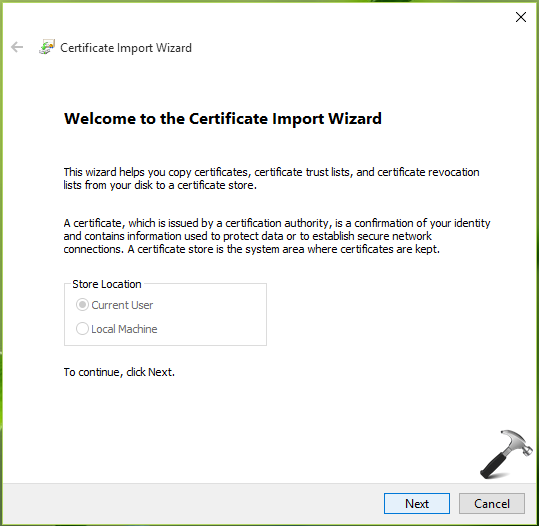
6. Now in Certificate Import Wizard, click Next.
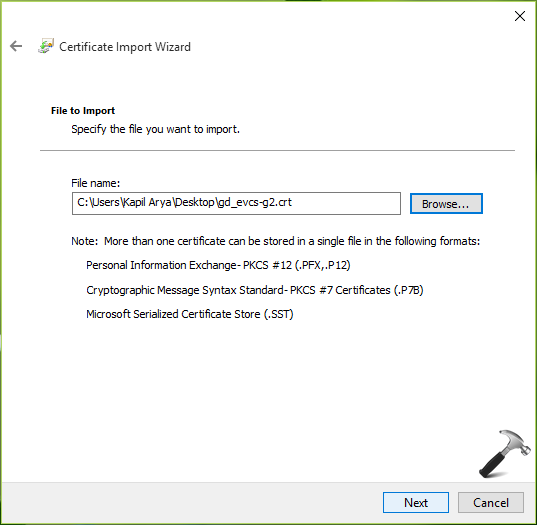
7. Then browse the certificate root file (make sure to select correct file format such .crt/.cer, .p7b/.spc etc.) which you got from your CA. Click Next.
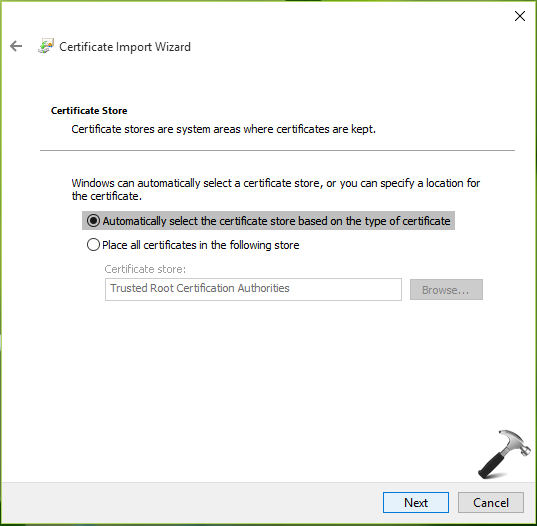
8. On the next screen, choose Automatically select the certificate store based on the type of certificate option. Hit Next.
9. Click Finish to finally import the certificate to Trusted Root Certification Authorities store.
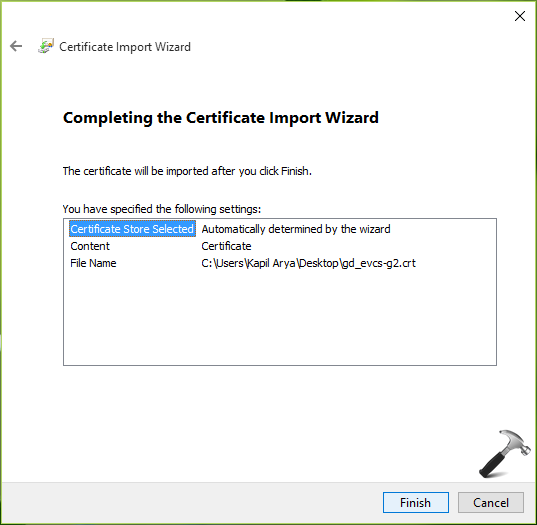
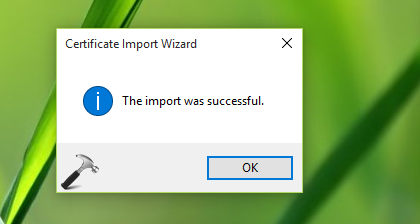
In few seconds, you’ll receive the confirmation saying ‘The import was successful‘ which means the new certificate is installed and ready for use.
In this way, you can install new trusted root certificates to Windows 10.
That’s it!
![KapilArya.com is a Windows troubleshooting & how to tutorials blog from Kapil Arya [Microsoft MVP (Windows IT Pro)]. KapilArya.com](https://images.kapilarya.com/Logo1.svg)


![[Latest Windows 10 Update] What’s new in KB5055612? [Latest Windows 10 Update] What’s new in KB5055612?](https://www.kapilarya.com/assets/Windows10-Update.png)


Leave a Reply