

Windows 11 keeps crashing is a frustrating issue. Indeed, we understand your exasperation. So, to resolve this error, this article gathers 10 solutions to help you out. You can follow the step-by-step fixes to solve the error in no time.
The reasons why Windows 11 keeps crashing could be system file corruption, hardware issues, outdated drivers, bugs, or malware. It is important to start with basic troubleshooting and then go for advanced fixes. Additionally, remember to always keep a backup of your data to prevent data loss during system crashes.
Page Contents
How to Fix Windows 11 Keeps Crashing
Fix 1: Basic Troubleshooting
1. If the Windows 11 overheats, make sure the PC or system is not overcharged.
2. Avoid heating issues by placing the PC on a table and in a bit cool environment.
3. Ensure enough ventilation for fans to work.
Fix 2: Try Shutting Down
1. Unplug any external peripherals.
2. Try shutting down the Windows 11 completely.
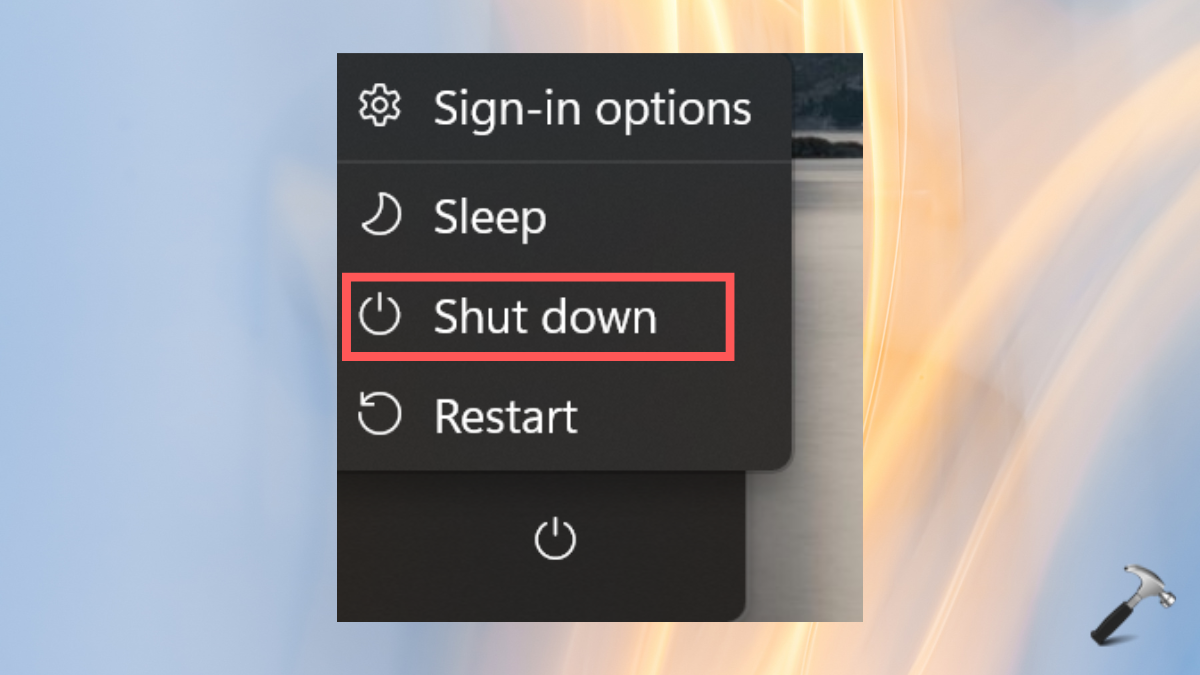
When the system restarts and a screen appears but again Windows 11 crashes, follow the below solutions.
Fix 3: Check for Updates
1. Go to Windows Settings. From the top, select Windows Update.
2. Click on the Check for Updates option.
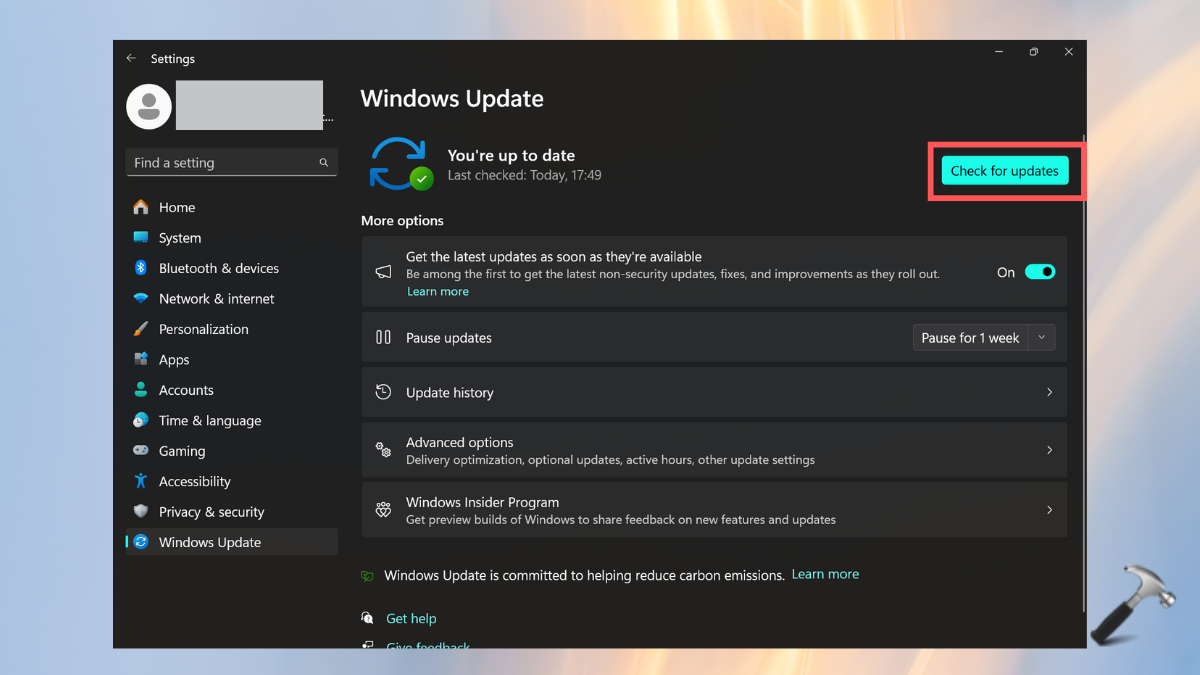
3. If any update is found, click on Download & Install.
Fix 4: Manually Update Hardware Drivers
1. In the Windows search bar, enter “device manager”. Select the top result.

2. Find the “Display Adapters” option and open its drop-down.
3. Right-click on the name of the display adapter your PC has.
4. Choose “Update Driver”.

Fix 5: Run Windows Memory Diagnostic Tool
1. Open the Run dialog box by pressing Win+R keys.
2. Type the below command in it and press “OK”.
mdsched.exe

3. When the next screen appears, choose “Restart now and check for problems(recommended)”.

The Windows Diagnostic tool will run and then automatically restart the PC.
Fix 6: Fix Software Conflicts
6.1 Update Microsoft Store Apps
1. Open the Microsoft Store. From the left bottom panel, select Library.
2. Click on “Get Updates” and then “Update all”.

6.2 Uninstall Unnecessary Apps
1. Go to the Windows Settings and click on Apps.
2. Click on Installed Apps. Tap on a three-dot icon for the problematic app.
3. Tap “Uninstall” to remove the app from the system.

Fix 7: Do a Malware Scan
1. Enter “windows security” in the Windows 11 search bar.
2. Tap on the top result.

3. Select Virus and threat protection” from the left panel.
4. Tap on “Quick Scan”.

Fix 8: Run SFC and DISM Scan
1. On the Windows search bar, type “terminal”. Click on the Terminal from the results.

2. Copy and Paste the below command to the Terminal and press Enter key:
DISM /Online /Cleanup-Image /RestoreHealth

3. When it stops running, enter the below command to the Terminal:
sfc /scannow

4. After the command completes executing, restart the system.
Fix 9: Perform System Restore
1. On the Windows search bar, type “restore point” and tap on the best match result.
2. Select “System Restore” on the next screen.
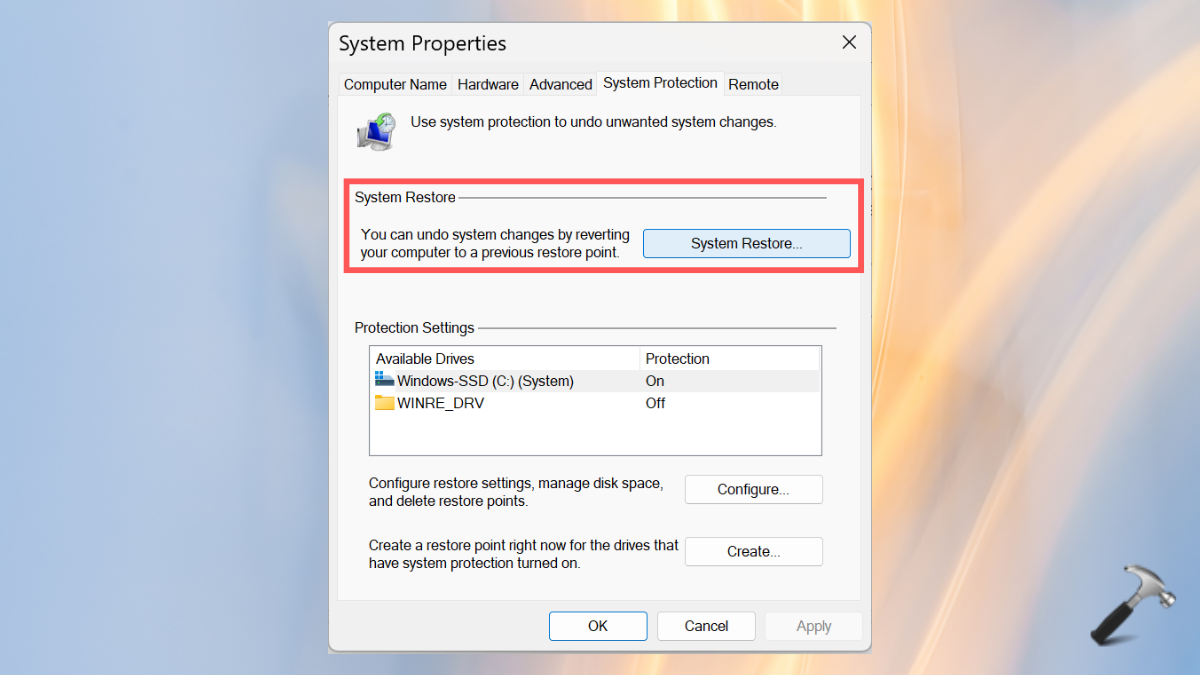
3. Choose the restore point and follow the on-screen instructions.
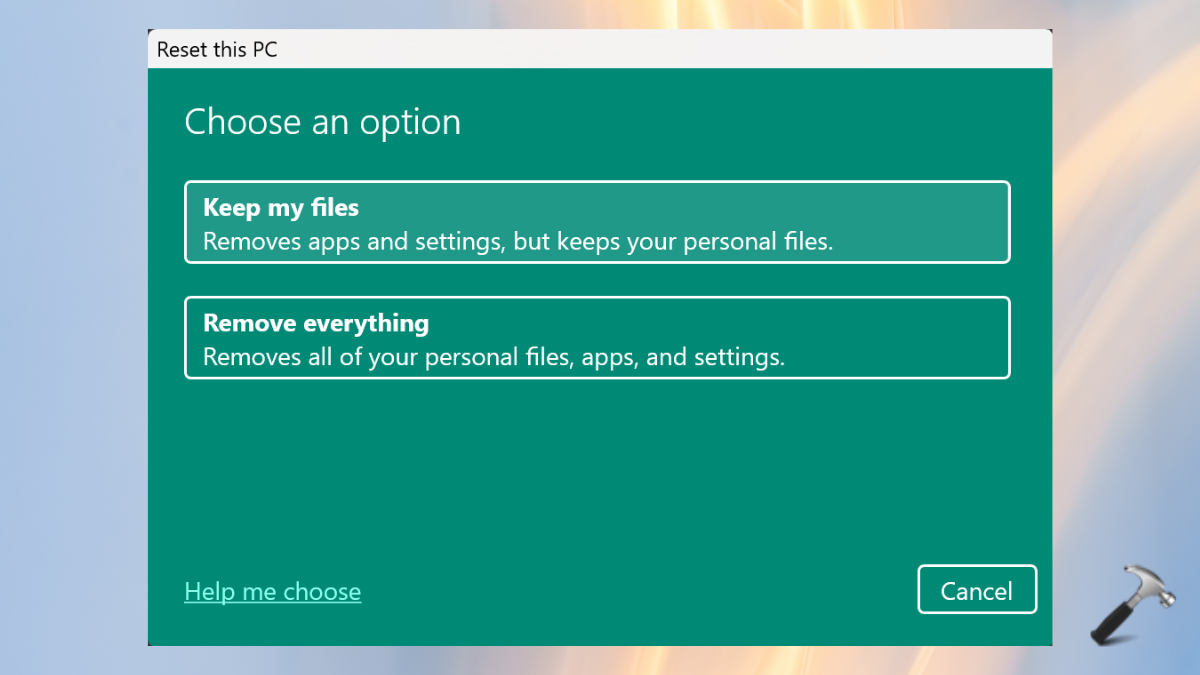
Fix 10: Reset to Factory Settings
If none of the solutions works, only then reset your PC.
1. Open the Windows Settings. Go to the System section from the left-side panel.
2. Scroll down and tap on “Recovery”.
3. Click on “Reset PC” option.
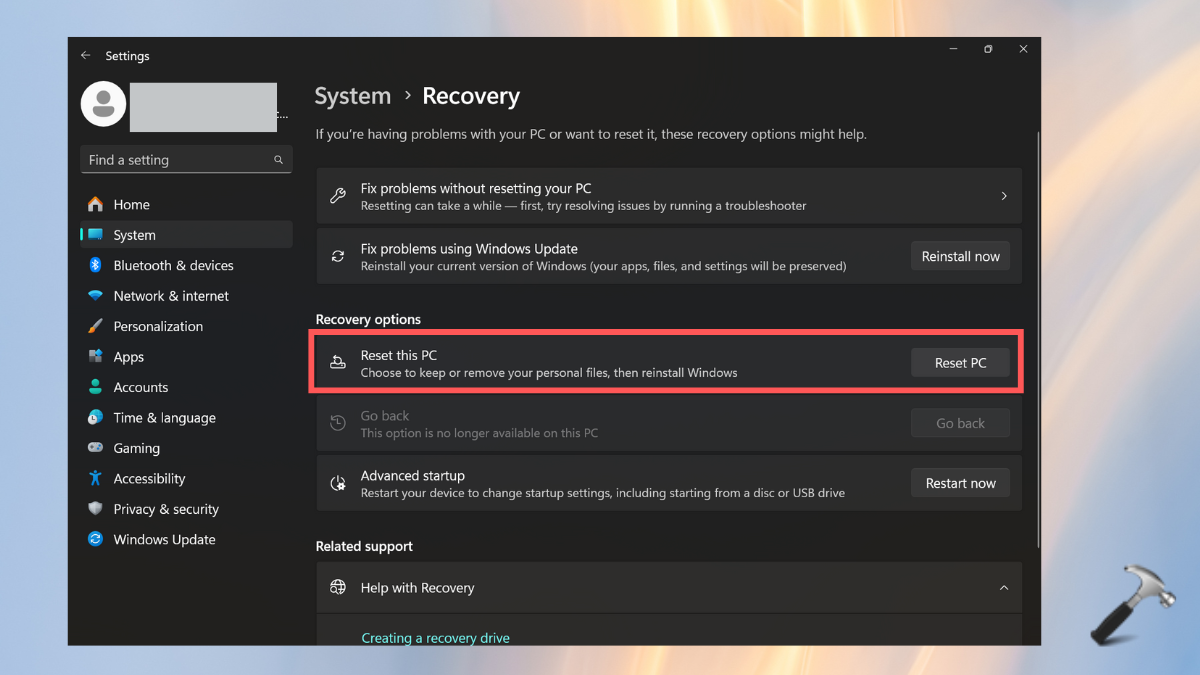
4. Choose one option – keep files or remove everything. Then, follow the on-screen instructions.
That’s it!


![[Latest Windows 10 Update] What’s new in KB5055612?](https://www.kapilarya.com/assets/Windows10-Update.png "[Latest Windows 10 Update] What’s new in KB5055612?")


Leave a Reply