Wi-Fi is an important tool available in every device to provide wireless internet connection. Windows 11 comes with an interesting feature related to it. Do you know that you can disable the Wi-Fi in your system in Windows 11? When you disable the Wi-Fi, it means that one cannot turn it on or off. This article shows you exactly how to enable or disable Wi-Fi in Windows 11 with the help of a few easy steps.
So, this is how your Wi-Fi looks when it is enabled, which is a default setting in every device.
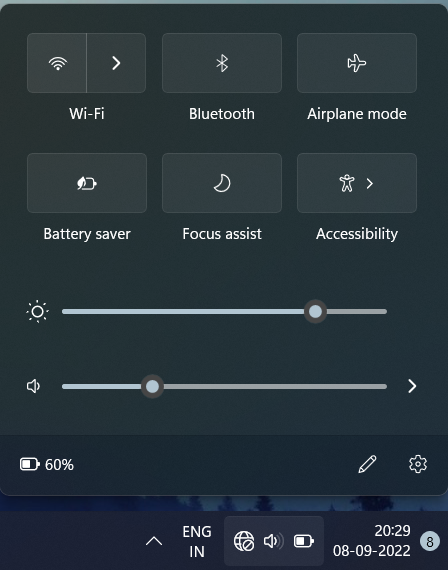
You can turn it on directly from here on the desktop or through the Settings application in Network & Internet.
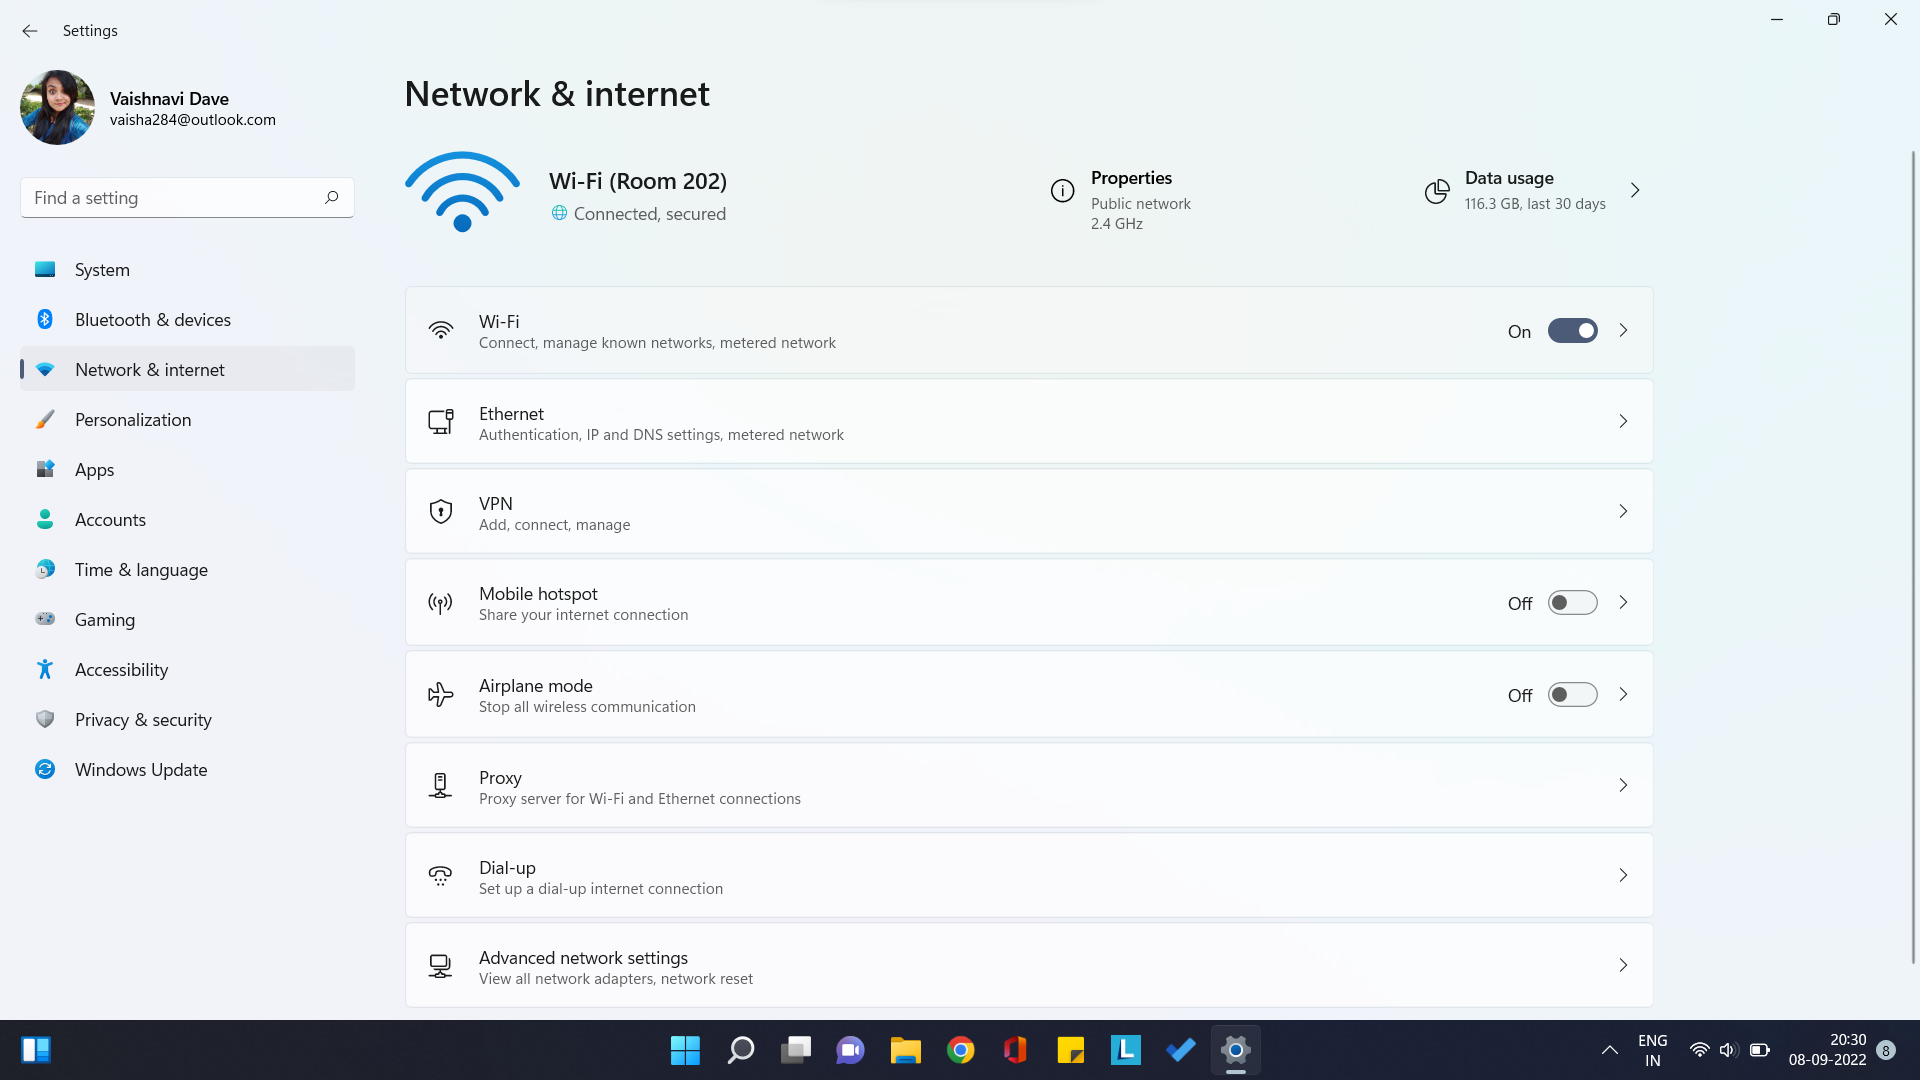
How to Enable or Disable Wi-Fi in Windows 11
Now, you can disable this Wi-Fi with the use of Registry Editor. Just follow these five simple steps.
Step-1: Press the keys Win + R and type regedit. Click OK. It will open a UAC prompt. Select Yes in it. This will open the Registry Editor for you.
Step-2: In the Registry Editor, follow the path mentioned below –
Computer\HKEY_LOCAL_MACHINE\SOFTWARE\Microsoft\PolicyManager\default\Wifi\AllowWiFi
Step-3: Here, you will find ‘value’ in the list.

You can see that it has its DWORD value as 1 which suggests that the Wi-Fi is enabled.
Step-4: Double click on value. In the dialogue box that opens, change the value from 1 to 0.
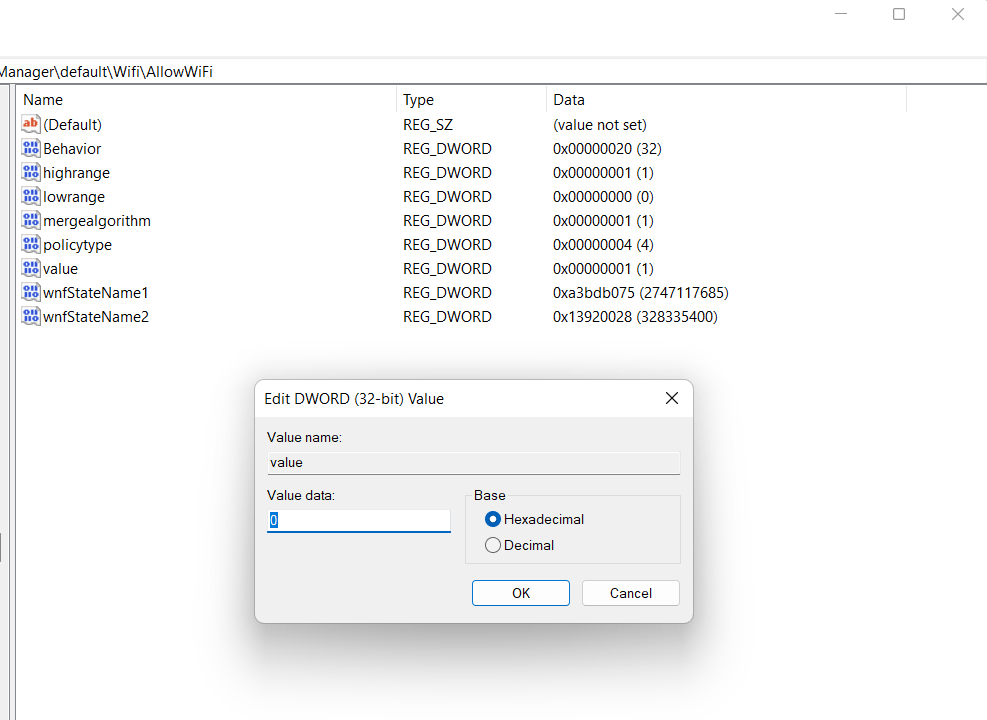
Step-5: Click OK.
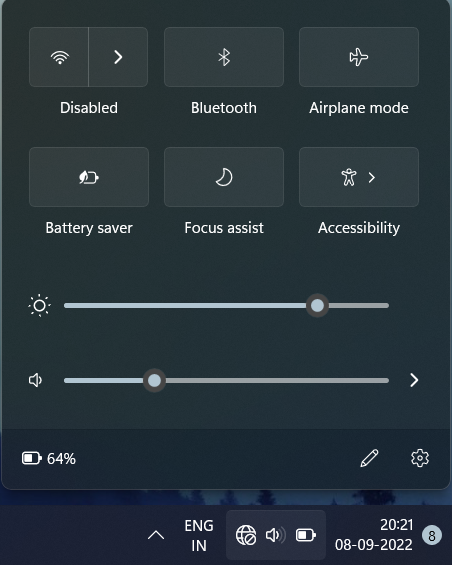
Now, all you need to do is to just Restart your computer. You will see that the Wi-Fi is disabled. It will look like the screenshot below. You cannot turn it on or off.
And there you go! You have disabled your Wi-Fi. To enable it again, you need to follow the same steps through Registry Editor. In Step-4, however, you need to change the value from 0 to 1 this time. Once you restart your system after that, you will find that you have now enabled the Wi-Fi.
![KapilArya.com is a Windows troubleshooting & how to tutorials blog from Kapil Arya [Microsoft MVP (Windows IT Pro)]. KapilArya.com](https://images.kapilarya.com/Logo1.svg)


Leave a Reply