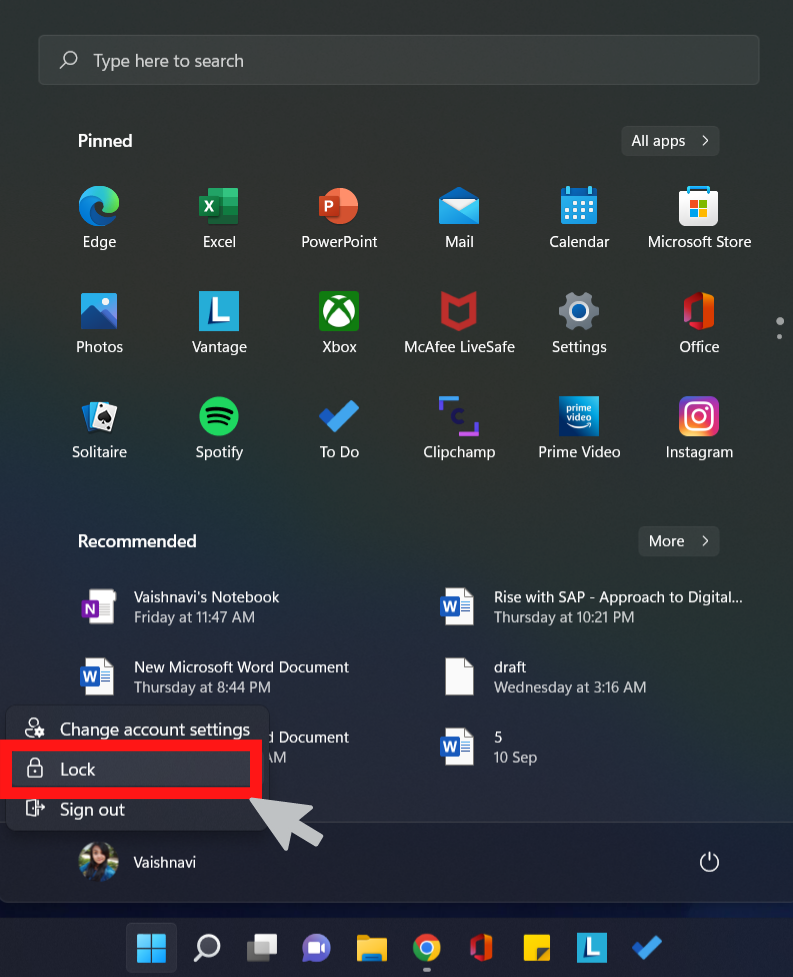
Windows users use Lock the computer feature to prevent unauthorized access whenever they are away from the computer for a while. It takes you to the lock screen when you lock your system. Since you are not signing our or shutting down, everything you are working on remains open and you find them as it is when you unlock the computer again. If you want, you can enable or disable lock computer in Windows 11/10.

Once you disable it, the lock will be removed from the start menu and other locations, forcing people to either sign out or shut down. You can simply enable the feature again to bring it back to normal. This article shows you exactly how to enable or disable it with a step-by-step guide.
How to enable or disable lock computer in Windows 11
Follow the simple steps below.
Step 1: Press the keys Win + R to open Run.
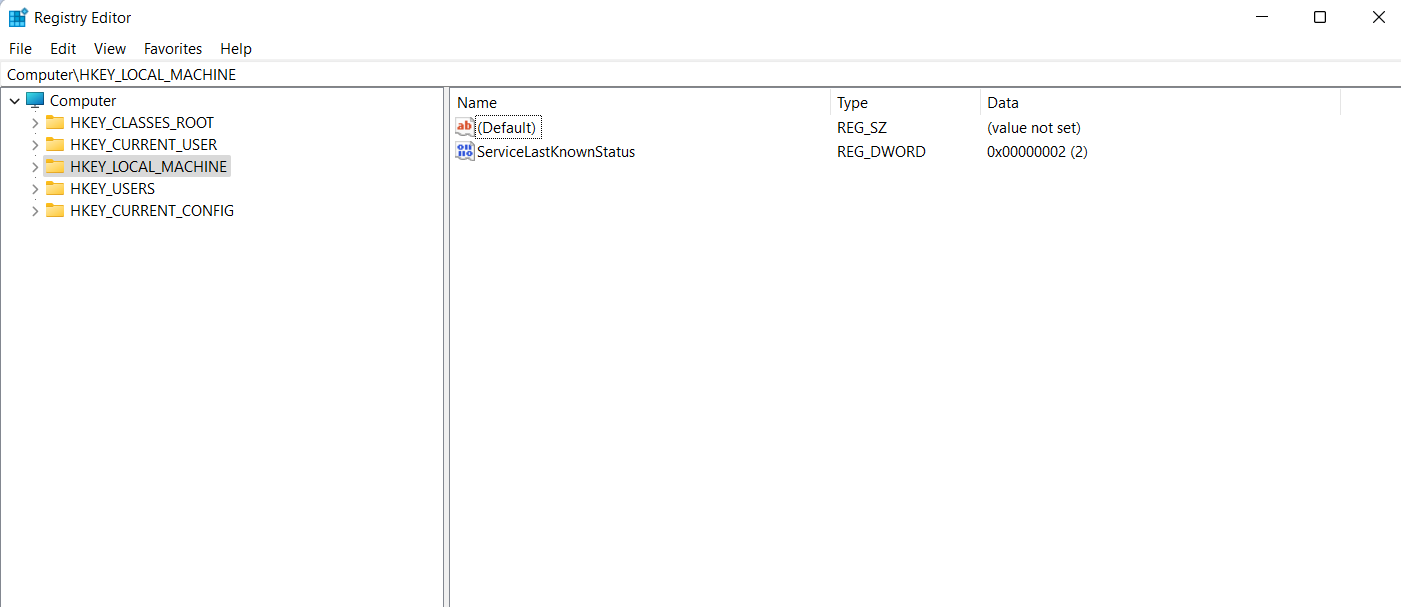
Step 2: Type Regedit and press OK. Select Yes in the UAC prompt. This will open the Registry Editor from where we are going to enable or disable the lock computer feature.

Step 3: Follow the path mentioned below in the Registry Editor.
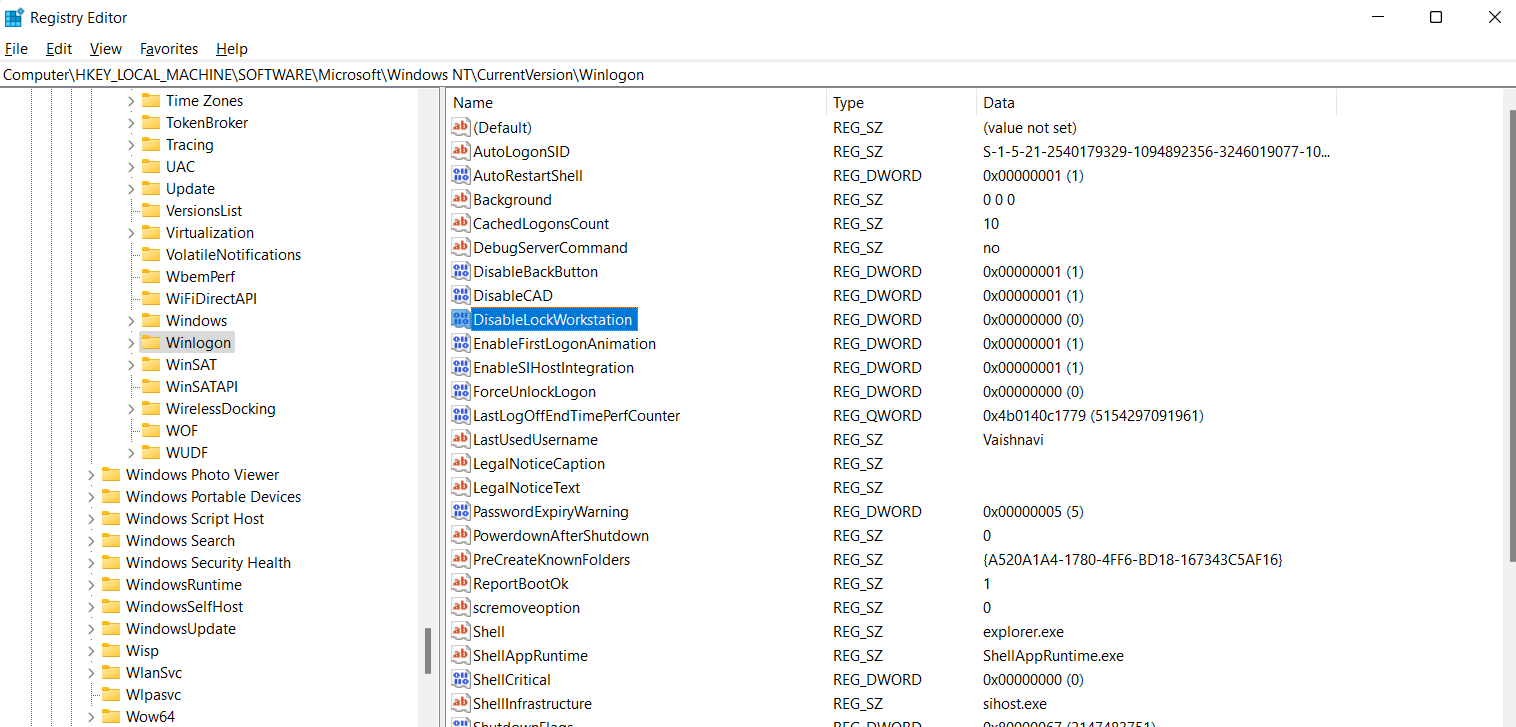
Computer\HKEY_LOCAL_MACHINE\SOFTWARE\Microsoft\Windows NT\CurrentVersion\Winlogon
Click on Winlogon to select it.
Step 4: You will see a list of values here. Find DisableLockWorkstation in the list and double click on this dword to select it.

Step 5: In the dialogue box that opens, you simply have to change the value to 0 if you wish to enable Lock Computer feature for all users. Enter value 1 if you wish to disable the feature.

Step 6: Click on OK and close the Registry Editor.
And that is it. With this easy process, you have enabled (or disabled) Lock the computer feature in your Windows 11/10. You can confirm it in the Start menu and in all other shut down locations.
![KapilArya.com is a Windows troubleshooting & how to tutorials blog from Kapil Arya [Microsoft MVP (Windows IT Pro)]. KapilArya.com](https://images.kapilarya.com/Logo1.svg)


![[Latest Windows 10 Update] What’s new in KB5055612? [Latest Windows 10 Update] What’s new in KB5055612?](https://www.kapilarya.com/assets/Windows10-Update.png)


Leave a Reply