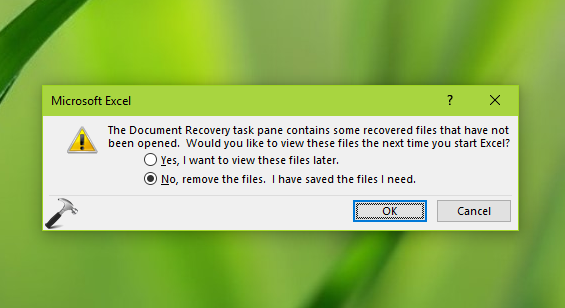
By default, Excel or any other Microsoft Office application tries to auto-recover on crash. Sometimes, if you quit either of these applications without saving the document, next time you open the application, you’ll be represented with Document Recovery Pane. The pane is shown below, which provides user the choice to keep auto-recover documents or to discard them, along with following message:
Page Contents
The Document Recovery task pane contains some recovered files that have not been opened. Would you like to view these files the next time you start <application>?
[Yes, I want to view these files later.]
[No, remove the files. I have saved the files I need.]

This pane stays on the screen unless you choose either of the option provided. Hence you can’t work on the application in the meantime. So this creates a need to hide the Document Recovery Pane. Below mentioned registry tweak will show you how to hide it. Note that this will not affect auto-recovering ability of the application.
You can still review the files that are auto-recovered. FYI, the auto-recovered files are saved as .asd files under C:\Users\<USERNAME>\AppData\Local\Microsoft\Office\UnsavedFiles. You need to replace C: with your system root drive and <USERNAME> with your user account name to access this location. Here, AppData is hidden folder.
How To Disable ‘The Document Recovery Task Pane Contains Some Recovered Files That Have Not Been Opened’ For Office 2016/13/10
Registry Disclaimer: The further steps will involve registry manipulation. Making mistakes while manipulating registry could affect your system adversely. So be careful while editing registry entries and create a System Restore point first.
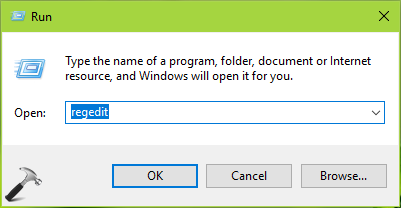
1. Press  + R and put regedit in Run dialog box to open Registry Editor (if you’re not familiar with Registry Editor, then click here). Click OK.

2. In left pane of Registry Editor window, navigate to following registry key:
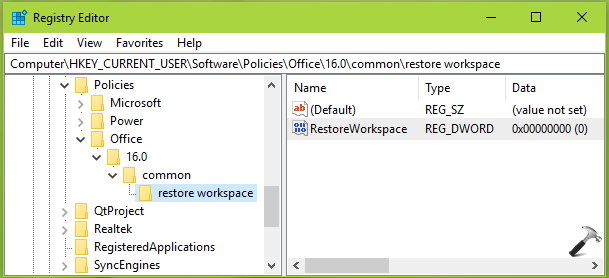
HKEY_CURRENT_USER\Software\Policies\Office\XX.0\common\restore workspace
* Substitute XX with 16 for Office 2016, 15 for Office 2013, 14 for Office 2010.
3. In the right pane of restore workplace registry key, right click and select New > DWORD Value. Name the newly created registry DWORD as RestoreWorkspace.

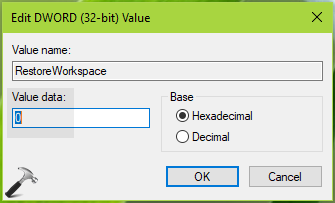
4. Make sure that RestoreWorkspace registry DWORD has 0 as the Value data.

Close the Registry Editor and reboot the machine.
After restarting, the Document Recovery Pane would no longer appear.
That’s it!
![KapilArya.com is a Windows troubleshooting & how to tutorials blog from Kapil Arya [Microsoft MVP (Windows IT Pro)]. KapilArya.com](https://images.kapilarya.com/Logo1.svg)


2 Comments
Add your comment
Thanks for the fix. Better intermediate fix would be this: When the dialog box opens, the default currently is “No, remove the files. I have saved the files I need.” Can you provide a way to make the default (radio button selected) the first option, “Yes, I want to view these files later.”? Then, the user need only click once (the “Ok” button) instead of clicking twice (the “Yes, …” button and then the “Ok” button).
Would appreciate copy of your reply emailed to me!
Randy
^^ Thanks for your inputs!