Earlier, we’ve shared you following guide to create custom power plan and force Windows 10 to use this power plan:
How To Force Windows 10 To Use Custom Power Plan
Today, in this article, we’ll share you how to remove an earlier created power plan on your Windows 10. Power plans are very useful in managing consumption of power at software and hardware resources of your system (such as laptop, tablet etc.). An incorrectly configured power plan may result in high power usage on your system. It will then reduce the performance of system components.
The method mentioned in creating custom power plan utilizes one of the base plan you’ve on your system. See, if you configure power plan in optimized way, it will help you improve battery life and conserve your system components. We can’t deny in the fact that even a single component or a bad performing application/feature on your system can lower down the battery life. This may give rise to power with battery and you’ll need to manually calibrate it resolve such problems. If a single bad performing component can do this, you can clearly estimate how negative effect will be created by a non-optimized power plan.
So if you need to remove some existing power plans on your system, you can easily do this via below mentioned steps:
How To Delete A Power Plan In Windows 10
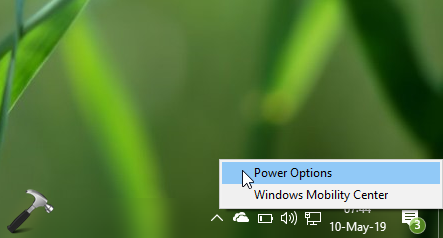
1. Right click battery or power icon on taskbar and select Power options. If battery icon is missing, refer this fix first.
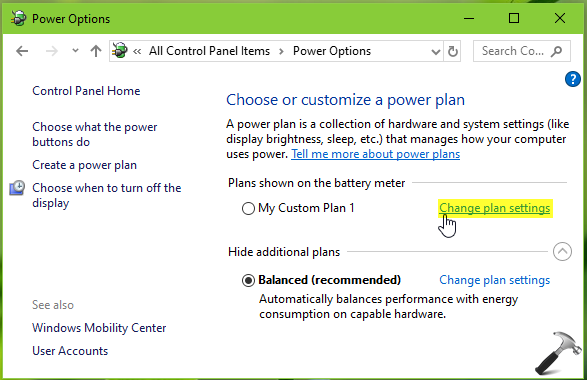
2. In the Power Options window, select the plan you want to delete. This plan should not be active atm otherwise you won’t be able to delete it. Then click Change plan settings link next the plan.
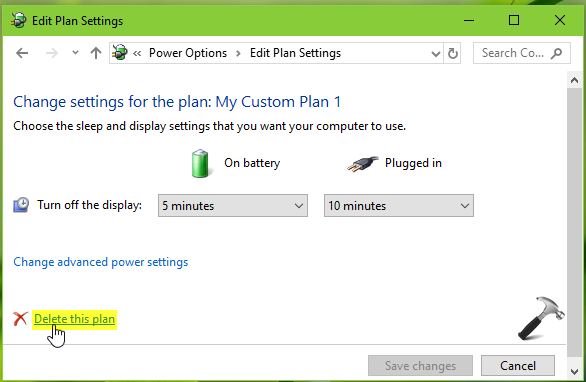
3. Moving on, in Edit Plan Settings window, click on Delete this plan link.
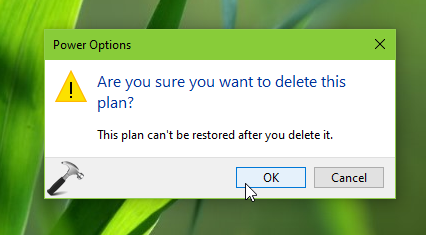
4. In the confirmation prompt appearing next, click OK. This should finally erase the power plan from your system.
That’s it!
![KapilArya.com is a Windows troubleshooting & how to tutorials blog from Kapil Arya [Microsoft MVP (Windows IT Pro)]. KapilArya.com](https://images.kapilarya.com/Logo1.svg)





![[Latest Windows 10 Update] What’s new in KB5055612? [Latest Windows 10 Update] What’s new in KB5055612?](https://www.kapilarya.com/assets/Windows10-Update.png)


Leave a Reply