

A Dev Drive is a virtual drive that provides a controlled and isolated environment for testing and developing applications. It can be used to store your code, data, and development tools without affecting your main system. This article will guide you on how to create, resize, and delete a Dev Drive on Windows 11.
Page Contents
How to create Dev Drive on Windows 11
Create Dev Drive on Windows 11 (virtual)
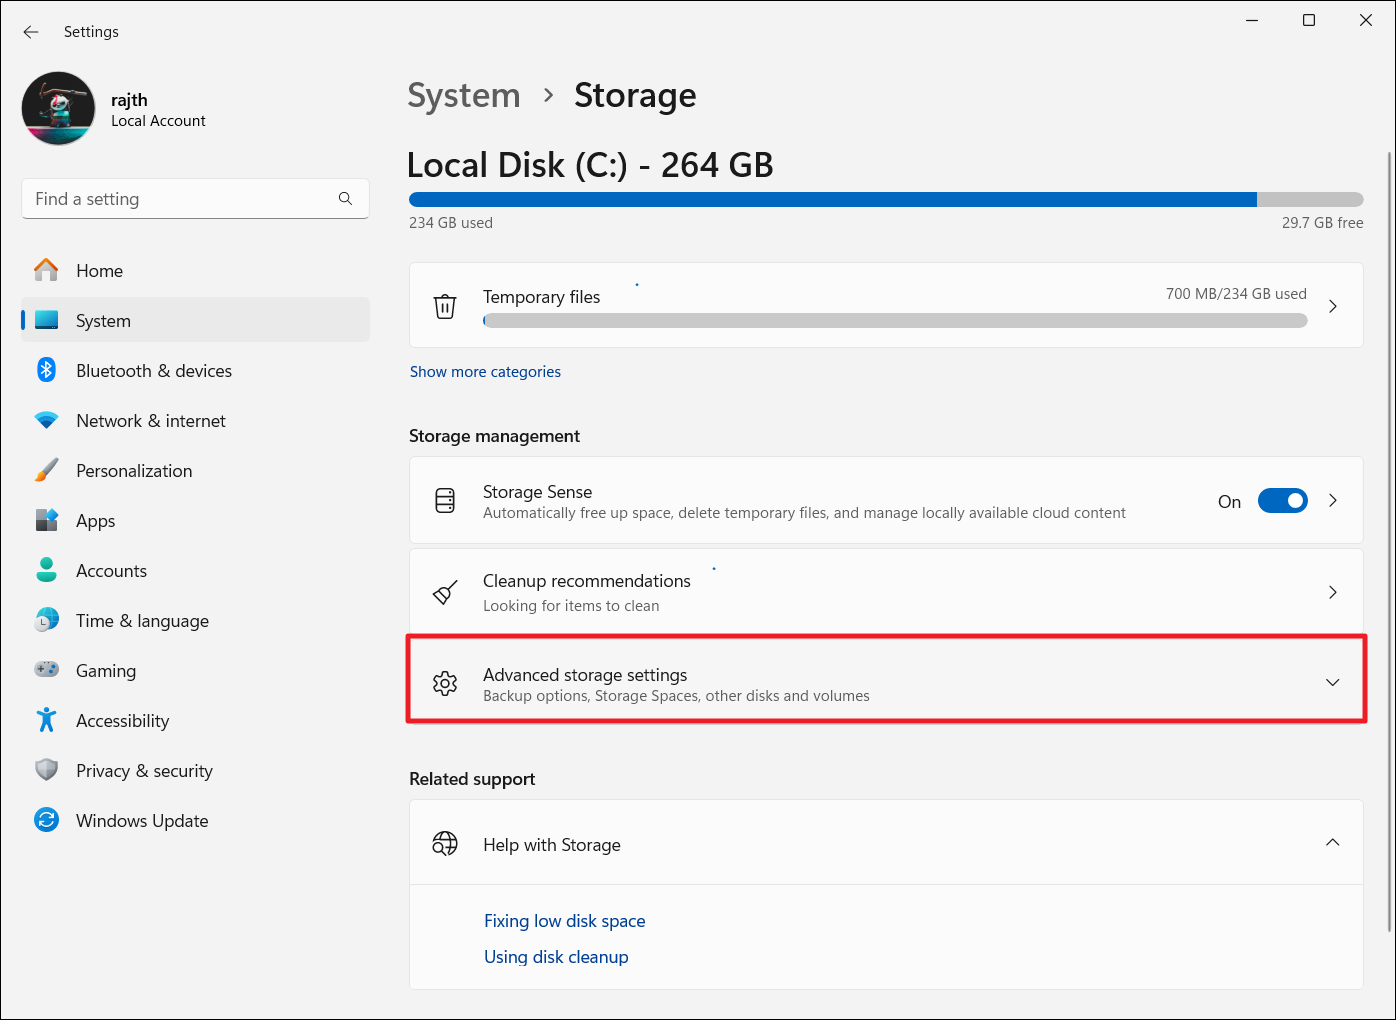
1. Open Windows Settings and navigate to “System” > “Storage”.
2. Scroll down to the Storage management section and click on “Advanced storage settings”.
3. Then, click on the “Disk & volumes” option.

4. Under Disks & Volumes, click the “Create Dev Drive” button.

5. In the pop-up window, select “Create new VHD“, then click “Next“.

6. Give your virtual hard drive a name (e.g. DevDrive1) and use the “Browse” button to choose the location for the drive. By default, it will be created on the C: drive.

7. Specify the disk size (the minimum is 50GB) and ensure the unit is set to “GB” in the drop-down.
8. Choose the virtual hard drive format as “VHDX – Supports a maximum of 64TB and is resilient to power failures events” and set the type to “Dynamically expanding (recommended)“, which allows the drive to grow as more data is added. Once you’ve made these selections, click “Create”. If the button is disabled, try switching to a different drive as a location.

9. Next, choose the partition style and click “Initialize“. The recommended partition style is GPT (GUID Partition Table).

10. Finally, type a label, change the drive letter if required, and confirm the partition size. Click “Format” to complete the process. You can also expand the Advanced options to set the mount folder path, allocation unit size, or enable file/folder compression if needed.

11. Once it is done, you can access the Dev Drive from the File Explorer.
Resizing the Dev Drive on Windows 11
You can resize a Dev Drive volume if there’s at least 50GB of space on the virtual drive. To increase its size beyond that, you’ll need to create a new, larger Dev Drive. If it’s a physical drive, you can resize it to any size within the available space on that drive.
1. Open Settings and go to “System” > “Storage” > “Advanced storage settings“.
2. Select the “Disk & volumes” settings.
3. In the Disks & volumes section, click “Create Dev Drive“.
4. Then, select “Resize an existing volume” and click “Next“.

5. Choose the Dev Drive you want to resize and click “Next“. If you’re resizing a physical drive, you can use any available space. For virtual drives, make sure there’s at least 50 GB of free space.

6. Specify the new size in megabytes and click “Next“.

7. Assign a label and click “Format“. The Dev Drive will be resized to the new volume.

Create Dev Drive on Windows 11 (physical)
Windows 11 also allows you to create a physical volume (instead of a virtual one) on the hard drive with all the benefits of the dev drive. However, you’ll need unallocated space on your hard drive to create a dev drive on the physical hard. If you don’t have an unallocated space, you can use the above method to resize the existing volume to free up some space.
1. Open Settings.
2. Navigate to “System” and click the “Storage” tab.
3. Under Storage management, choose “Advanced storage settings” and click on “Disks & volumes”.
4. Click the “Create Dev Drive” button.
5. Select the option for “Unallocated space on disk” and click “Next”.

6. Enter a name for the drive in the Label field, choose a drive letter, and set the drive size (minimum of 50GB) in the Size (MB) field.

7. Finally, click the “Format” button to create the Dev Drive on the physical drive.
Delete a Dev Drive on Windows 11
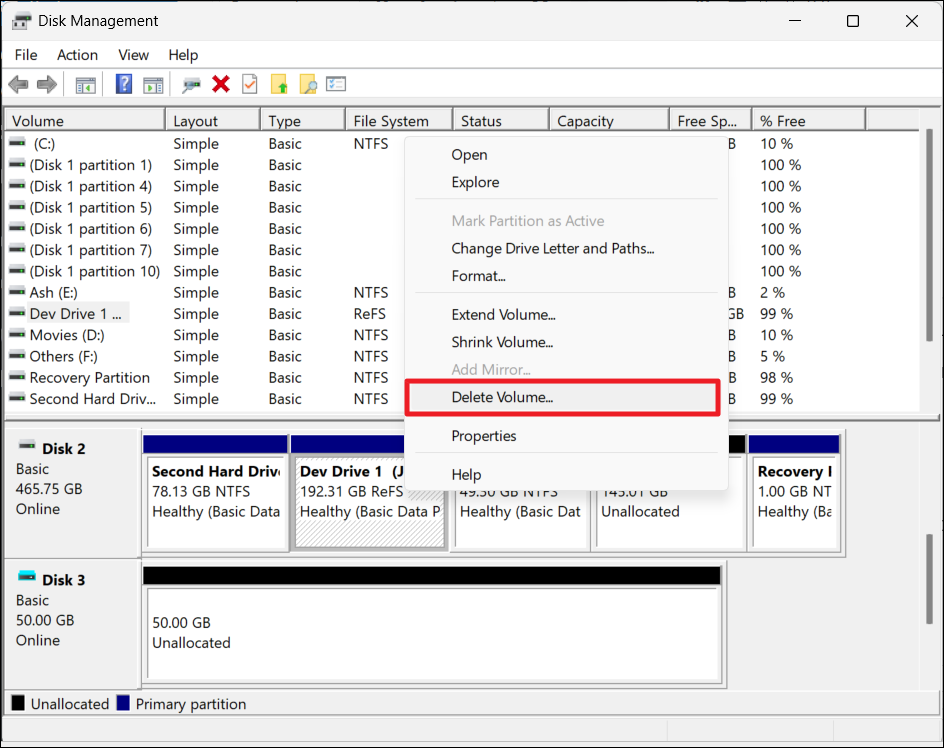
1. Right-click the Start menu and select “Disk Management“.
2. In the Disk Management tool, find and right-click the dev drive. Then, select “Delete volume” or “Detach VHD“.
3. Click “Yes” in the confirmation box.

4. If you were using a Dev Drive on a virtual drive, open the location where you used to save the virtual drive and delete the Dev Drive.

That’s it.


Leave a Reply