Generally, locale refers to language and region along with any special variant preference that a user suppose to see in the user interface. In Windows, system locale is there, which specifies the default language that will be used in non-unicode programs. Non-unicode programs uses American National Standards Institute (ANSI) Application Program Interface (API). This implies that any string Windows passes to such programs is a sequence of bytes and not of the unicode characters.
System locale defines which code pages and system fonts are to be used by default. Note the system locale is different than user locale. User locale setting is referred to time/date format, number currency and calendar settings. Hence, not be confused between these two locale terms.
Okay, so when you need to change system locale settings in Windows? Well under following situation, an user will need to change system locale setting:
- If the non-unicode program/application not working correctly in current system locale setting
- When you’ve to use different code pages other than default ones
Now let’s see how to actually change system locale settings in Windows 10.
How To Change System Locale In Windows 10
1. Right click Start Button or press  + X keys and select Settings.
2. In the Settings app, navigate to Time & Language > Date & time.
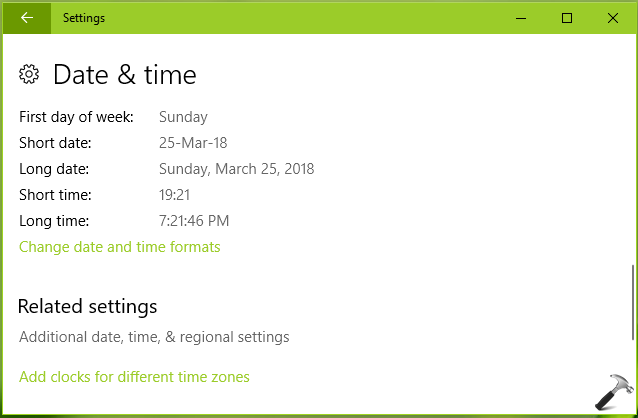
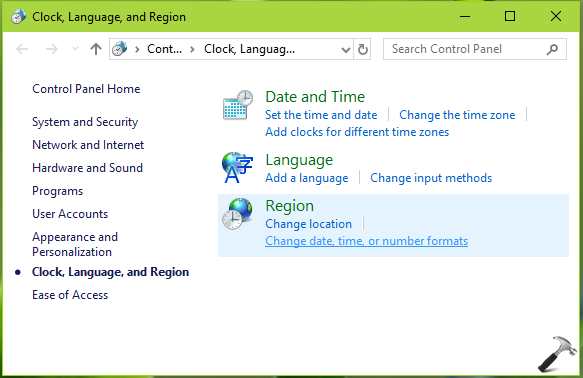
3. Next, click on Additional date, time & regional settings link. Then in Control Panel window so open, click Change date, time, or number formats link under Region.
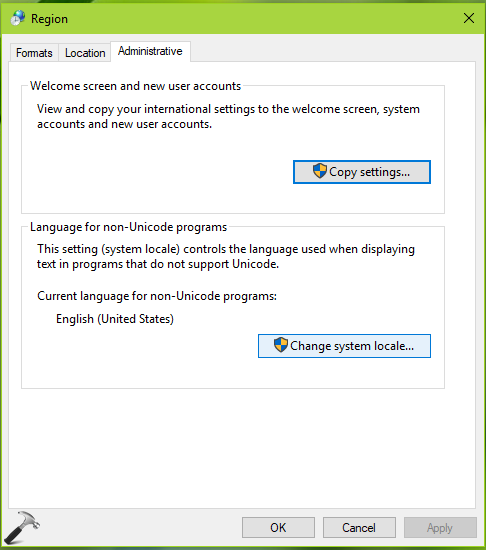
4. Moving on, in the Region window, switch to Administrative tab. Click Change system locale button. If you’re prompted for credentials, provide them.
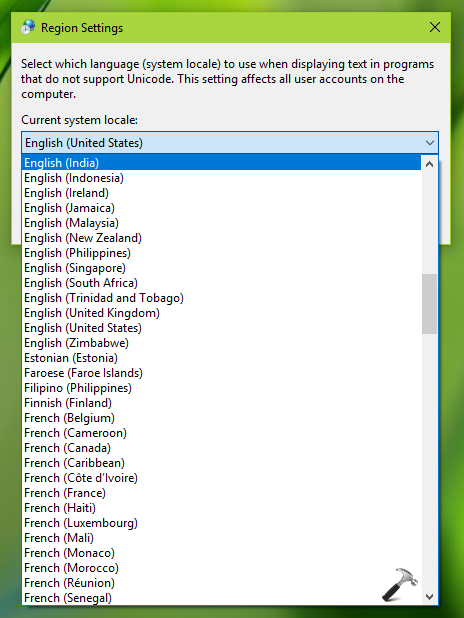
5. Finally, in the Region Settings window, change the locale to that one, which you want to use. Click OK and then click Apply followed by OK in above shown window.
Though you may not be prompted to reboot, but still you must reboot at your end. After restarting the machine, new system locale settings should be in effect.
That’s it!
![KapilArya.com is a Windows troubleshooting & how to tutorials blog from Kapil Arya [Microsoft MVP (Windows IT Pro)]. KapilArya.com](https://images.kapilarya.com/Logo1.svg)



![[Latest Windows 10 Update] What’s new in KB5055612? [Latest Windows 10 Update] What’s new in KB5055612?](https://www.kapilarya.com/assets/Windows10-Update.png)


Leave a Reply