It is usually good to have backup of our important documents in cloud. This is the reason why OneDrive is present on your Windows 10. It will help you to sync your files online, so that they can be accessed from anywhere using appropriate credentials and permissions, in case of physical system failures.
In Windows 10, while you set up OneDrive for the very first time, it will usually create OneDrive folder location at C:\Users\<USERNAME> folder, assuming Windows installed on C: drive. So if later, you’re low on hard drive space or you want to change OneDrive folder location for any other reason, this guide is for you.
You ca follow below mentioned steps to change location of your OneDrive folder.
How To Change OneDrive Folder Location In Windows 10
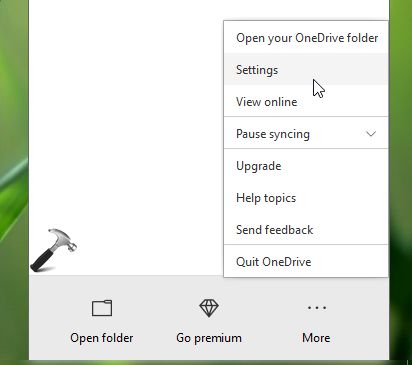
1. Right click on OneDrive icon on taskbar and click Settings.
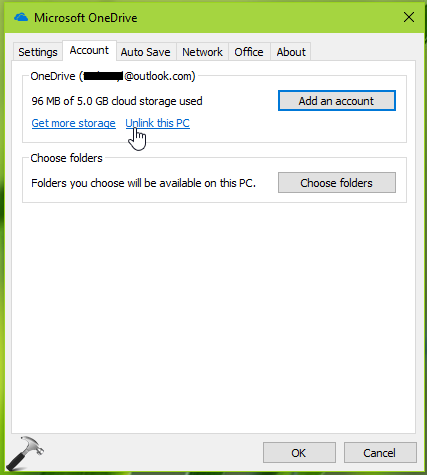
2. Next, in the Microsoft OneDrive settings window, switch to Account tab and click Unlink this PC. In the confirmation prompting appearing next after this, provide your permission to unlink OneDrive.
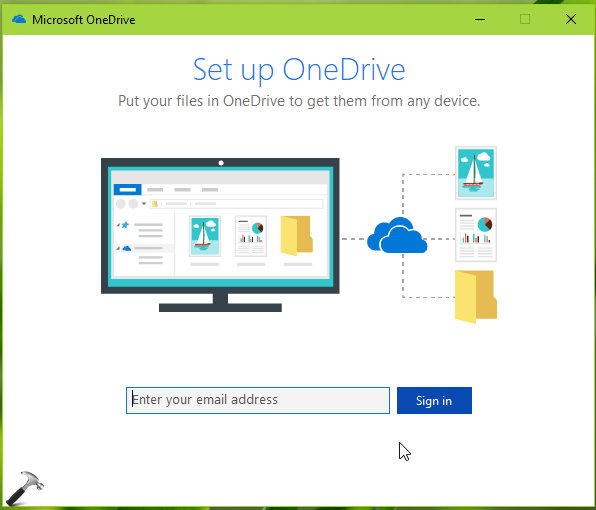
3. Once the account is unlinked, OneDrive setup will appear. Minimize this screen as of now.
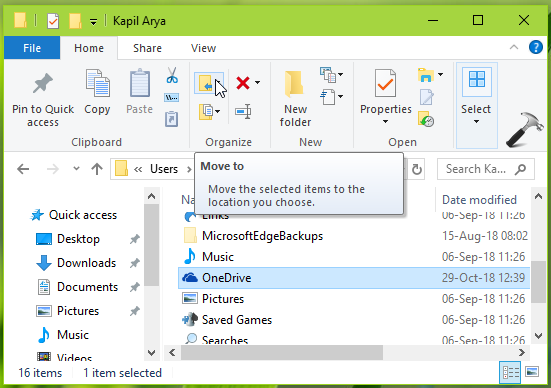
4. Press  + E and navigate to your existing OneDrive folder at C:\Users\<USERNAME> folder, assuming Windows installed on C: drive. Highlight the OneDrive folder and under File Explorer ribbon, click Move to > Choose location.
5. Now select a location in the browsing window and finally click Move. So you’ve move existing OneDrive folder and its content to this new location.
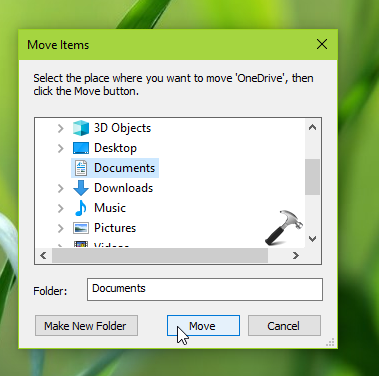
6. Next, come back to OneDrive setup screen and sign in using your OneDrive credentials. On the next screen which mentions location of your OneDrive folder, click Change location.

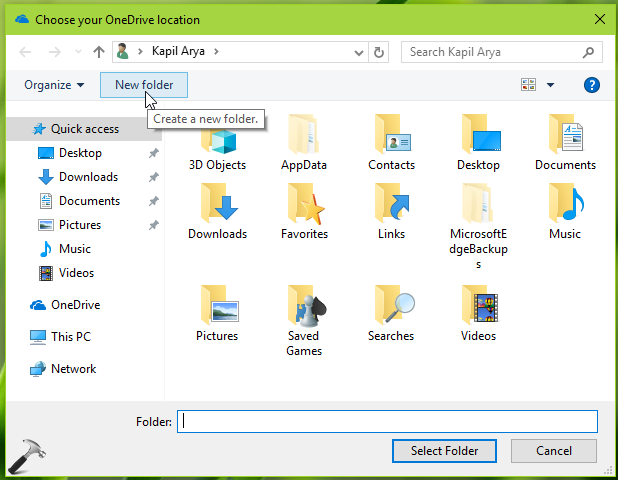
7. Moving on, under Choose your OneDrive location window, click New folder. In this way, create a new folder and name it.
8. Finally, select you newly created folder as your OneDrive folder, click Select folder.
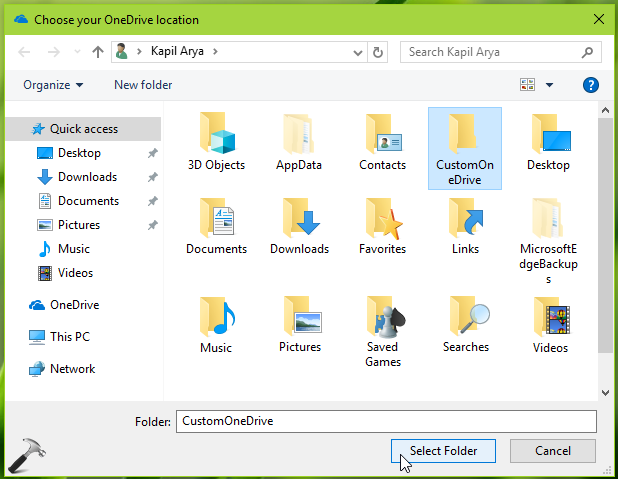
Complete the OneDrive setup wizard and thus in this way, you’ve successfully changed your OneDrive folder location.
That’s it!
![KapilArya.com is a Windows troubleshooting & how to tutorials blog from Kapil Arya [Microsoft MVP (Windows IT Pro)]. KapilArya.com](https://images.kapilarya.com/Logo1.svg)


![[Latest Windows 10 Update] What’s new in KB5055612? [Latest Windows 10 Update] What’s new in KB5055612?](https://www.kapilarya.com/assets/Windows10-Update.png)


Leave a Reply