Locking the system assists in protecting it from unauthorized use. Also, it usually helps when you do not like to shut down or sign out if you are stepping away for a moment. Windows 11 can employ paired Bluetooth devices to your system for detecting when you step away. So, when that device goes out of range, Windows locks down your system shortly after that. So, do you know how to activate Dynamic Lock in Windows 11?
Dynamic Lock needs using Bluetooth for pairing your smartphone with your Windows PC. Once this lock is activated, it becomes difficult for others to access your PC even if you forget to lock the system. Now, let’s have a look at different ways to activate this lock on your Windows 11 PC.
Page Contents
How to activate Dynamic Lock in Windows 11
Method 1: Enable Dynamic Lock in Windows 11 Using Settings
1. In the first place, visit Settings on your PC.
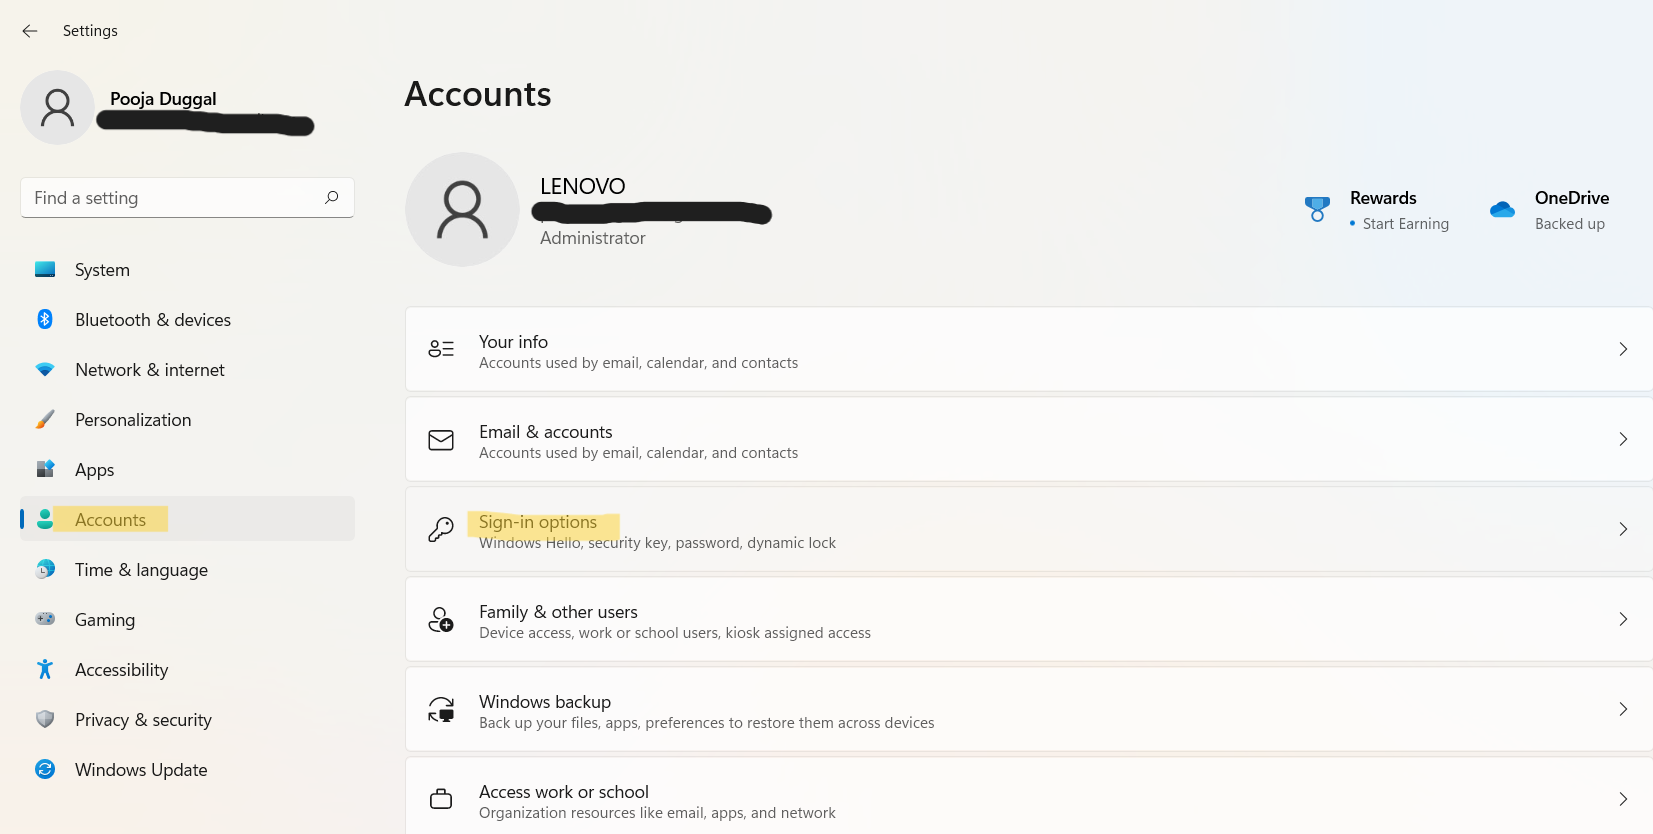
2. From there, click on the Accounts tab and then, go to Sign-in options.

3. Now, click on the Dynamic lock option present on the right. Once expanded, you need to tick the box present next to Allow Windows to automatically lock your device when you’re away. This will enable Dynamic lock on your Window PC.

4. Once done, exit Settings.
Method 2: Activate Dynamic Lock in Windows 11 Using Registry Editor
Windows users can also enable Dynamic lock through Windows Registry. To enable this feature on your PC, follow the steps given below:
1. Initially, open Run by pressing the Windows + R hotkey. Once opened, type regedit in the Run dialog box and hit Enter. If a pop-up shows up on the screen, click on Yes to proceed.

2. Once done, go to the location:
HKEY_CURRENT_USER\Software\Microsoft\Windows NT\CurrentVersion\Winlogon
3. Now, double-click on EnableGoodbye registry DWORD. Then, enter the value 1 to the Value data to activate Dynamic Lock.

4. Lastly, press OK and restart your PC for applying the changes.
So, this is how to activate Dynamic lock in Windows 11 using two different methods.
![KapilArya.com is a Windows troubleshooting & how to tutorials blog from Kapil Arya [Microsoft MVP (Windows IT Pro)]. KapilArya.com](https://images.kapilarya.com/Logo1.svg)


Leave a Reply