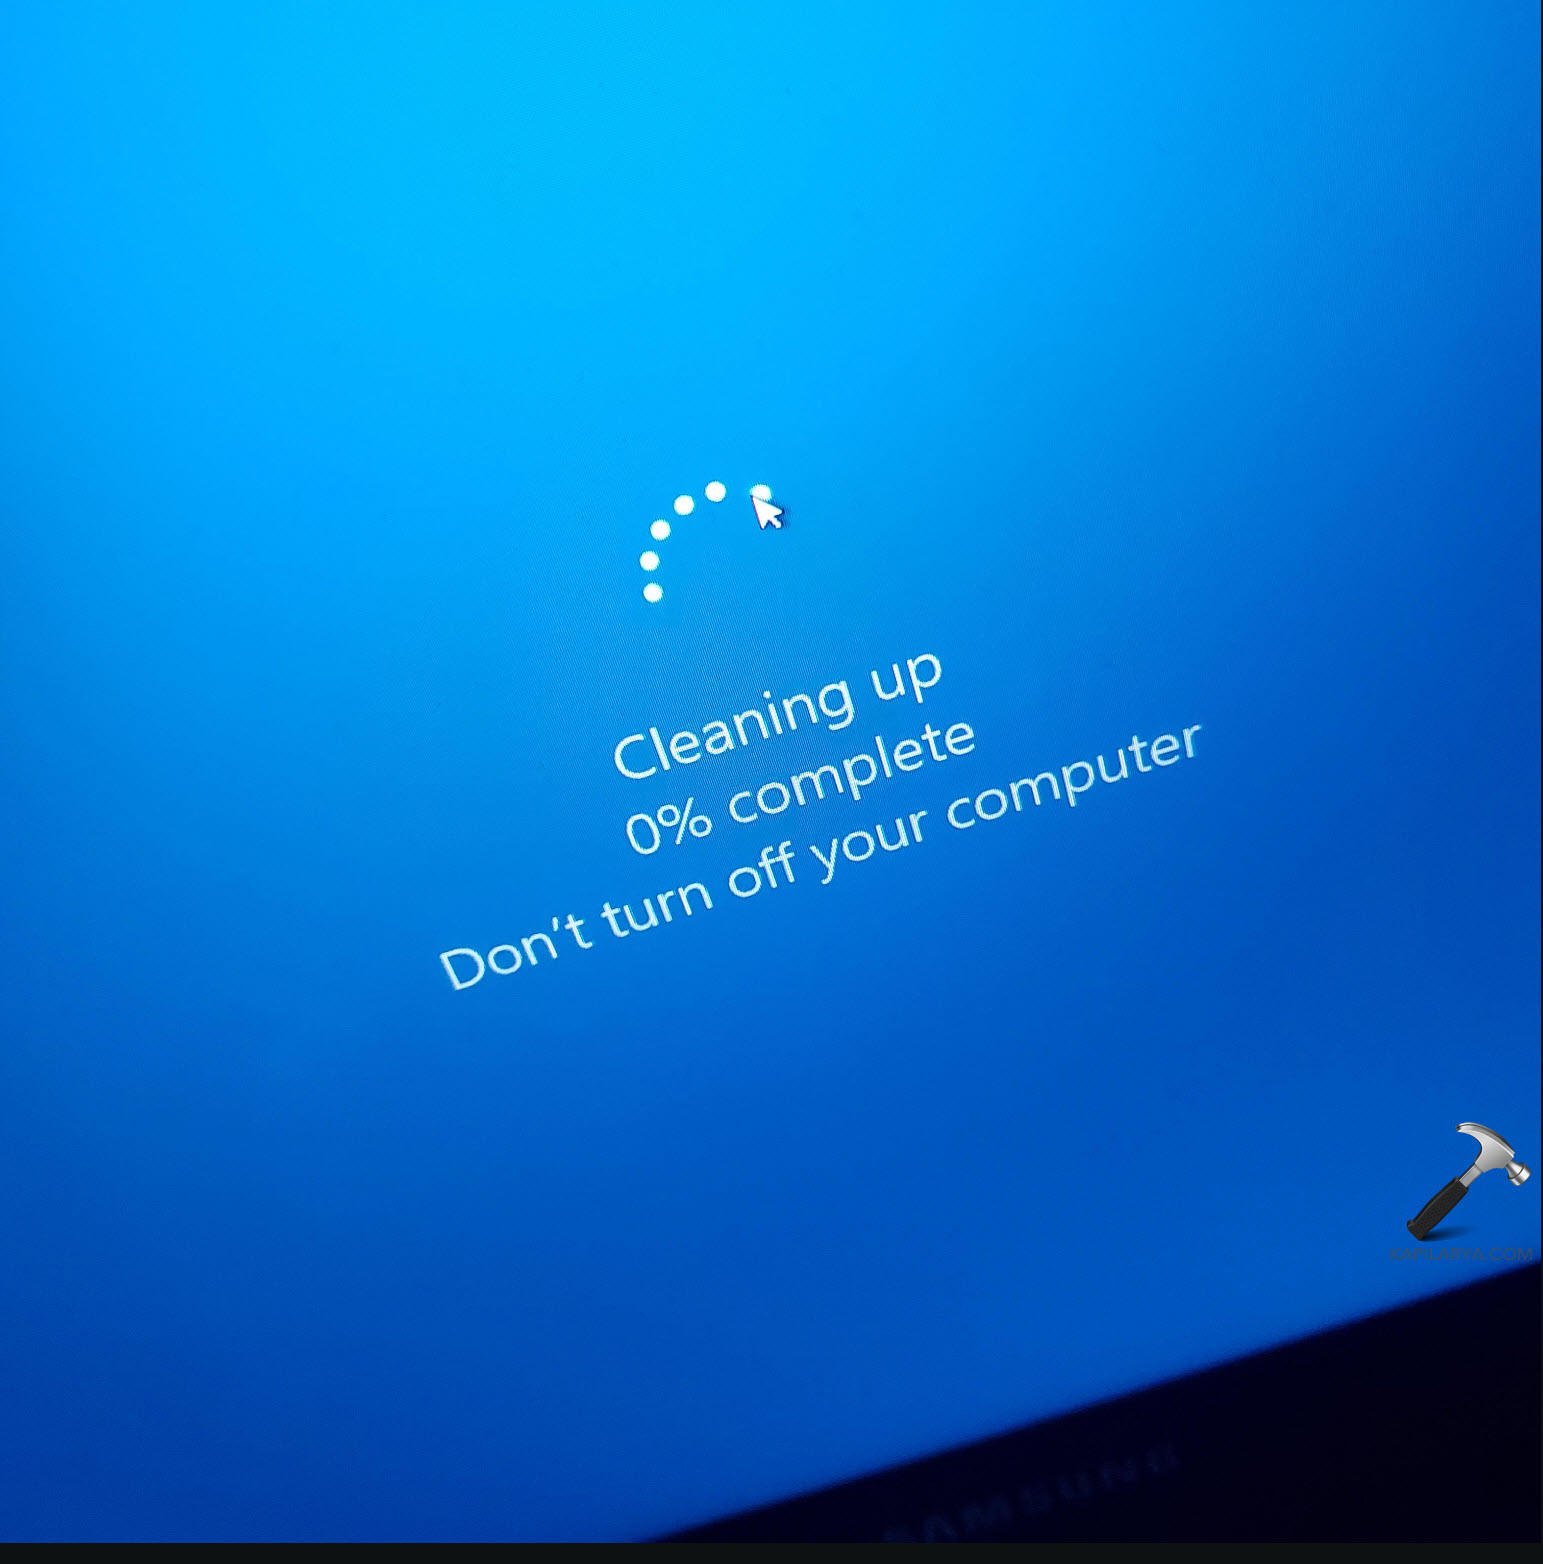
Your Windows PC isn’t the only one that got stuck in the ‘Cleaning up 0% or 100%’ phase during or after Windows Update installation. Several users are facing the same issue. It can be caused by a number of issues, including a corrupted update cache, missing system files, low disk space, etc.

If your Windows 11 or 10 update is stuck at Cleaning up, follow these 4 methods to fix the issue.
Page Contents
Fix Windows Update stuck at ‘Cleaning up’
Method 1: Clear the SoftwareDistribution Folder
Sometimes, the Windows Update files in the Software distribution folder can get corrupted, causing the update to be stuck at 100%. So, clearing the Software Distribution folder may resolve the problem.
1. Open the Start menu, type “Command Prompt” and select the “Run as administrator” option from the right pane.

2. In the Command Prompt window, type these commands one after the other and press Enter after each:
net stop wuauserv
net stop bits
sc query wuauserv
sc query bits

3. Once you see the Services State as STOPPED, minimize the CMD.
4. Open the Run Command box with Windows + R.
5. Type C:\Windows\SoftwareDistribution and press Enter.

6. Delete all the contents inside the Software Distribution folder.

7. Then, reopen the CMD, and run these commands one by one:
net start wuauserv
net start bits
sc query wuauserv
sc query bits

8. Once the Services status is RUNNING, restart your PC.
Method 2: Delete the Windows.old Folder
If clearing the software distribution directory didn’t do the trick, try deleting the Windows.old folder if you have it. The Windows.old folder is a backup directory created when you upgrade your Windows version/build.
1. First, open Command Prompt as administrator.
2. Once the Command Prompt opens, run the following commands one after the other:
takeown /F C:\Windows.old* /R /A
cacls C:\Windows.old*.* /T /grant administrators:F
rmdir /S /Q C:\Windows.old
If you’re prompted for any confirmation, type Y and press Enter.

3. After deleting the folder, reboot your computer.
Method 3: Perform Disk Clean
1. Open Command Prompt as administrator.
2. In the Command Prompt window, run the following command to perform disk cleanup:
chkdsk /f /r C:
If you’re asked to schedule the checkup at the next restart, type Y and press Enter.

3. Then, reboot your computer to run the disk check.
Method 4: Run Windows Update from Safe Mode
1. Turn off your PC completely.
2. Then, turn on your computer.
3. As soon as you see the manufacturer’s logo, press and hold the Power button to turn off your PC. Repeat this process 2-3 times until you see the Automatic Repair screen.
4. Click the “Advanced options” button in the Automatic Repair screen.
5. Under Advanced Options, select “Startup Settings“.

6. Now, press 4 or F4 to enable the Safe Mode.

7. Then, click “Restart“.

8. Once your computer booted into Safe mode, try to download and install updates again and see if it works.
That’s it.
![KapilArya.com is a Windows troubleshooting & how to tutorials blog from Kapil Arya [Microsoft MVP (Windows IT Pro)]. KapilArya.com](https://images.kapilarya.com/Logo1.svg)


Leave a Reply