

Windows Update error 0xc1900107 in Windows 11/10 occurs whenever an update is pending or ended with installation. The error can prevent the PC from getting further security patches and may not work properly. This article covers the seven best and most effective solutions to fix Windows Update error 0xc1900107 in Windows 11/10.
Page Contents
Fix Windows Update Error 0xc1900107 in Windows 11/10
Fix 1: Complete the Pending Update (if any)
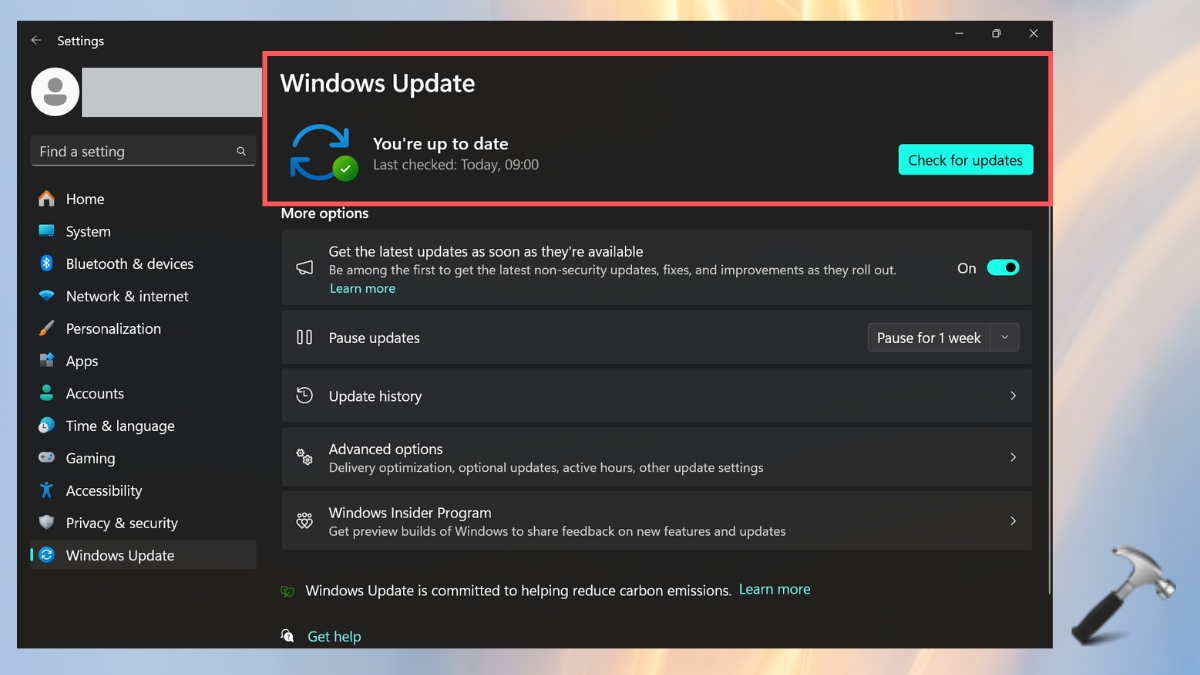
If there is any pending update left, there will be an option to “Update and Shutdown” or “Update and Restart” the PC. If not, navigate to the below path and check for updates: Settings > Windows Update > Check for Updates.
The pending updates will appear here.
Fix 2: Manually Download the Update from the Microsoft Update Catalog
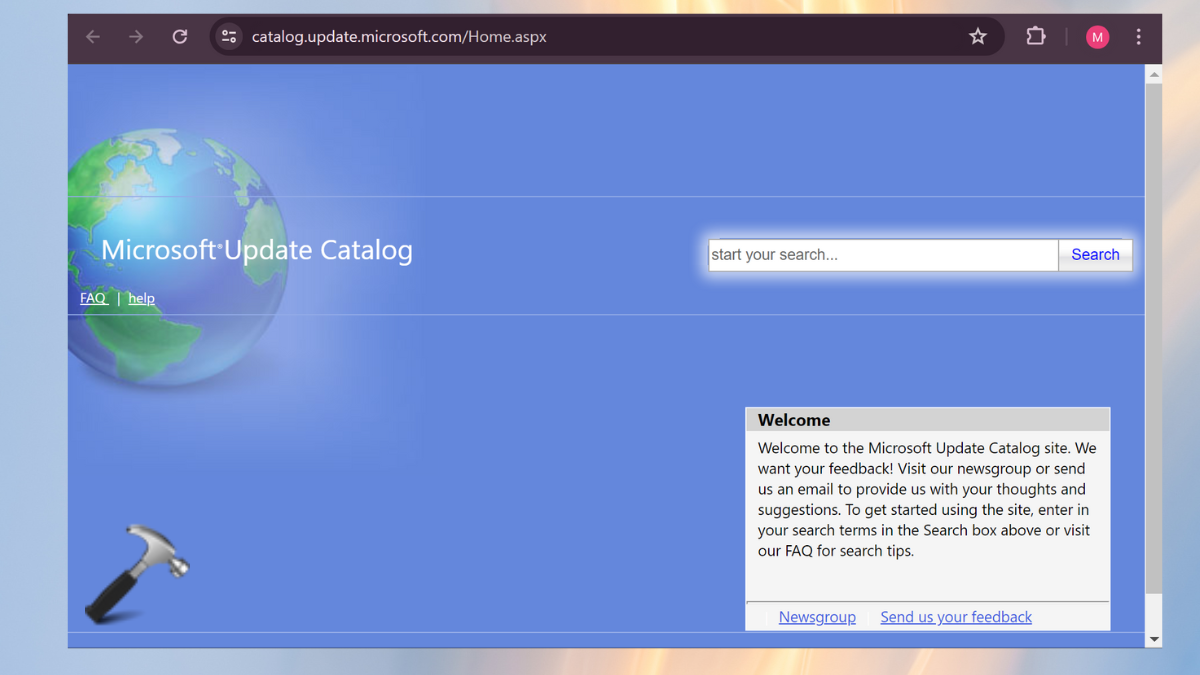
Microsoft Update Catalog helps to download and save the Windows 11/10 updates manually. For this, follow the below steps:
1. Go to the Microsoft Update Catalog (https://catalog.update.microsoft.com/Home.aspx).
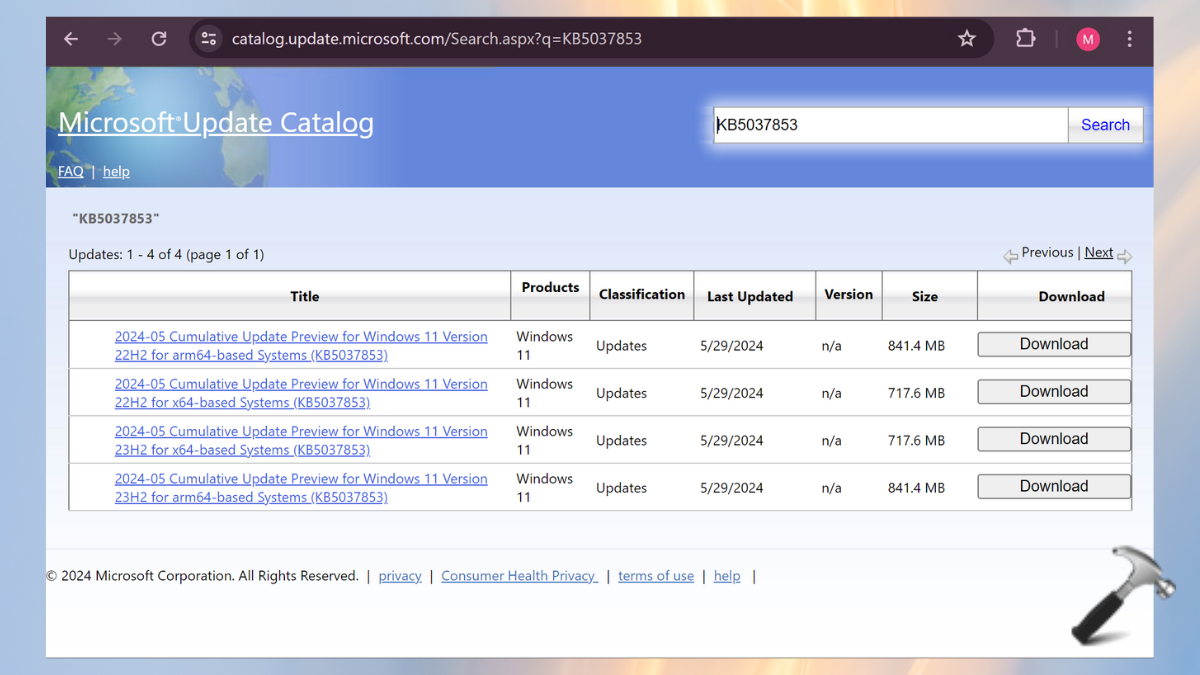
2. In the search bar, type the KB number, MSRC bulletin, driver model, driver manufacturer, driver version, product, or classification of the update.
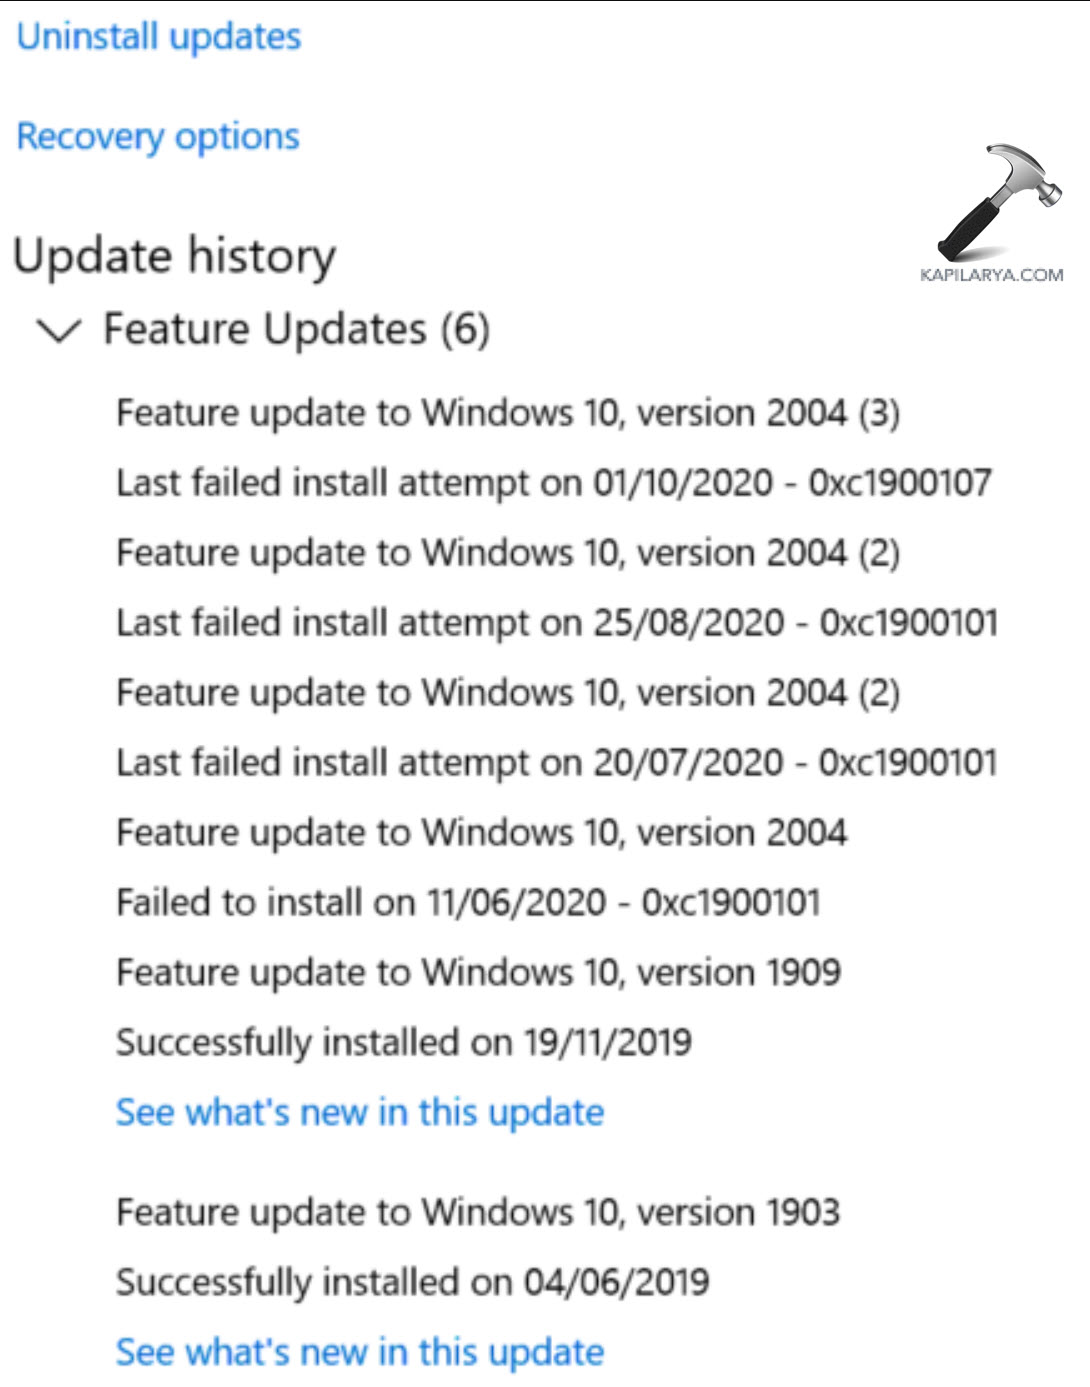
Note: The KB Number of a failed Windows update can be checked from the Windows Update page in Windows Settings.
3. Click on “Download” when you find the failed Windows update listed.
4. After the update finishes installation, restart the system.
Fix 3: Free up space on your hard drive
Always keep some free space to let the updates install successfully. If the system’s hard disk does not have enough space, clear some now and then install the update again. You can use one of the below methods to do so:
Method 1: Using Disk Cleanup Tool
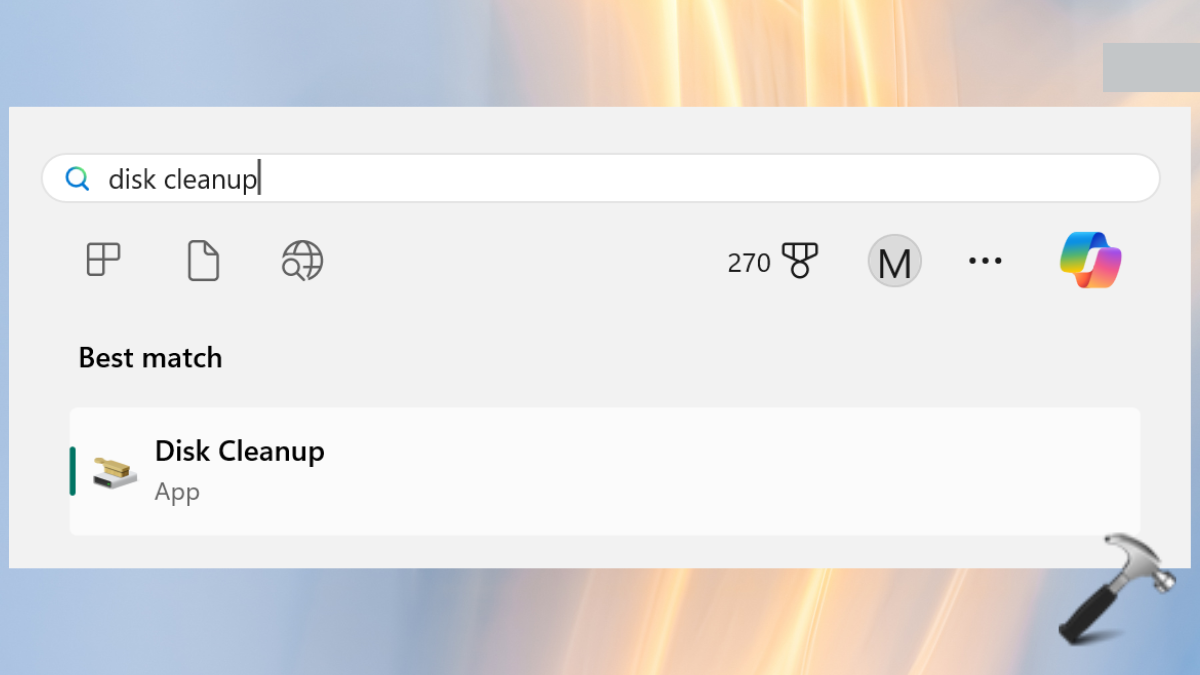
1. Open the Disk Cleanup Tool by searching it on the Windows search bar.
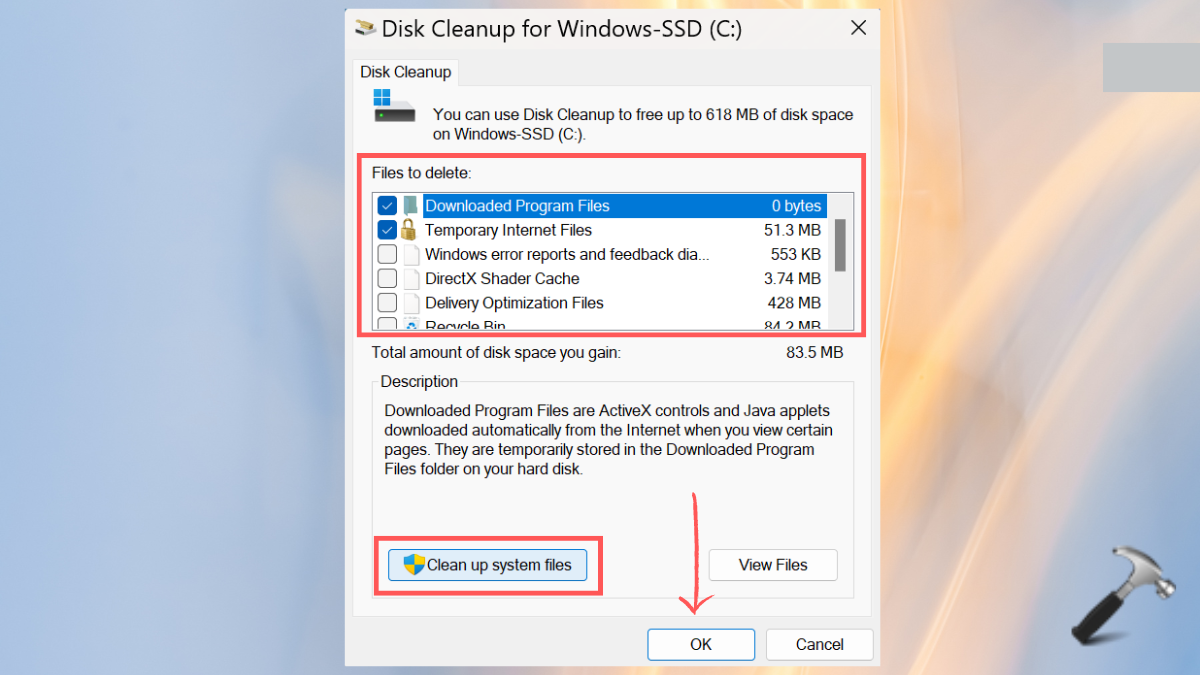
2. Select all the unnecessary files and tap “Clean up system files”.
3. Tap “OK” and restart the PC.
Method 2: Using Windows Storage
1. Go to the System > Storage section in the Windows Settings.
2. Toggle on the Storage Sense option.

This will carefully and automatically remove the unnecessary files.
3. Now, try to download and install the failed update again.
Fix 4: Run Windows Update Troubleshooter
Windows 11
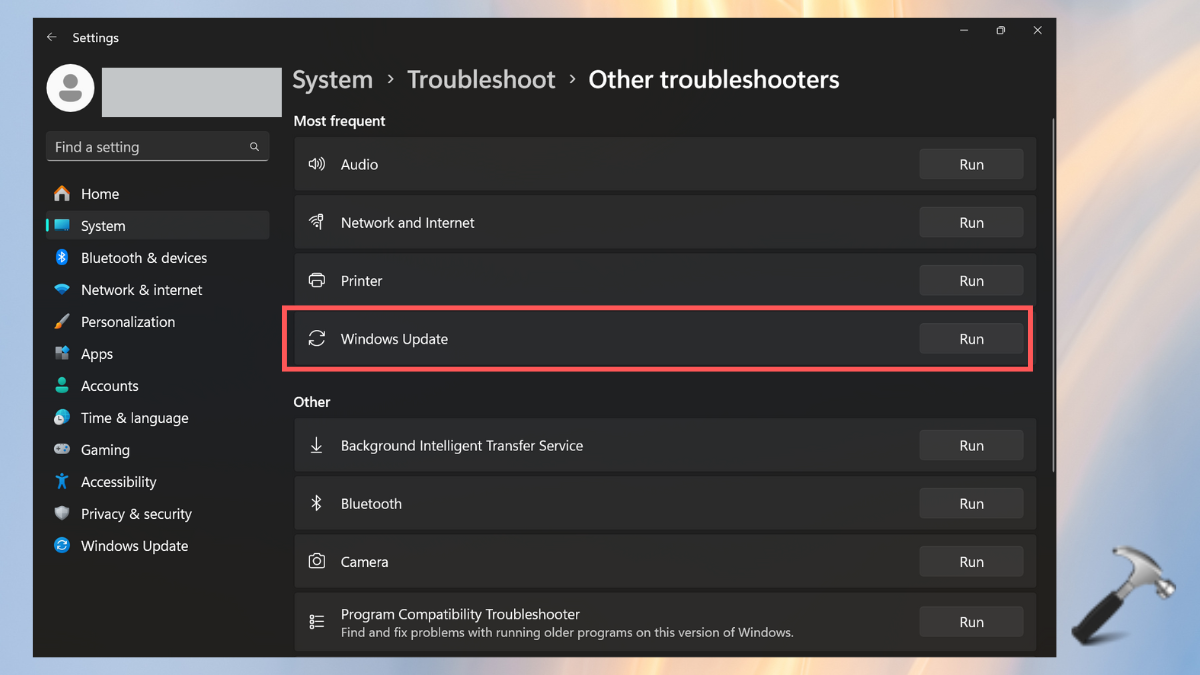
1. Go to “Windows Settings” > “System” > “Troubleshoot” > “Other Troubleshooters”.
2. Tap on “Run” for Windows Update.
Windows 10
1. Go to “Settings” > “Update and Security” > “Troubleshoot”.
2. Select Windows Update and ‘“Run the troubleshooter”.
Fix 5: Disable your antivirus
Many a times, antivirus can interrupt Windows updates and security patches installation. This leads to Windows Update errors. To avoid this, uninstall or turn off the antivirus installed in the PC.
Fix 6: Rename the $WINDOWS.~BT folder
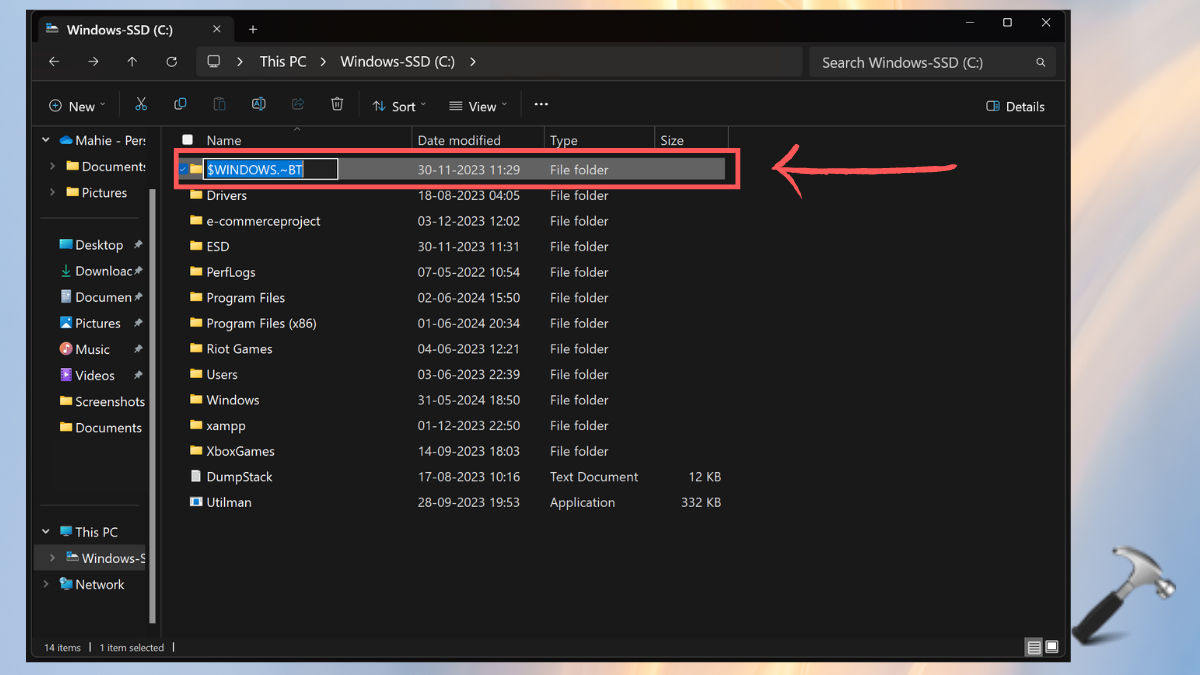
1. Navigate to the File Explorer. Open the C drive folder.
2. Rename the “$WINDOWS.~BT” folder listed there.
Run the Windows update again to check if it is installed successfully or not.
Fix 7: Reset Windows Update Components
If none of the above steps works for you, carefully follow this method.
1. Open the Command Prompt and type the below commands in every step.

Make sure to press the Enter key after copy-pasting each command.
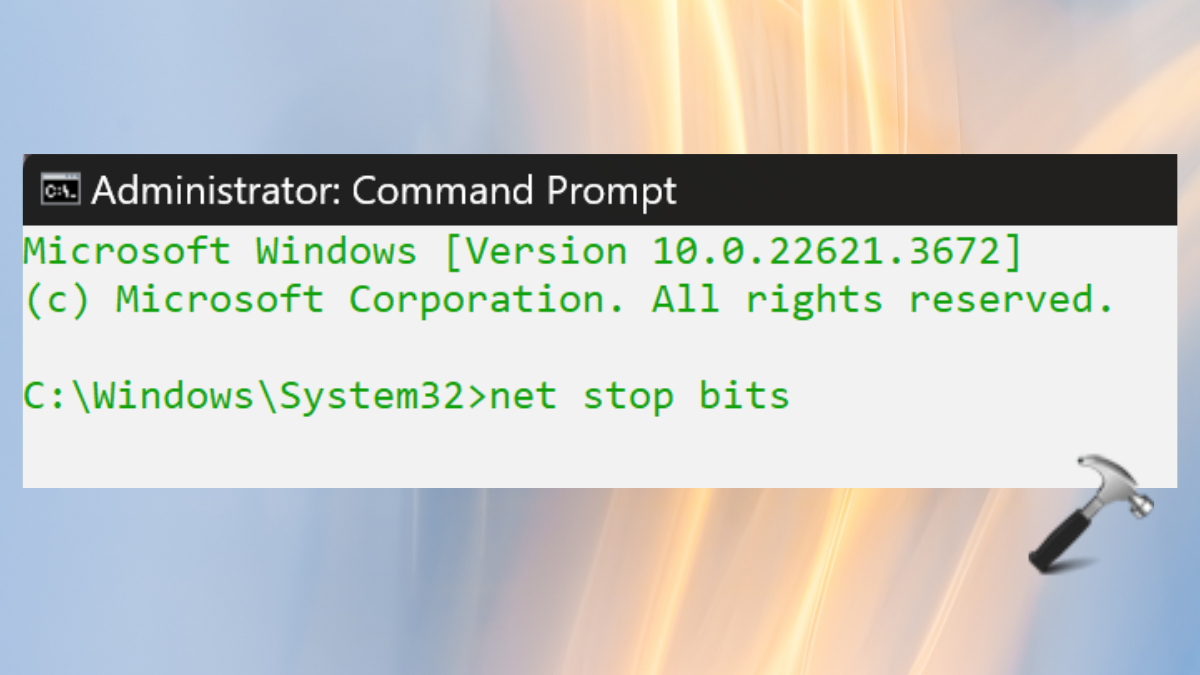
2. Stop Windows Update Services
net stop bits
net stop wuauserv
net stop appidsvc
net stop cryptsvc
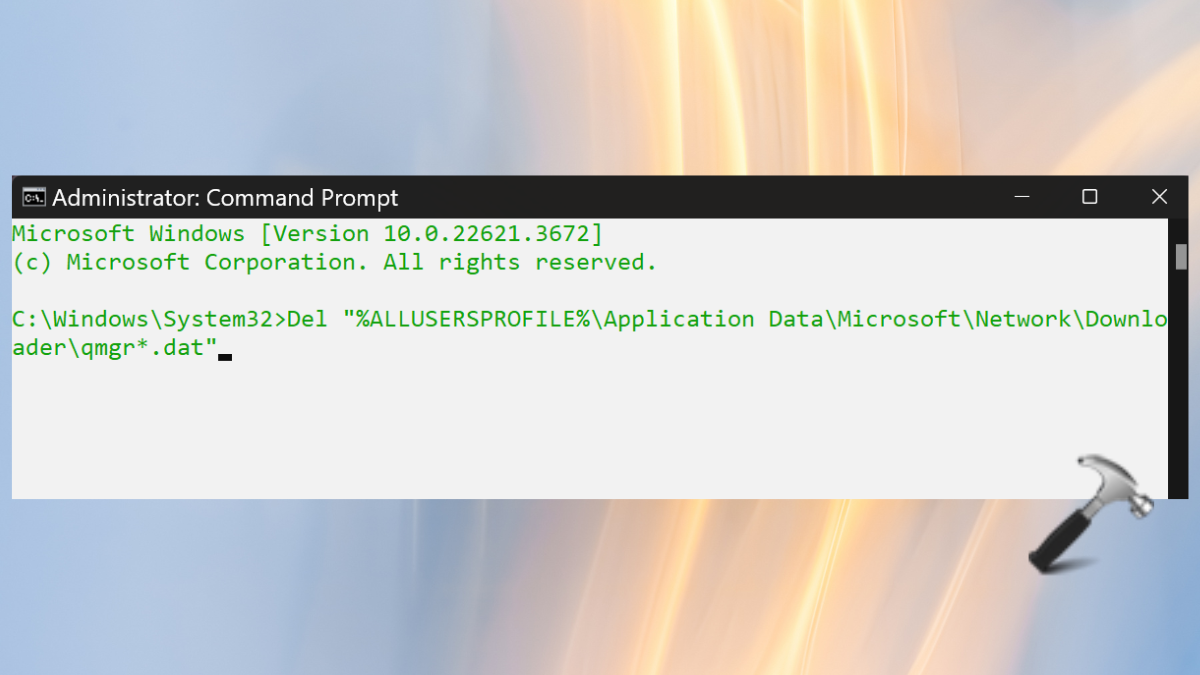
3. Delete the qmgr*.dat files.
Del "%ALLUSERSPROFILE%\Application Data\Microsoft\Network\Downloader\qmgr*.dat"
4. Flush the SoftwareDistribution and catroot2 folders
Ren %systemroot%\SoftwareDistribution SoftwareDistribution.bak
Ren %systemroot%\system32\catroot2 catroot2.bak
5. Reset the BITS service and the Windows Update service to the default security descriptor
sc.exe sdset bits D:(A;;CCLCSWRPWPDTLOCRRC;;;SY)(A;;CCDCLCSWRPWPDTLOCRSDRCWDWO;;;BA)(A;;CCLCSWLOCRRC;;;AU)(A;;CCLCSWRPWPDTLOCRRC;;;PU)
sc.exe sdset wuauserv D:(A;;CCLCSWRPWPDTLOCRRC;;;SY)(A;;CCDCLCSWRPWPDTLOCRSD
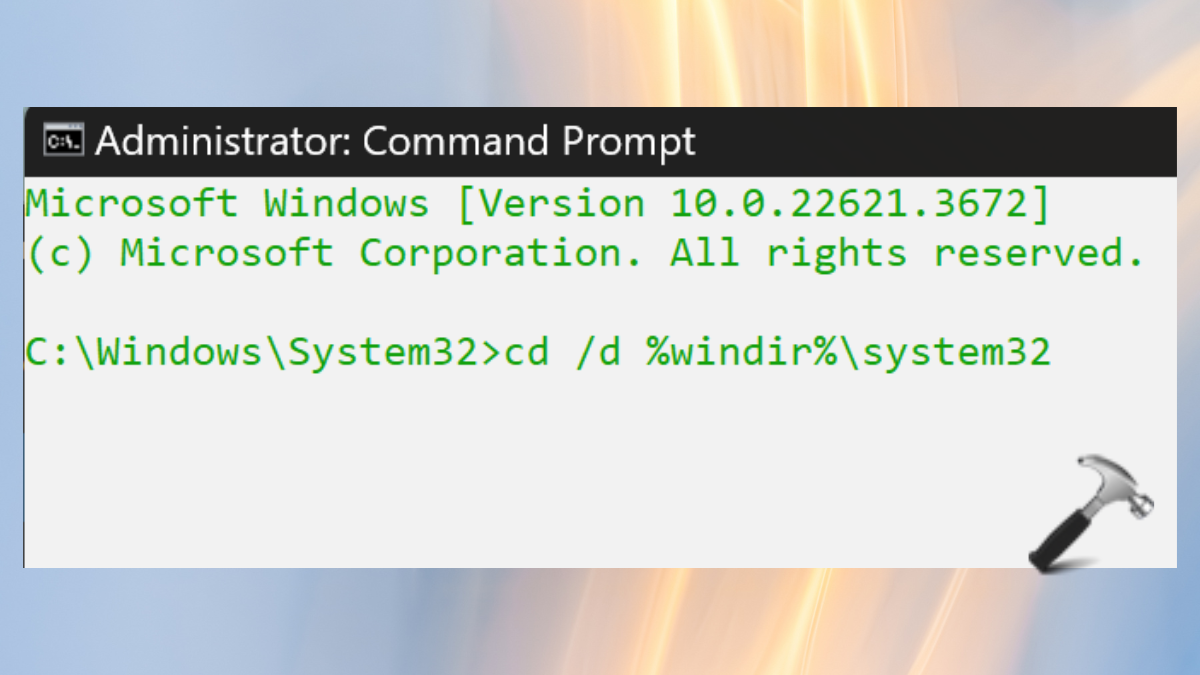
cd /d %windir%\system32
6. Re-register the BITS files and the Windows Update-related DLL files
regsvr32.exe atl.dll
regsvr32.exe urlmon.dll
regsvr32.exe mshtml.dll
regsvr32.exe shdocvw.dll
regsvr32.exe browseui.dll
regsvr32.exe jscript.dll
regsvr32.exe vbscript.dll
regsvr32.exe scrrun.dll
regsvr32.exe msxml.dll
regsvr32.exe msxml3.dll
regsvr32.exe msxml6.dll
regsvr32.exe actxprxy.dl
regsvr32.exe softpub.dll
regsvr32.exe wintrust.dll
regsvr32.exe dssenh.dll
regsvr32.exe rsaenh.dll
regsvr32.exe gpkcsp.dll
regsvr32.exe sccbase.dll
regsvr32.exe slbcsp.dll
regsvr32.exe cryptdlg.dll
regsvr32.exe oleaut32.dll
regsvr32.exe ole32.dll
regsvr32.exe shell32.dll
regsvr32.exe initpki.dll
regsvr32.exe wuapi.dll
regsvr32.exe wuaueng.dll
regsvr32.exe wuaueng1.dll
regsvr32.exe wucltui.dll
regsvr32.exe wups.dll
regsvr32.exe wups2.dll
regsvr32.exe wuweb.dll
regsvr32.exe qmgr.dll
regsvr32.exe qmgrprxy.dll
regsvr32.exe wucltux.dll
regsvr32.exe muweb.dll
regsvr32.exe wuwebv.dll
regsvr32.exe wudriver.dll
7. Delete incorrect Registry values
a. Open the Registry Editor and go to this path:
HKEY_LOCAL_MACHINE\COMPONENTS
b. Right-click on the three components given below one by one and click on “Delete”:
- PendingXmlIdentifier
- NextQueueEntryIndex
- AdvancedInstallersNeedResolving
8. Reset Winsock
netsh winsock reset
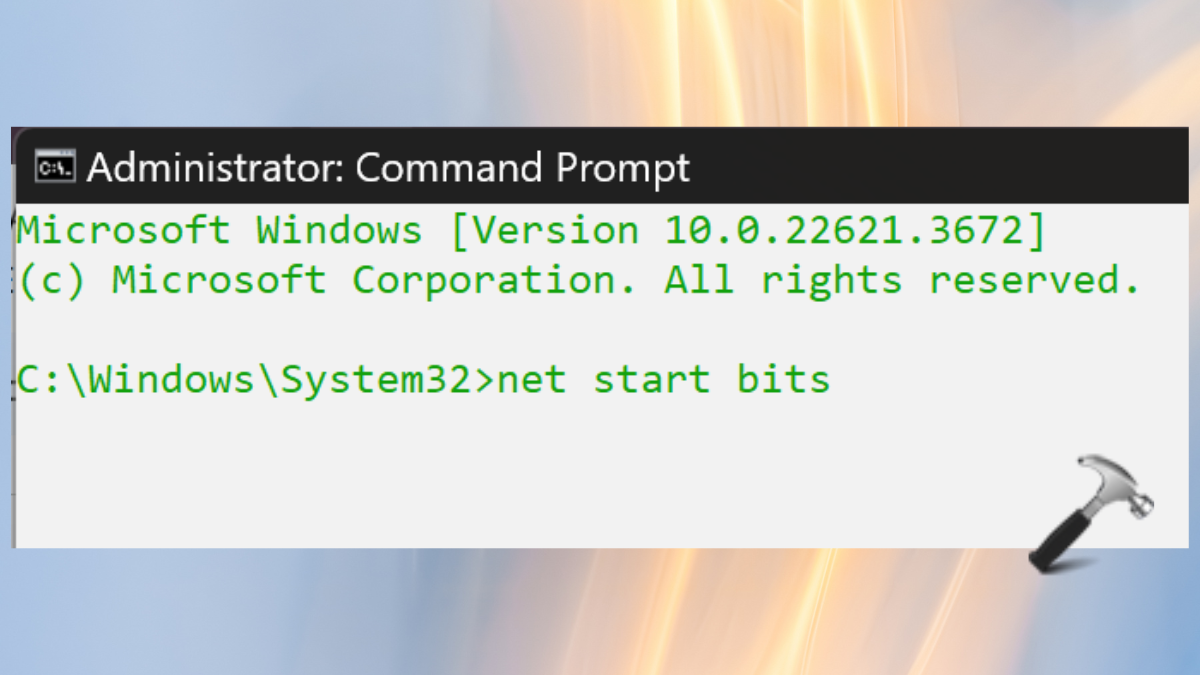
9. Restart Windows Update Services.
net start bits
net start wuauserv
net start appidsvc
net start cryptsvc
That’s it!


Leave a Reply