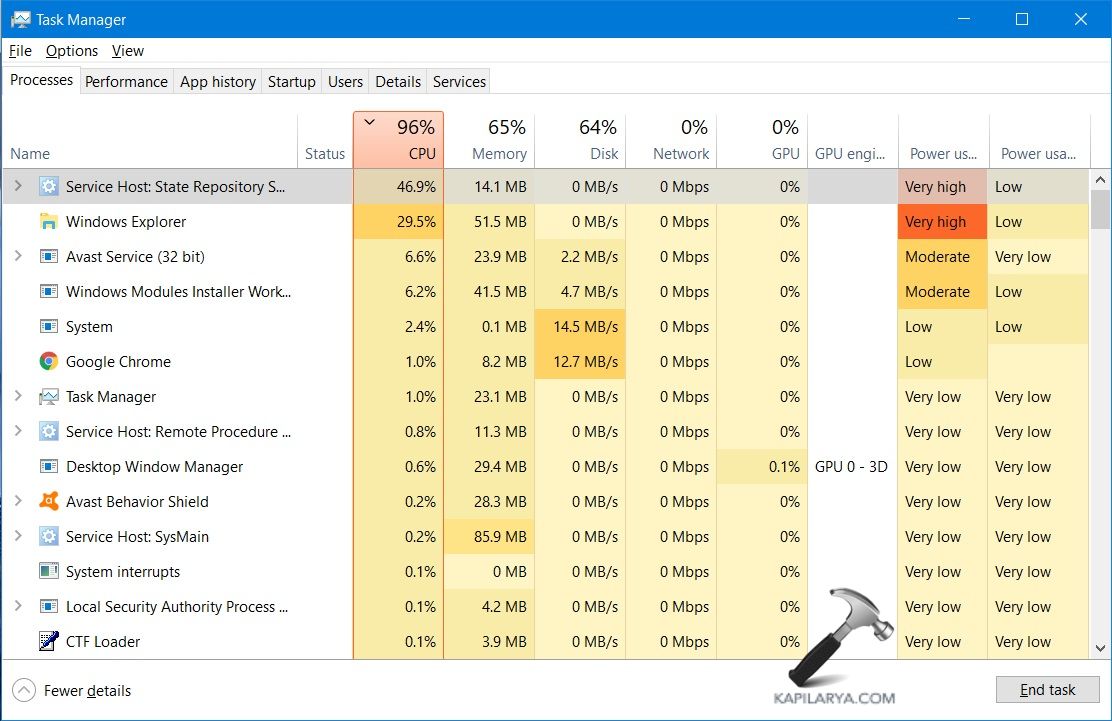
“Windows Explorer power usage very high” notification is one of the more recurrent issues reported by users of Windows 11. This fundamental file management application can be problematic once it begins to utilize a lot of power. It can cause fast battery consumption, an overheating of the system, and general slowness. This not only slows down productiveness but also affects the durability of the item in question. However, it is important to separate the reasons for such high power usage in order to implement proper decisions.
Page Contents
Causes of Windows Explorer power usage very high Error
1. File Indexing: The Windows Explorer’s index is updated in real-time to enhance the searching speed of files. This process can be somewhat vigorous and sometimes uses a lot of power, particularly for volumes of files that need to be indexed.
2. Corrupted System Files: Sometimes, it is the system files which get corrupted or damaged and make Windows Explorer, a heavy power consumer, thanks to the erratic behaviour.
3. Background Processes: There are chances that some background processes and third-party applications affect that use of Windows Explorer and this can lead to high power utilization.
4. Outdated Drivers: Drivers that are of very old or incompatible versions especially those that deal with the graphics card or storage system can lead to the Windows Explorer taking up a lot of power.
5. Visual Effects and Animations: They found that the spatial and network rendering and the animations of Windows 11 put a load on the chipset and hence increase the power consumption of Windows Explorer.
In this article, we will give you six solutions to fix it so that you can get back a smooth computing experience on Windows 11.
Fix Windows Explorer power usage very high in Windows 11
Fix 1: Check for Windows Updates
Make sure that your Windows 11 operating system is set to receive updates automatically for it to work efficiently and to boost the security of the device.
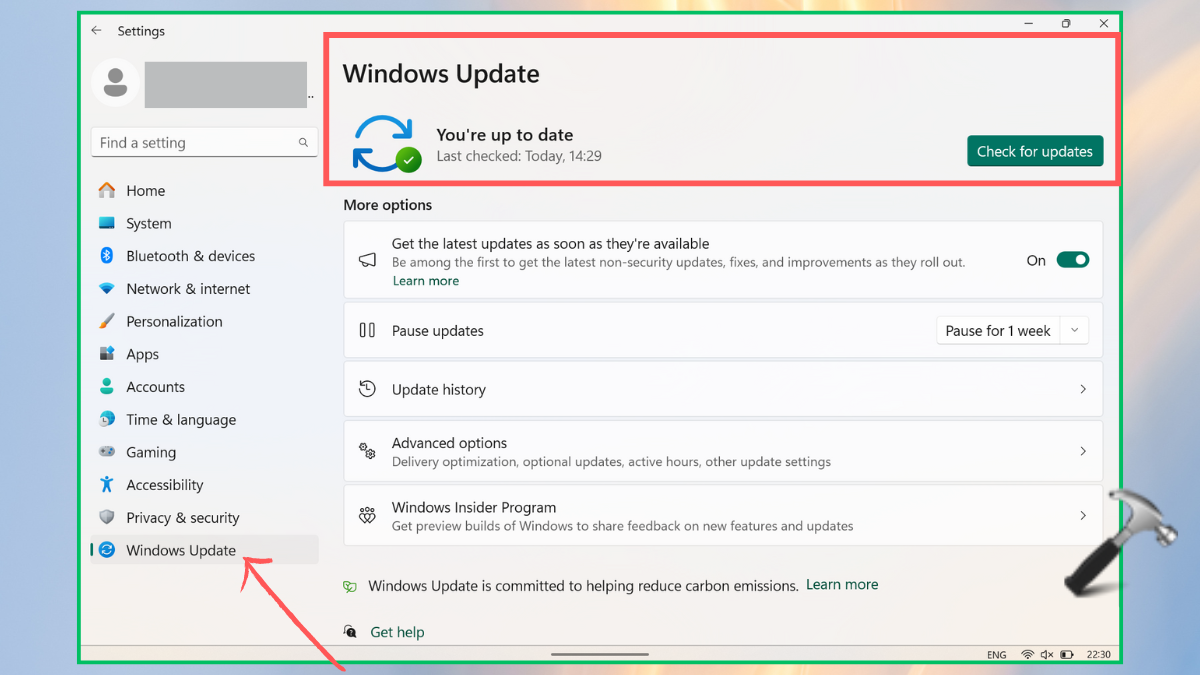
1. In the Settings window, you need to find and click the “Windows Update” that is available in the left-pane list. And, the “Check for updates” button shall be clicked.
2. If the updates are present, press the button “Install now” to download and install it. Sometimes at the end of the installation process you may get a message that you need to restart the system.
Fix 2: Disable the Quick Access feature
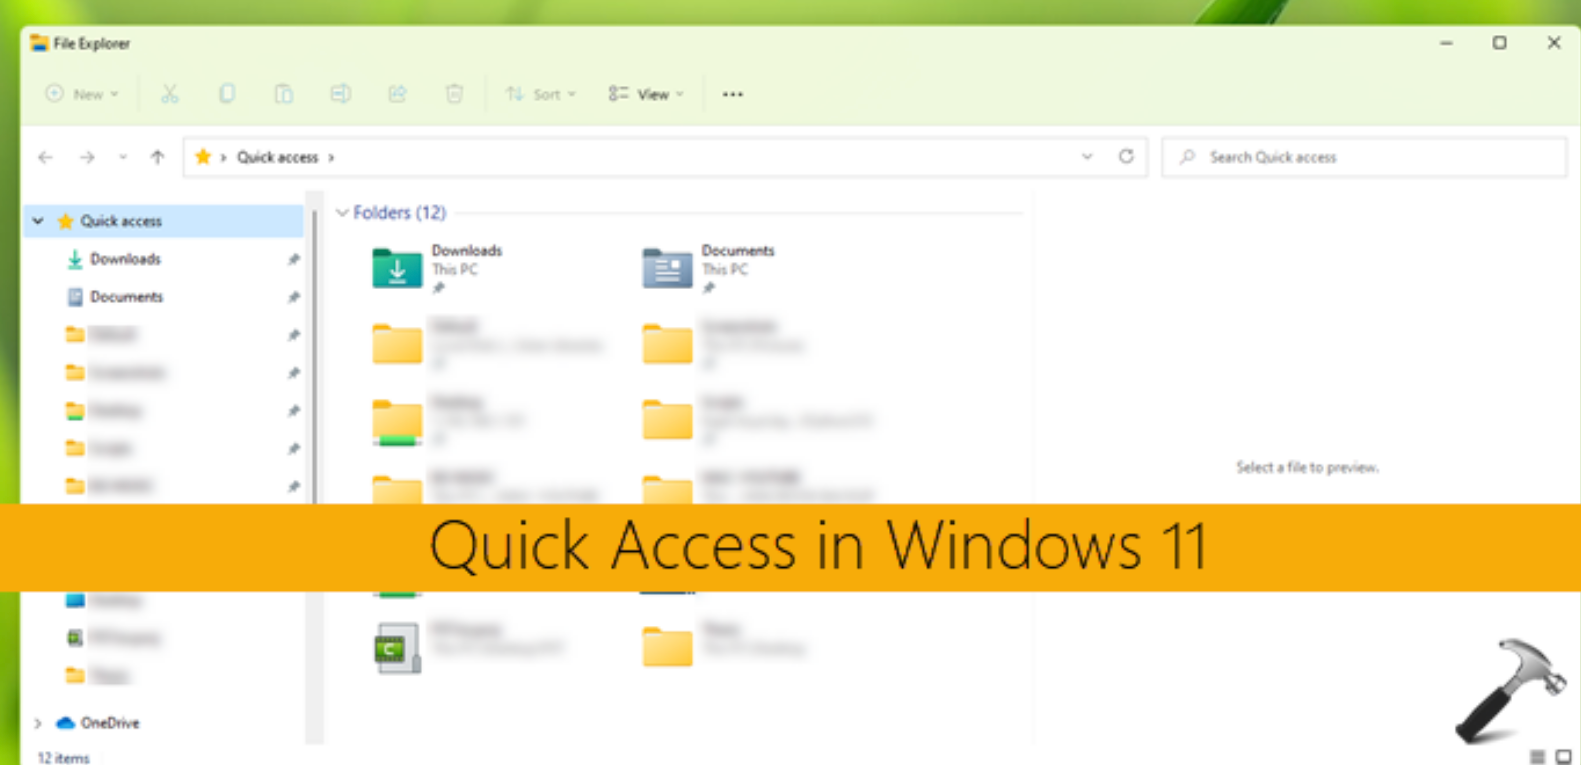
The Quick Access function integrated in Windows 11 allows users to quickly find frequently used files and folders. Nevertheless, it might sometimes lead to accelerated use of energy by Windows Explorer, particularly when the program has to load or refresh the list of items.
As mentioned previously, disabling Quick Access can be a method to cut down power usage of Windows Explorer.
1. Go to Windows Settings > Personalization.
2. Select “Start”.

3. Toggle off the option- “Show recently opened items in Start, Jump Lists, and File Explorer”.

4. Now, close the windows and restart the PC. Check the power usage again in the Task Manager.
Fix 3: Look on the desktop for shortcuts without icons
Some programs or shortcuts appear on the desktop with missing/broken icons and they lead to high power consumption in Window Explorer. The issues thrown during the development of these faulty shortcuts are that the system’s icon loading is prone to forming errors and inefficiencies. Finding out and eliminating or correcting these short cuts will assist in decreasing the power usage of Windows Explorer.
1. Just right click on any of the shortcuts whose icons are missing or are broken, and then select the “delete” option.
![]()
Fix 4: Clear corrupted files using Command Prompt
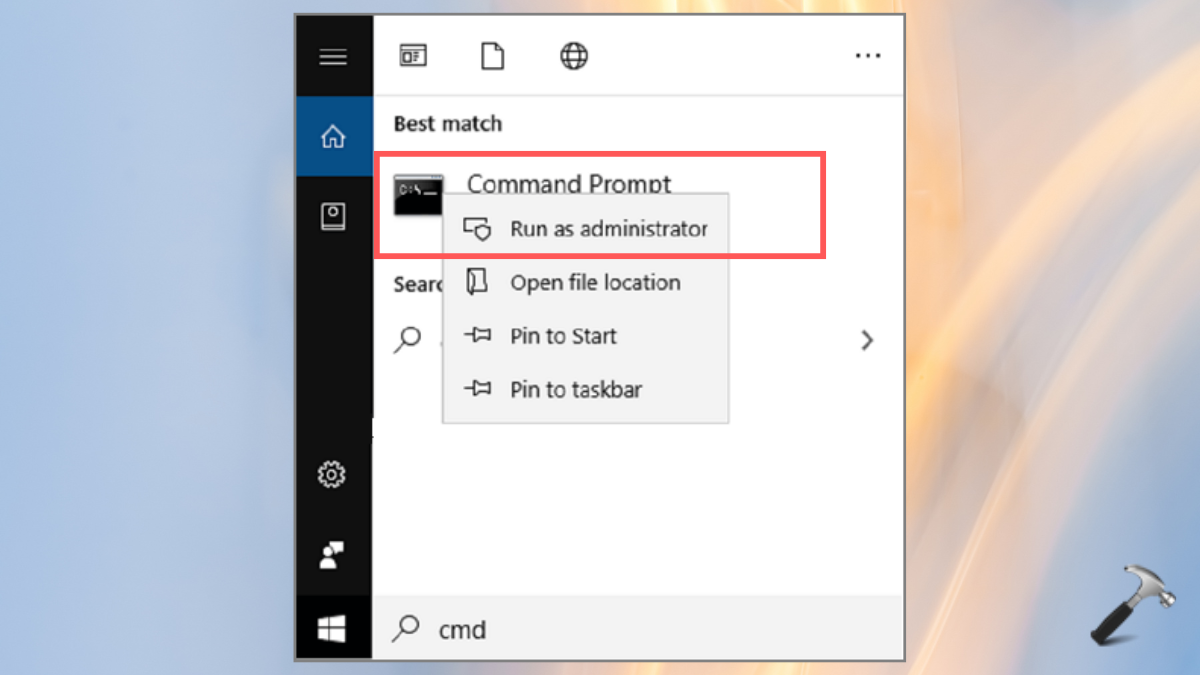
1. Search for “cmd” in the Windows search bar. Right-click the Command Prompt and tap “Run as Administrator”.
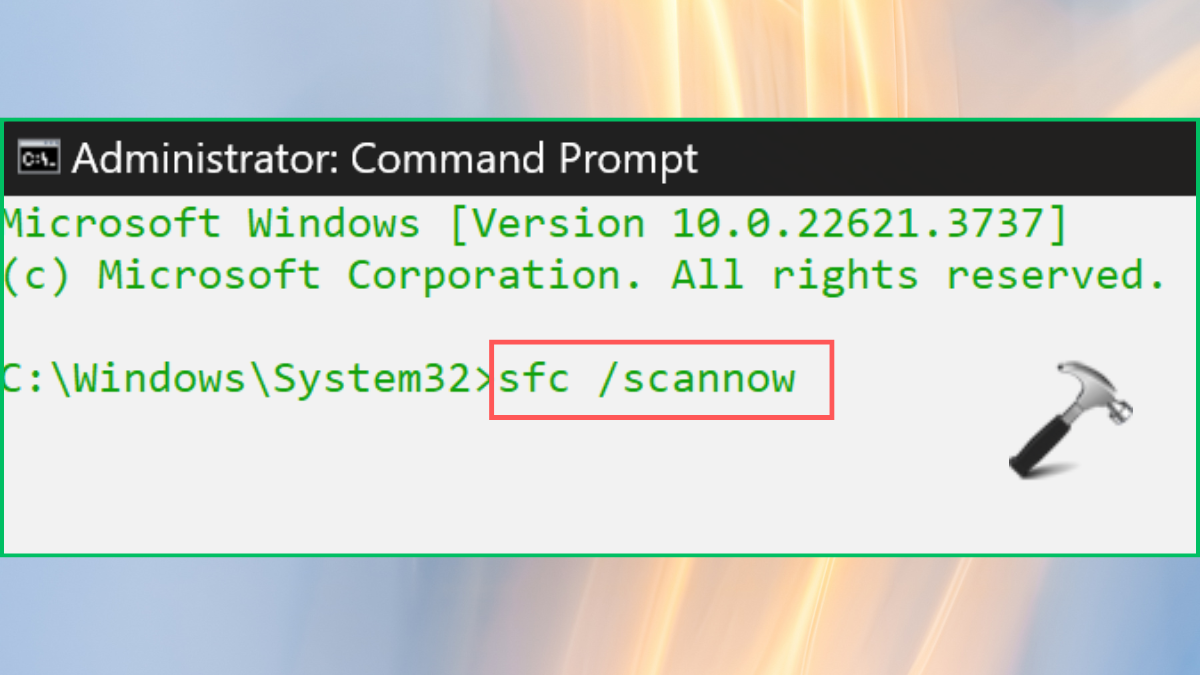
2. Now, copy and paste the below command in CMD and press the Enter key.
sfc /scannow
Fix 5: Perform a clean boot
A clean boot runs windows in a mode that involves few drivers as well as the few programs that are required to start which helps in diagnosing problems. You can perform a clean boot with these steps:
1. Input “System Configuration” in the Windows search box and open it.

2. Click on the “General” tab of the dialog. Choose the “Selective startup” option, and untick the “Load startup items” check box. Select the “Load system services” and “Use original boot configuration” options.

3. On the displayed page you should go to the “Services” tab. Compare the services in the two lists, then mark the box that has “Hide all Microsoft services” checked to make sure the important Windows services are on.
4. After that click the “disable all” button located next to the third-party services to disable them all.

5. Navigate to the “Startup” tab and “Open Task Manager”.

6. Disable all the startup programs by right-clicking each of them and clicking the “Disable” option.

7. Return to the System Configuration window and “Apply”, then “OK”. Reboot the computer and continue using it as a fresh operating system.
Fix 6: Reset the File Explorer process & enable Paging File
1. Press the Windows+R keys and enter the following command.
sysdm.cpl

2. Go to the “Advanced” section and choose “Settings” for the Performance section.

3. In the next screen, go to “Advanced” section and choose “Programs” in Process Scheduling. Click on the “Change” button.

4. In the Virtual Memory box, make sure to check the “Automatically manage paging file size for all drives”. Lastly, click on “Apply” and “OK” and restart the system.

That’s it!
![KapilArya.com is a Windows troubleshooting & how to tutorials blog from Kapil Arya [Microsoft MVP (Windows IT Pro)]. KapilArya.com](https://images.kapilarya.com/Logo1.svg)






Leave a Reply