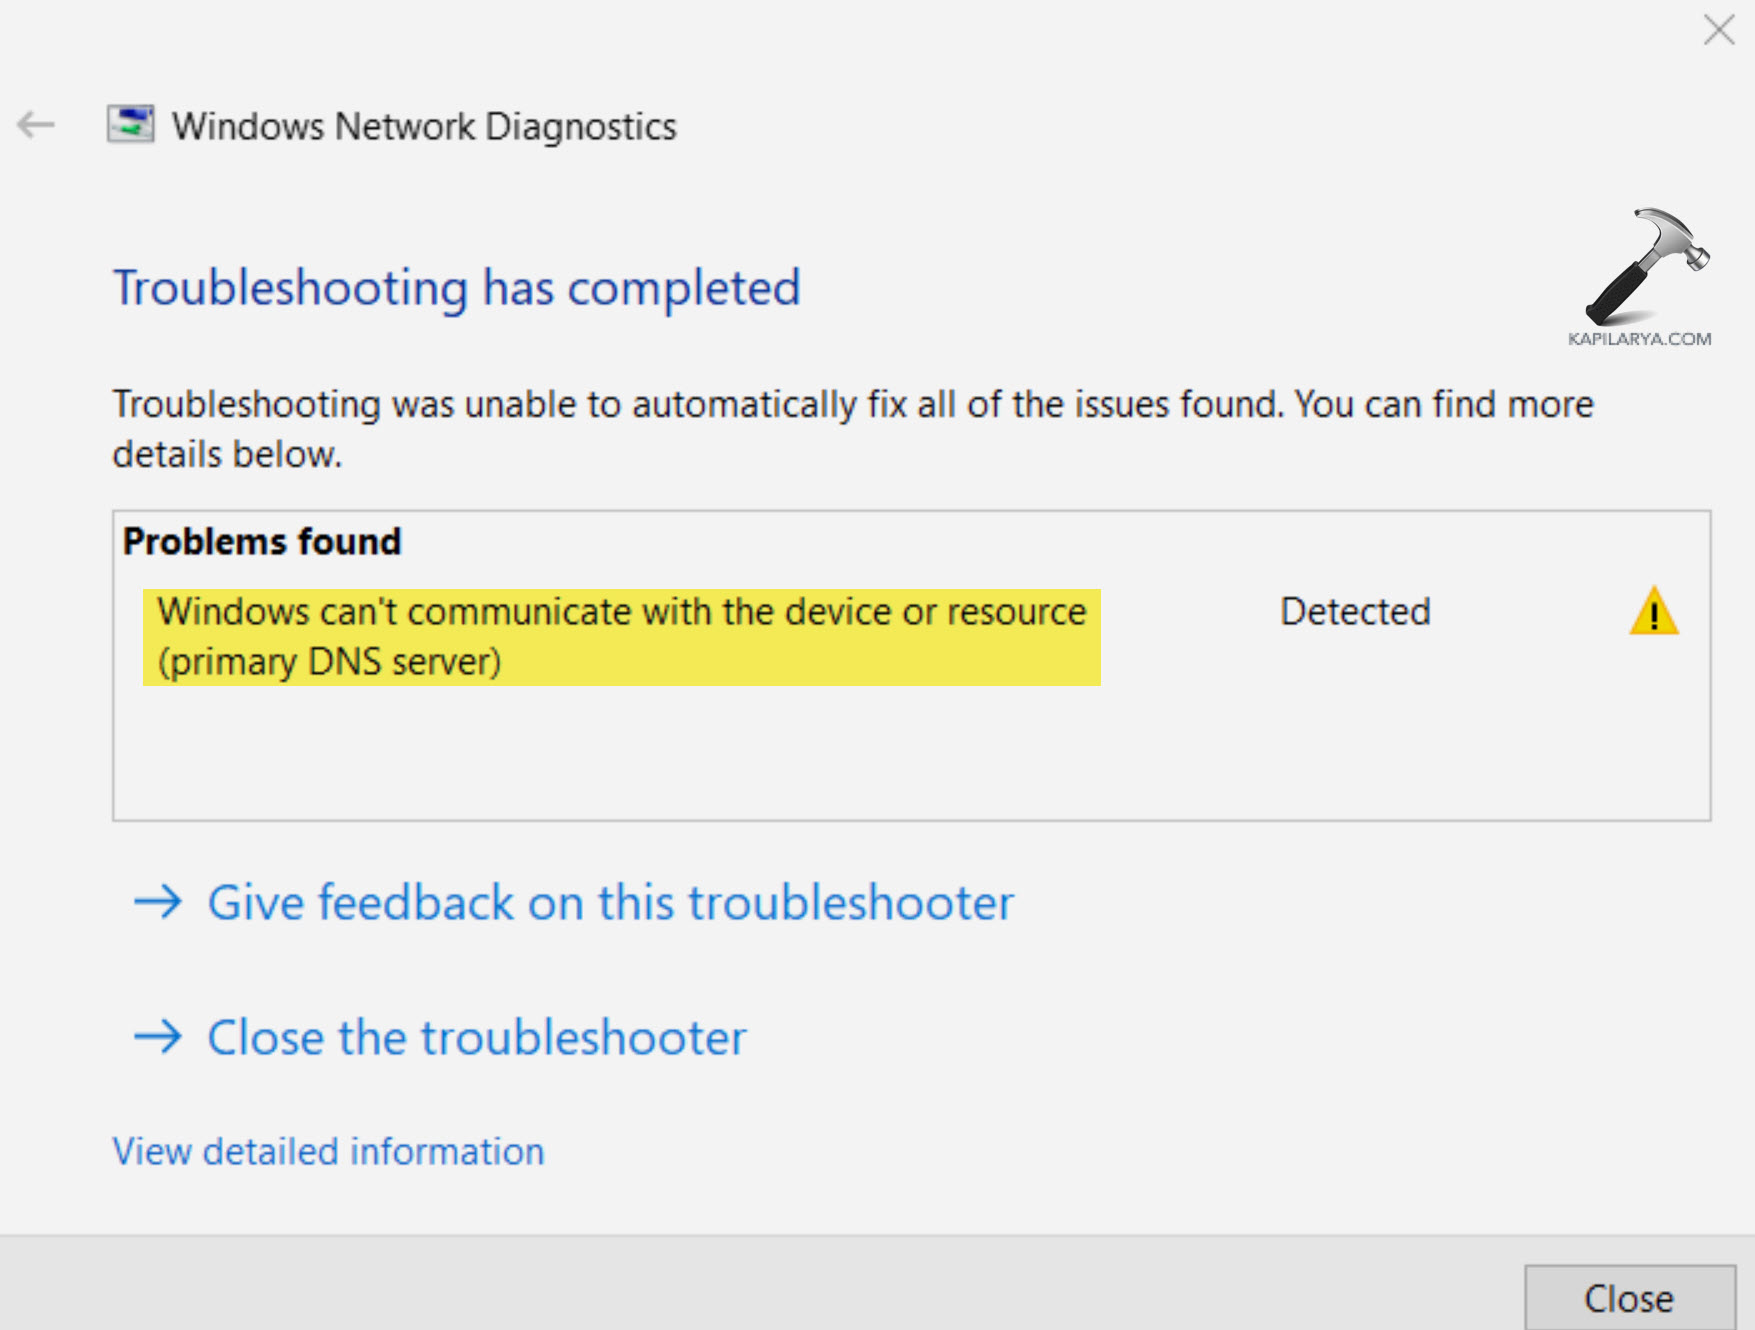
Have you got a Windows can’t communicate with the device or resource error? This article may interest you. Imagine trying to print an important document, but your printer is just giving you the cold shoulder. It’s like your computer is giving you the silent treatment and refusing to connect with an external device or network. Not cool, right? To solve this error, this article covers the best and easiest solutions for Windows 11.

Page Contents
Reasons for Windows can’t communicate with the device or resource error
Whenever this error pops up in the Windows, it can be due to the following reasons:
1. Network Configuring Issues
2. Hardware Problems
3. Malware
4. Interrupting DNS Cache
5. Incorrect Device Drivers
Now, let’s move ahead with the troubleshooting solutions.
Fix Windows Can’t Communicate With The Device Or Resource
Fix 1: Clear DNS Cache
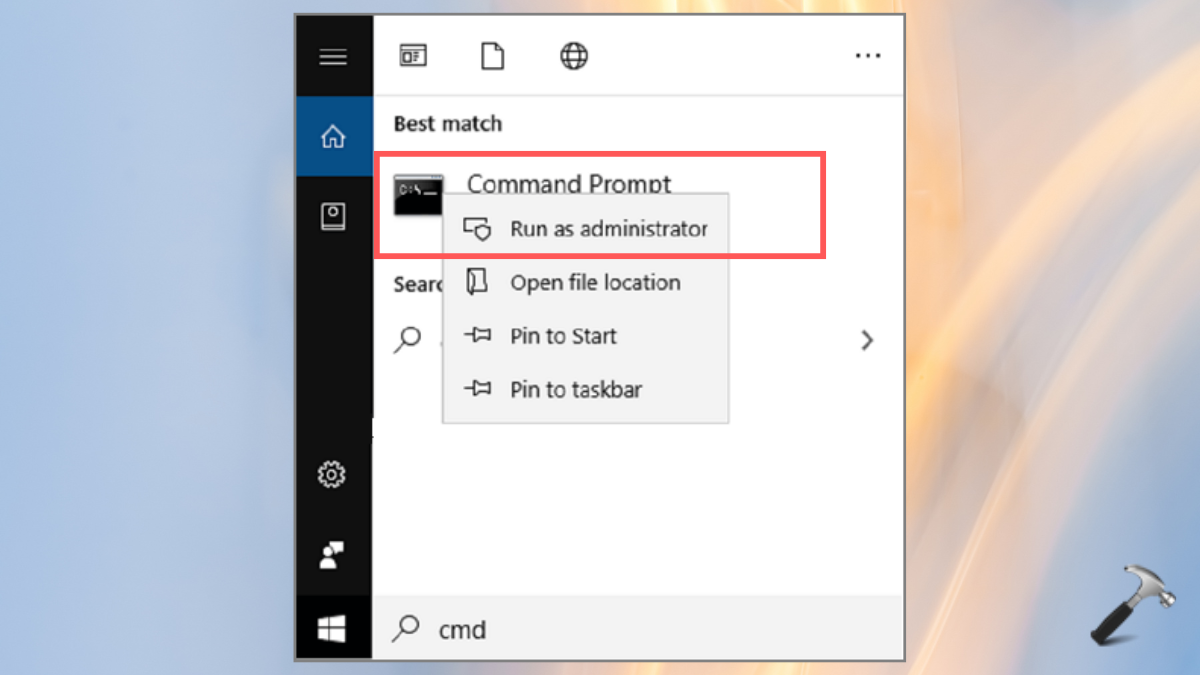
1. Open the Command Prompt by searching it on the Windows Search bar. Make sure to open it as “Run as Administrator” by right-clicking on it.

2. Tap “Yes” on the next screen prompt.
3. Type in the below command and press the Enter key:
ipconfig /flushdns

A message will pop up as “Successfully flushed the DNS Resolver Cache”. Now, again try to connect a device or network to the PC.
Fix 2: Update your Network Drivers
1. Press the Windows+X keys and tap on Device Manager. Select the Network Adapters section.

2. Now, right-click on the driver and tap “Update driver”.

Fix 3: Reset Network Connection
Note: Before implementing the step given in this solution, turn off any VPN or Proxy server software on the PC.
1. Search “cmd” in the Windows search bar and open the Command Prompt- Run as Administrator.
2. Tap “yes” on the next prompt that appears to open Command Prompt.
3. Now, copy & paste the below commands one by one. Make sure to press Enter after pasting every command.
netsh winsock reset
netsh int ip reset
netsh advfirewall reset

4. After the command stops executing, restart the system and try connecting to a device again.
Fix 4: Reset IP and DNS Connection Settings
1. Follow the step 1 & 2 of the previous solution to open Command Prompt.
2. Type the below command and make sure to hit the Enter key after each command:
ipconfig /registerdns
ipconfig /release
ipconfig /renew

3. Again, restart the PC and connect a device to check whether it is working.
Fix 5: Edit the Host File
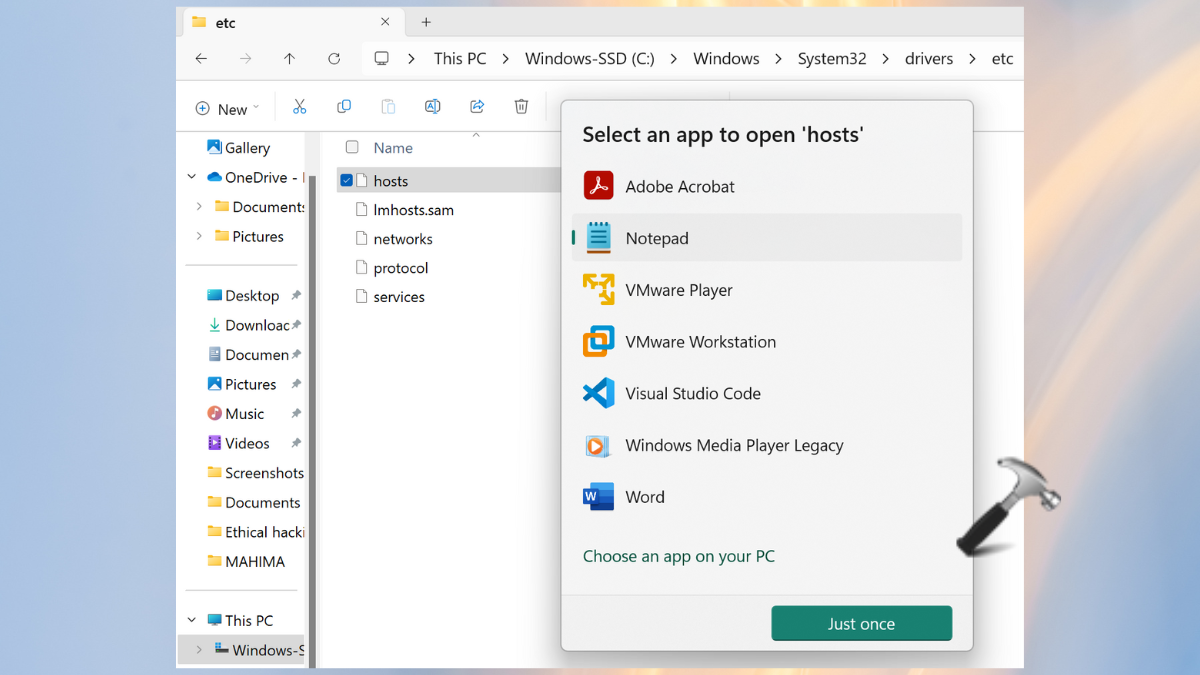
1. Open the File Explorer and go to the below-mentioned path:
This PC > Windows C: > Windows > System32 > drivers > etc

2. Right-click on the host file and click on Notepad to open the file.

3. Press the Ctrl+A keys and right-click to “Delete”.

Fix 6: Switch to a Different DNS
1. In the Windows search bar, type “control panel” and click on the best match result.

2. Under the Network and Internet section, click “View Network status and tasks”.

3. From the left-side panel, select “Change adapter settings”.

4. Right-click the network you are using and select “Properties”.
5. In the Networking tab, select Internet Protocol Version 4 (TCP/iPv4). Then, click on “Properties”.

6. In the General section, choose “Use the following DNS server addresses” and enter 8.8.8.8 in the “Preferred DNS Server”.
7. Tap “OK” and restart the PC.
Fix 7: Scan your System for Malware Infection
1. Open Windows Settings and go to Privacy & Security > Windows Security > Open Windows Security.

2. Tap on “Virus & threat protection” and then on the “Scan options” button.

3. Choose Microsoft Defender Antivirus and tap on “Scan now”.

Wait and let it scan for any malware or virus. Restart the PC and then try again to connect network or device.
That’s it!
![KapilArya.com is a Windows troubleshooting & how to tutorials blog from Kapil Arya [Microsoft MVP (Windows IT Pro)]. KapilArya.com](https://images.kapilarya.com/Logo1.svg)


![[Latest Windows 10 Update] What’s new in KB5055612? [Latest Windows 10 Update] What’s new in KB5055612?](https://www.kapilarya.com/assets/Windows10-Update.png)


Leave a Reply