

The new release of the operating system Windows 11 is created with a focus on the simplicity of the interface. One of these changes is the option to pin applications to the Start menu which the user uses regularly. This feature enables the users to easily get to their frequently used software and to personalize the Start menu more to the user’s desire. Nonetheless, some users have commented that the “Pin to Start” function has not been working and is irritating. The following article is an ultimate tutorial to help users solve the problem of “Pin to Start” greyed out or not working on Windows 11.

Page Contents
Fix Windows 11 Pin To Start Menu Not Working
Fix 1: Re-register the shell32.dll File
The shell32.dll file is responsible for managing the Windows Explorer. Re-registering of it can help solve the issue:
1. On the Windows search bar, enter “cmd”. Right-click on it and choose “Run as Administrator”. Then, tap “Yes” on the next pop-up.

2. When it opens, copy & paste the below command and press Enter key:
regsvr32 /i shell32.dll

Fix 2: Change the NoChangeStartMenu & LockedStartLayout Registry Values
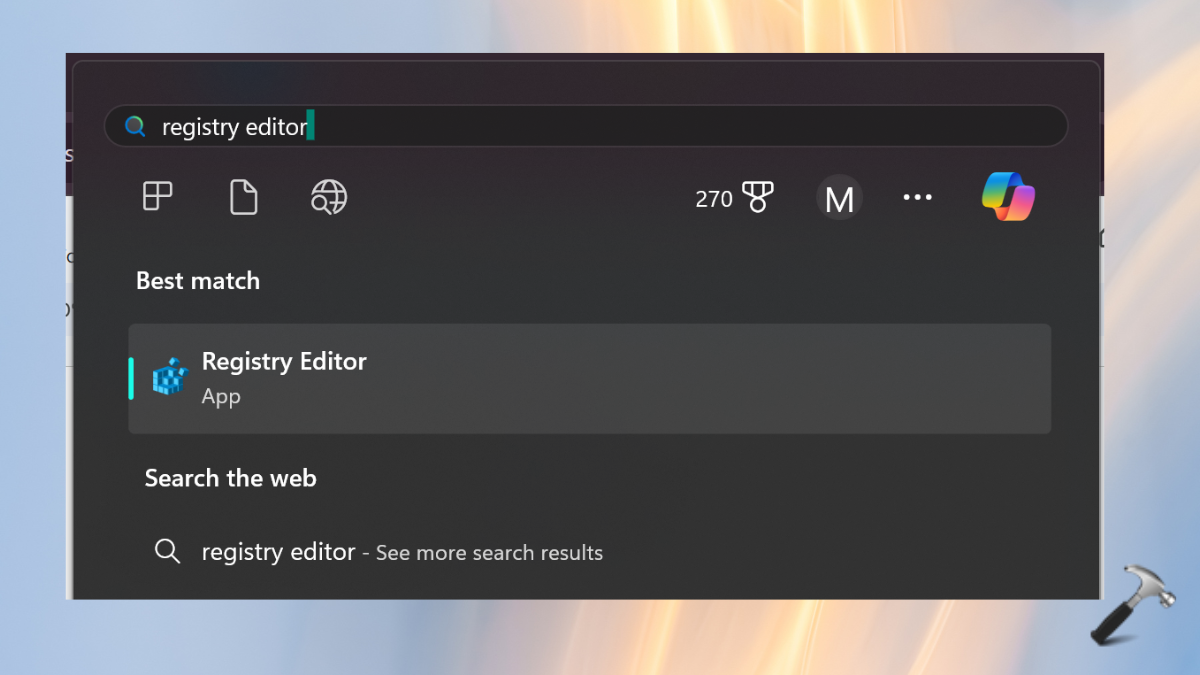
1. Open the Registry Editor. You can do it by searching it on the Windows search bar.
2. Go to the below path in the Registry Editor:
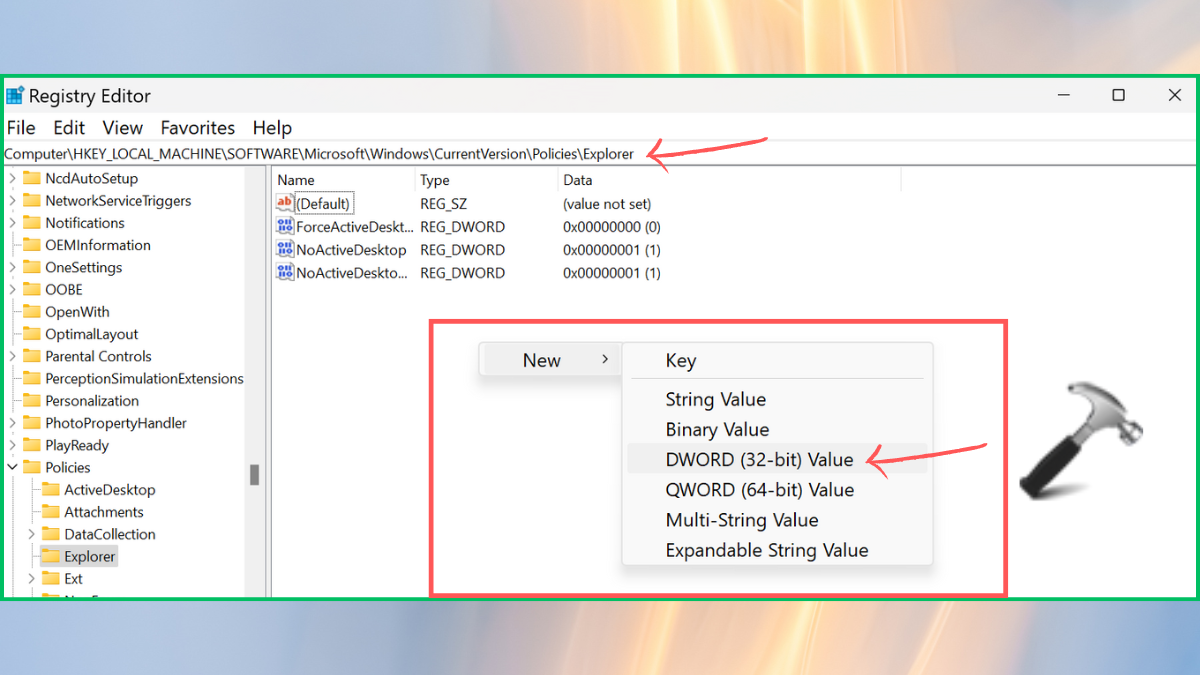
HKEY_LOCAL_MACHINE\SOFTWARE\Microsoft\Windows\CurrentVersion\Policies\Explorer
3. Find the NoChangeStartMenu and LockedStartLayout entry. If not found, create one with:
a. Right-click on the empty space in right-side pane. Tap New > DWORD (32-bit) Value.
b. Name the two keys NoChangeStartMenu and LockedStartLayout one by one.
4. Right-click on the created entry and select Properties and set the value to 0.

5. Lastly, restart the PC and check if the “Pin to Start” function is working or not.
Fix 3: Repair The System Image Files
To repair the system image files, follow the below steps:
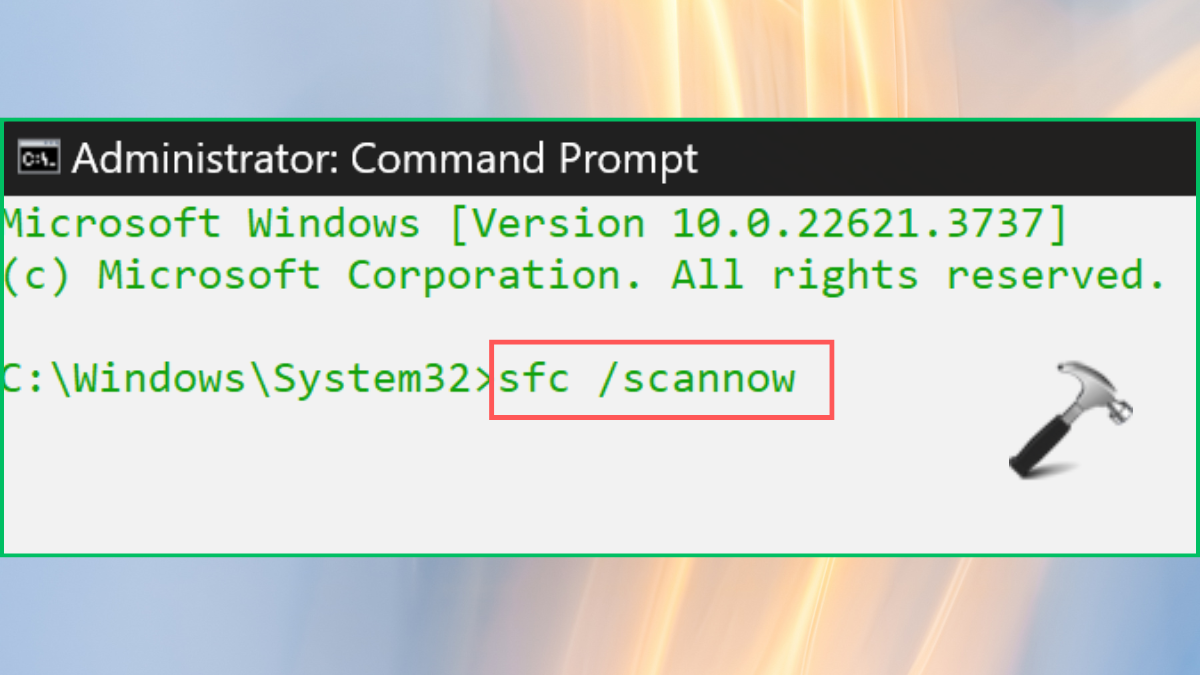
1. Open the Command Prompt by following step 1 of the first solution.
2. Paste the following command in it and hit the Enter key:
sfc /scannow
Fix 4: Disable or Uninstall Antivirus
The third-party installed Antivirus can interrupt and cause errors with the pre-installed antivirus on Windows 11. These interruptions might cause “Pin to Start” feature to not work. Hence, it is advisable to uninstall the antivirus you have installed. After successfully removing the antivirus, restart the PC and now check if the problem is solved or not.
Fix 5: Reset the PC
If none of the above methods help you, you can reset the PC.
Note: Before going ahead with this solution, make sure to create a backup of the files of the system.
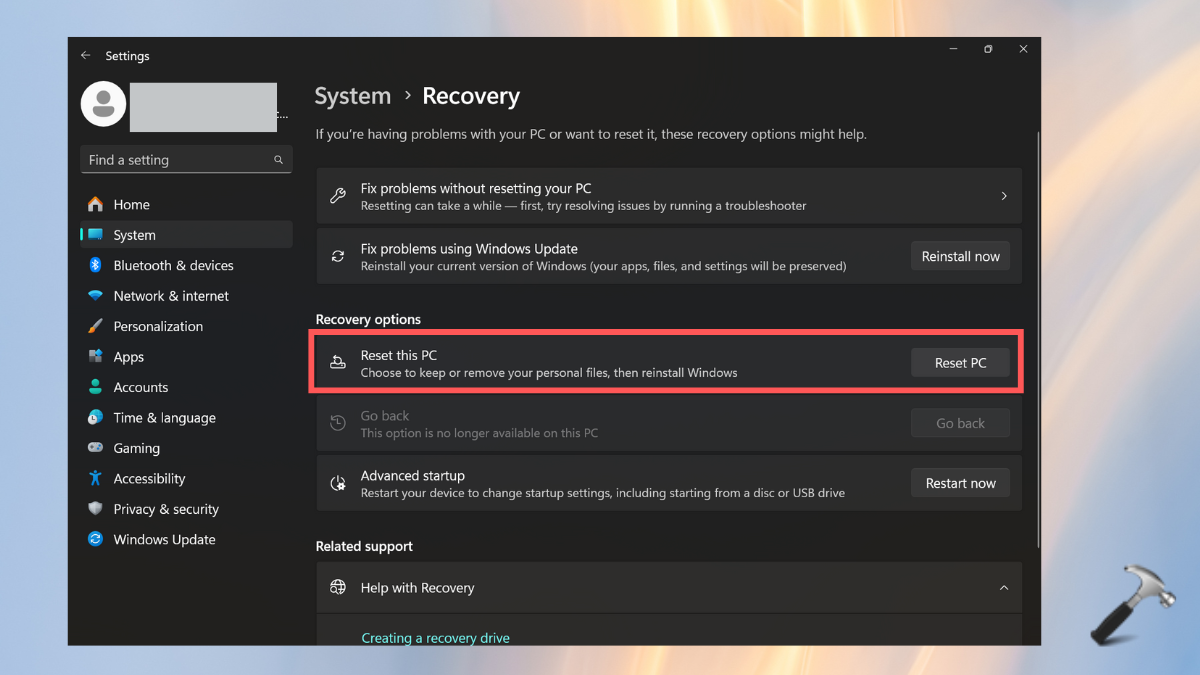
1. Open Windows Settings > System > Recovery.
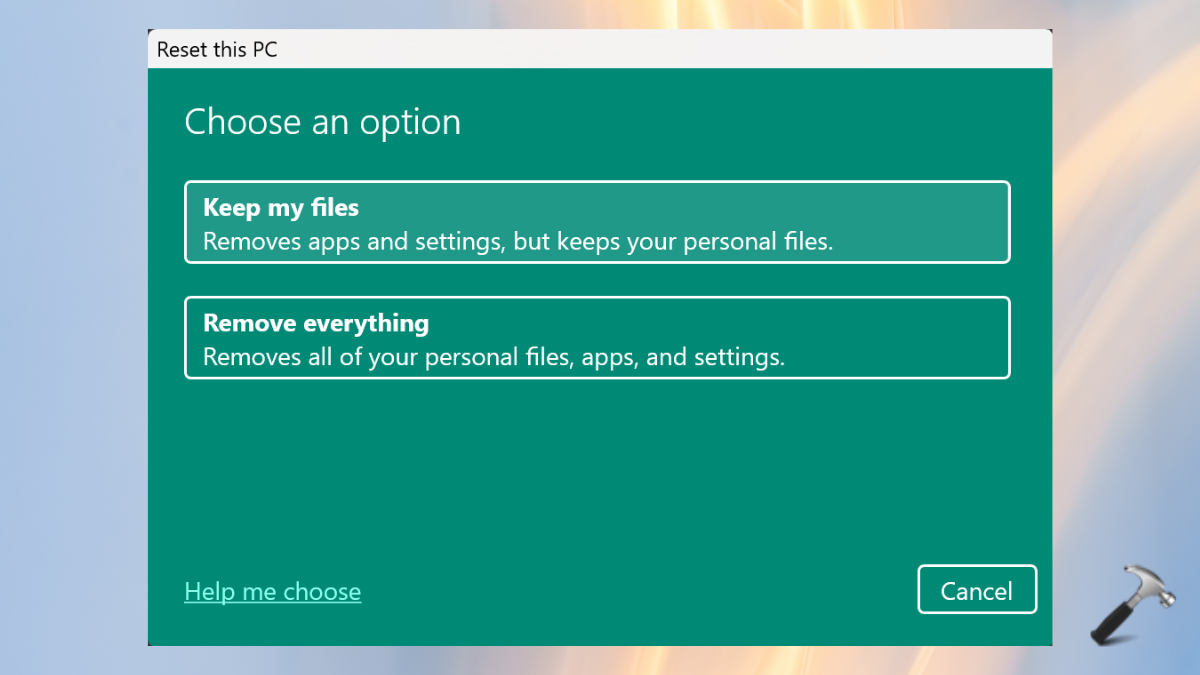
2. Click on “Reset PC” from Reset this PC section.
3. Select “keep my files” option on the next screen.
That’s it!


Leave a Reply