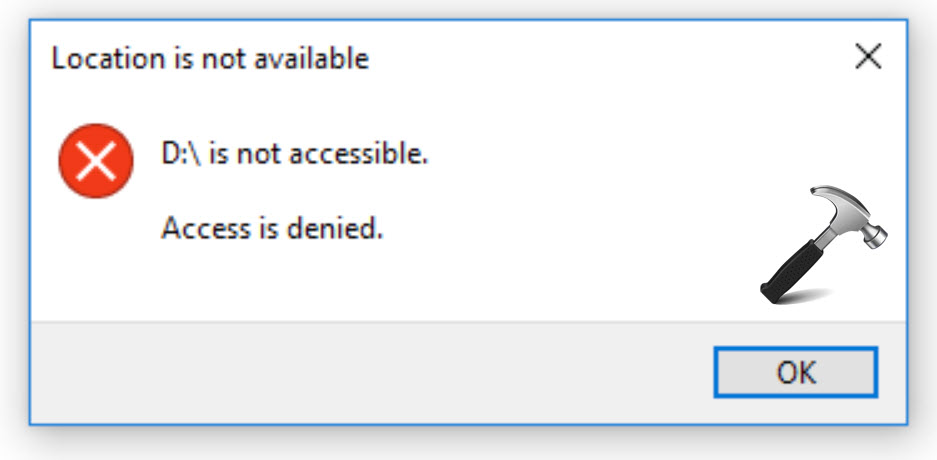
On Windows 11, you might encounter an ‘Access Denied’ error when installing software or accessing files/folders/apps. This might be due to a lack of permissions or Windows misconfiguration. You can follow this simple guide to fix the issue and regain control of your system.

Page Contents
Fix: Windows 11 Access Denied Error
Method 1: Change Your Account to Administrator
1. Open the Run command box by pressing Win + R. Then, type “netplwiz”, and hit Enter.

2. If prompted, select your admin account and enter its password in the User Account Control prompt.
3. Select the user account experiencing the ‘Access Denied’ error and click the “Properties” button.

4. In the User Accounts folder, switch to the “Group Membership” tab and select “Administrator“.
5. Then, click “Apply“, and “OK“.

6. Once it’s done restart your PC.
Method 2: Disable the Third-Party Antivirus Program
While Antiviruses fight threats, they might block harmless programs and files, causing “Access Denied” errors. To check, temporarily disable your antivirus and try again. If the error disappears, consider switching antivirus software or using Microsoft Defender built into Windows 11.
Method 3: Confirm Check the Filesystem’s Permissions
If you’re encountering the ‘Access Denied’ error while trying to access a file or folder on your computer, follow these steps;
1. Find and right-click the file you’re trying to access. Then, select “Properties“.

2. Switch to the “Security” tab and select “Edit“.

3. Select the user account and check the “Full Control” box in the Allow column under the Permissions for User section.
4. Click “Apply” and then “OK“.

Method 4: Enable Built-in Administrator Account
The hidden local administrator account is an elevated account with administrative rights. It has all the necessary permissions pre-enabled and does not show you UAC prompts for operations. You can enable the built-in admin account to access files, folders, and paths restricted to normal users.
1. Open the Command Prompt as administrator.
2. In the Command Prompt, type the following command and press Enter:
net user administrator /active:yes

3. After executing the command, restart your PC and log in to the newly enabled Administrator account.
Method 5: Take Ownership of Files or Folders
If you encounter the ‘Access Denied’ message while trying to open a file, install a program, or access a folder, it could be due to ownership issues. If this is the case for you, you can fix the error by taking ownership of the files and folders. You can do this manually or using commands in the Command Prompt.
1. Open Command Prompt as administrator.
2. In the Command Prompt, run these commands one after the other:
takeown /f "path_to_folder"/r /d y
icacls "path_to_folder"/grant administrators:F /t
Make sure to replace path_to_folder with the path of the file or folder you want to access:
takeown /f "C:\FRST\Hives" /r /d y
icacls "C:\FRST\Hives"/grant administrators:F /t

That’s it.
![KapilArya.com is a Windows troubleshooting & how to tutorials blog from Kapil Arya [Microsoft MVP (Windows IT Pro)]. KapilArya.com](https://images.kapilarya.com/Logo1.svg)


![[Latest Windows 10 Update] What’s new in KB5055612? [Latest Windows 10 Update] What’s new in KB5055612?](https://www.kapilarya.com/assets/Windows10-Update.png)


Leave a Reply