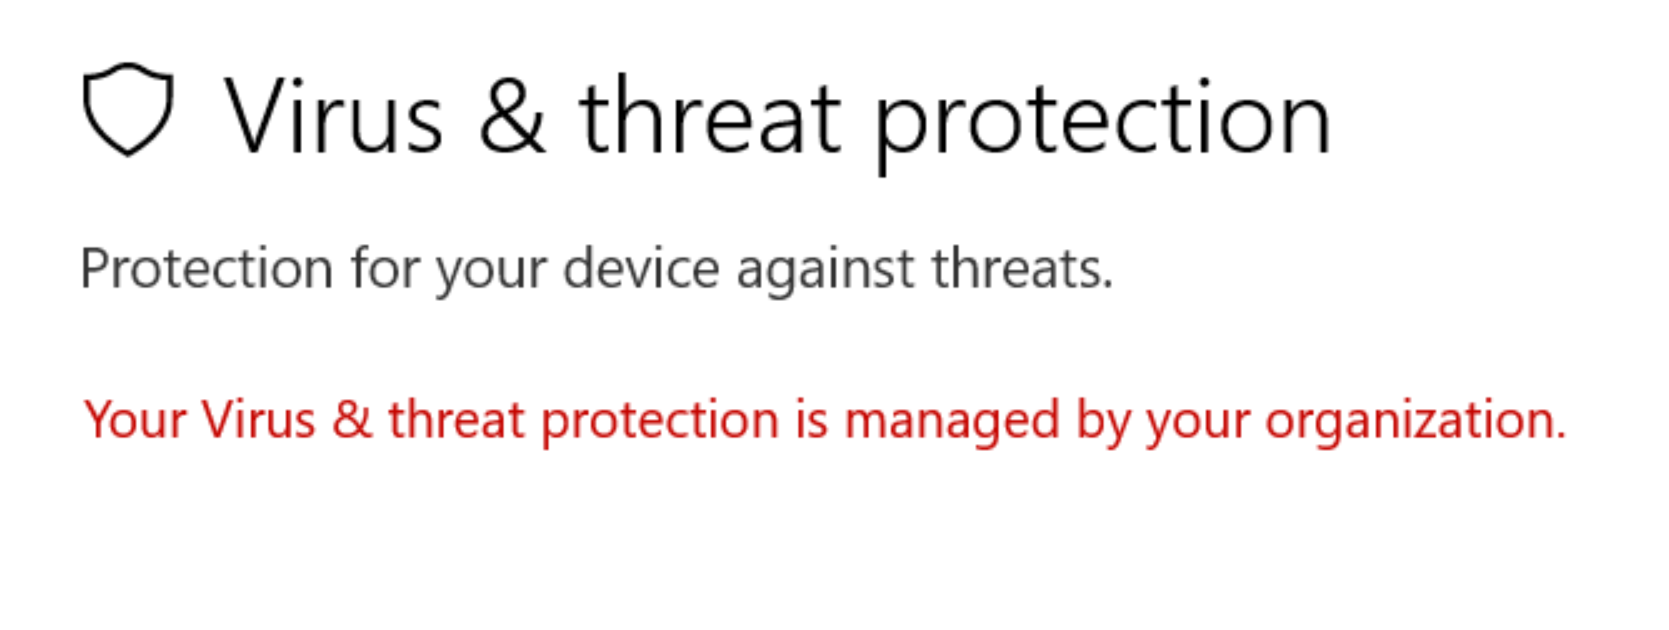
The “Virus & Threat Protection Is Managed by Your Organization” error message can be frustrating for Windows 11 users. It typically occurs when attempting to access or modify Windows Defender settings, leaving users unable to manage their own virus protection. This error often arises due to certain system configurations, group policy settings, or third-party applications. However, fear not, as we have prepared a comprehensive troubleshooting guide to help you resolve this issue and regain control of your device’s security settings.

Page Contents
Fix: Virus & threat protection is managed by your organization
Restart Your Computer:
Sometimes, a simple restart can fix temporary glitches. Begin by restarting your computer and checking if the error persists. If it does, proceed to the next step.
Check Group Policy Settings:
- Press the Windows key + R to open the Run dialog box. Type gpedit.msc and hit Enter to open the Local Group Policy Editor.
- In the left-hand pane, navigate to the following path: Computer Configuration -> Administrative Templates -> Windows Components -> Windows/Microsoft Defender Antivirus.
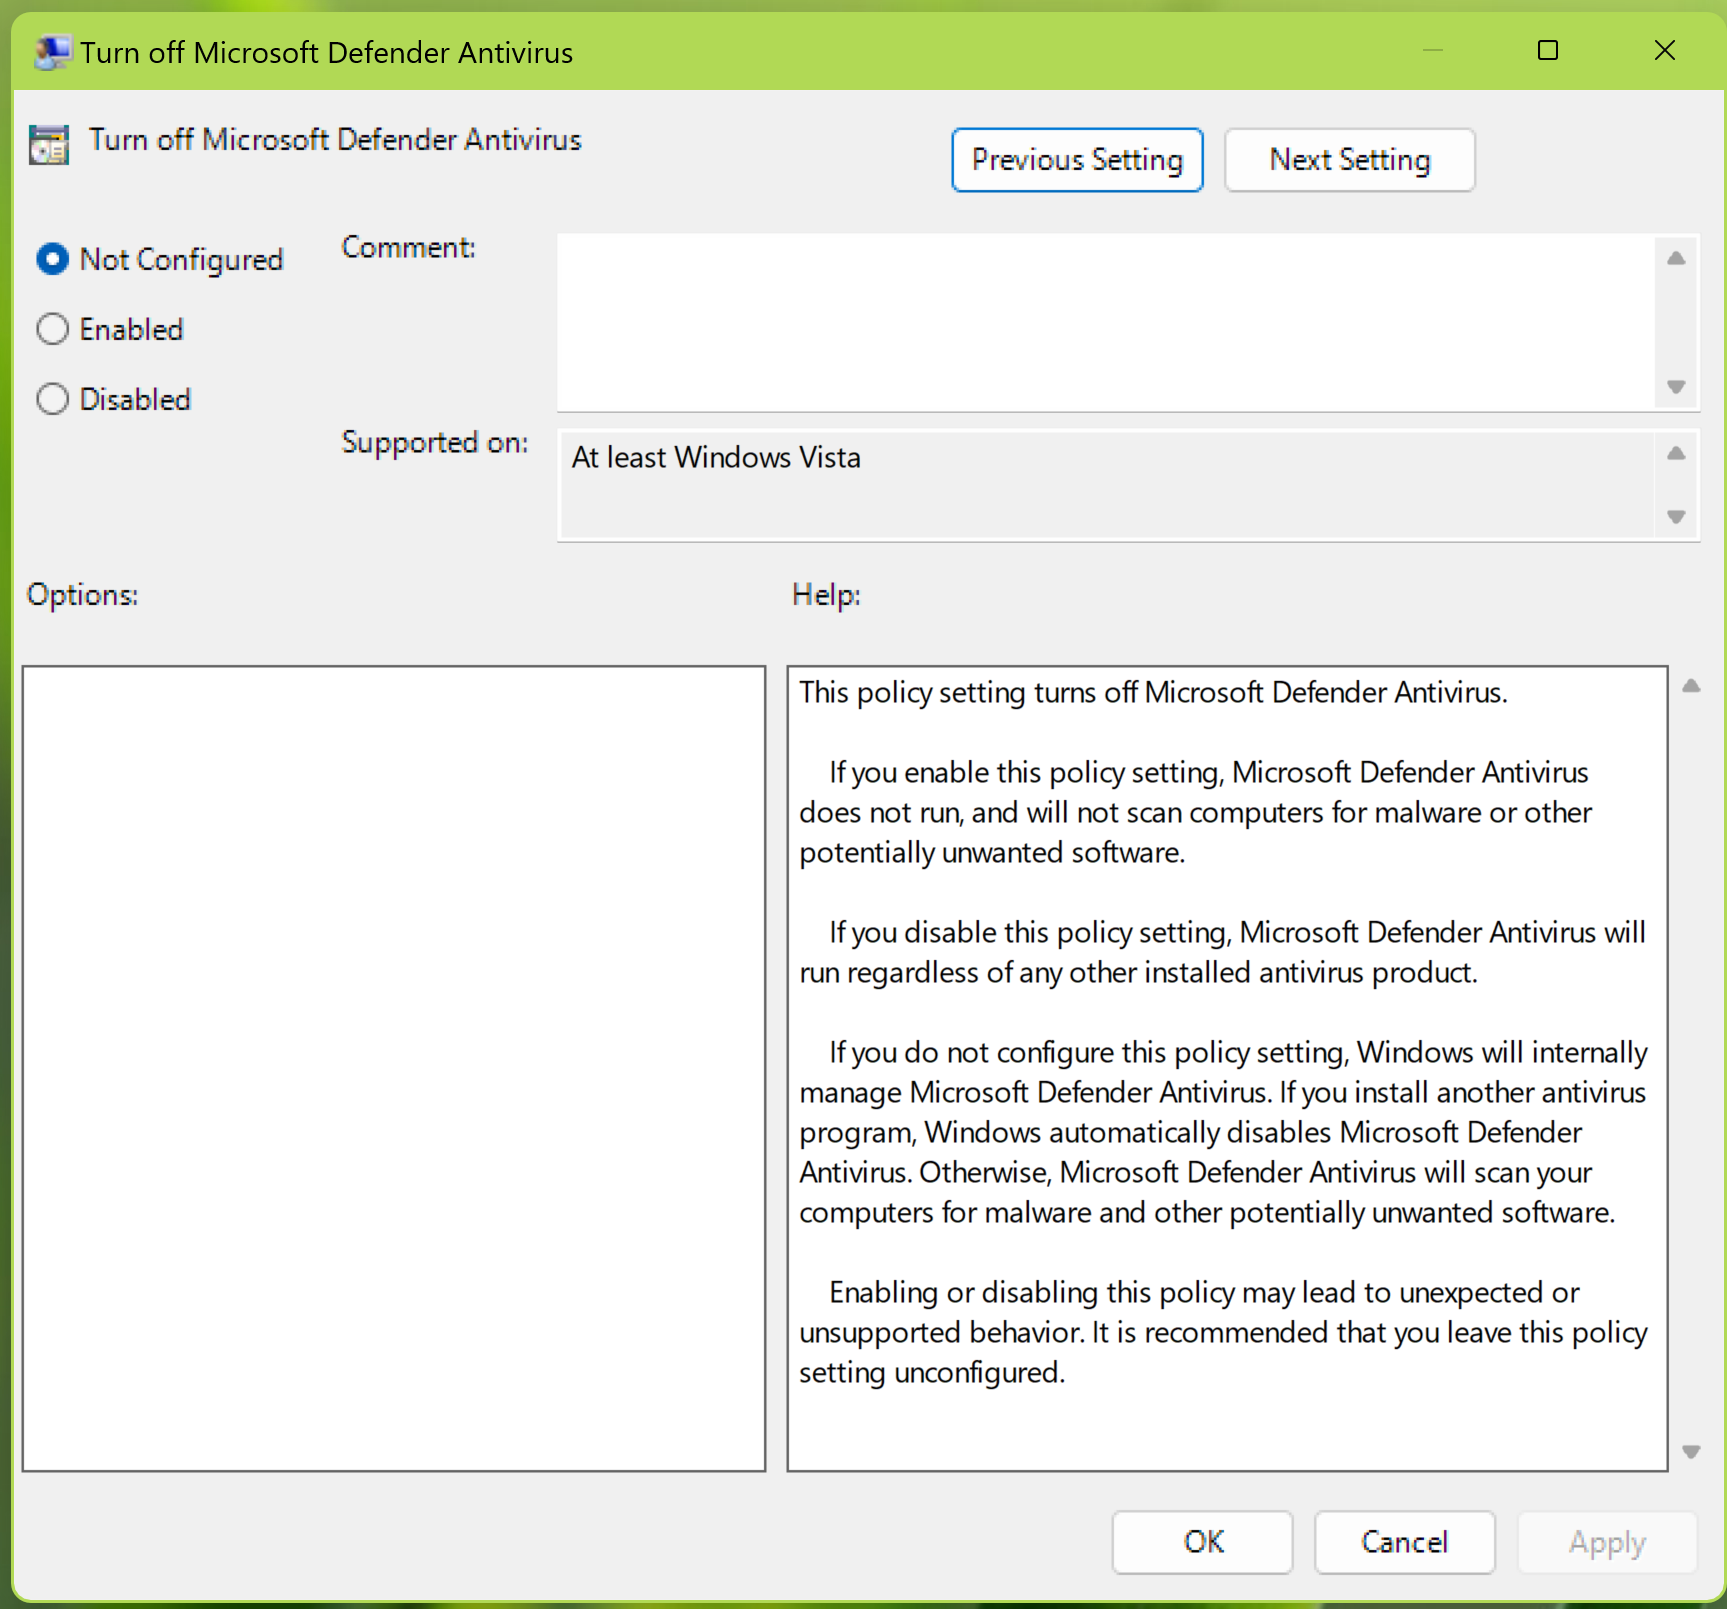
- Locate the policy named “Turn off Windows Defender Antivirus” in the right-hand pane. Double-click on it to modify the policy.

- Ensure that the policy is set to “Not Configured” or “Disabled.” If it is set to “Enabled” change it to “Not Configured” or “Disabled.”
- Click “Apply” and “OK” to save the changes.
- Close the Local Group Policy Editor and check if the error message is resolved. If not, move on to the next step.
Disable Third-Party Antivirus Software:
- If you have third-party antivirus software installed on your computer, temporarily disable it.
- Open the antivirus program and navigate to its settings or preferences.

- Look for an option to disable or turn off real-time protection.
- Disable the real-time protection feature and exit the antivirus program.
- Restart your computer and check if the error message persists. If it does, proceed to the next step.
Use Windows Security PowerShell Commands:
- Right-click on the Start button and select “Windows PowerShell (Admin)” to open PowerShell with administrative privileges. You can also use PowerShell command in Terminal app.
- Copy and paste the following command into the PowerShell window and press Enter:
Set-MpPreference -DisableIntrusionPreventionSystem $true

- Restart your computer and see if the error is resolved.
That’s all!
![KapilArya.com is a Windows troubleshooting & how to tutorials blog from Kapil Arya [Microsoft MVP (Windows IT Pro)]. KapilArya.com](https://images.kapilarya.com/Logo1.svg)


![[Latest Windows 10 Update] What’s new in KB5055612? [Latest Windows 10 Update] What’s new in KB5055612?](https://www.kapilarya.com/assets/Windows10-Update.png)


Leave a Reply