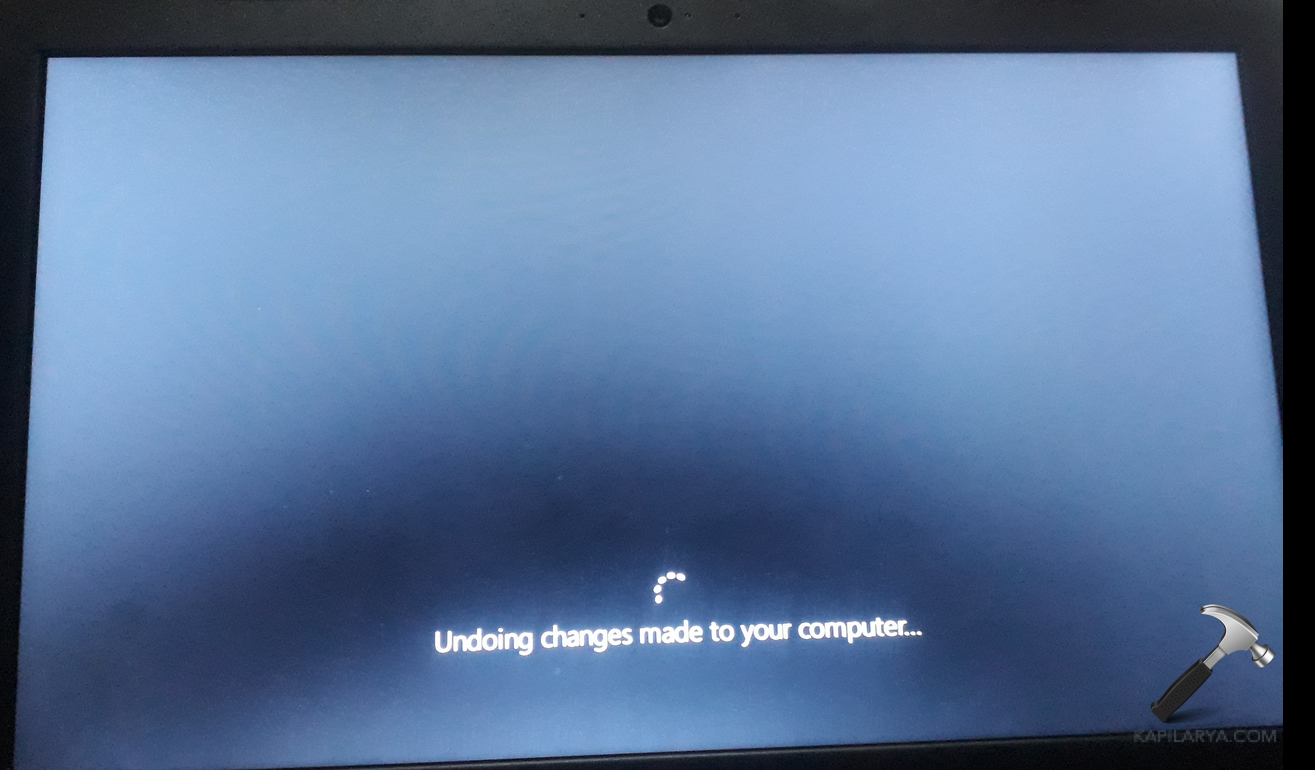
If you are trying to install a specific update and Windows refuses to install this update, you may see Undoing changes made to your computer error. Basically, the intention of this error is to inform users that the update cannot be installed. Something on your system is preventing from completing the update. Unless that is fixed, You will keep seeing this error when you are installing the update. In this article, we will see how you can fix Undoing changes made to your computer in Windows 11 operating system.
Page Contents
Reasons for ‘Undoing changes made to your computer’ error
Top reasons why you can get this error:
- Improper update package/file being installed, make sure you’re installing correct update.
- Third-party software blocking the update, specifically your antivirus or other security suite. Removing the third-party software may help.
- External devices causing a conflict. Remove external peripherals.
- Any misconfigured setting on your device.
- If your system is infected with a virus. Properly scan your system for security threats.
- Any other anonymous reason.
If issue still persists, you can try below mentioned common solutions to fix this.
Fix: Undoing changes made to your computer in Windows 11
Fix 1: Boot into Safe Mode
- Open the Settings and go to System > Recovery.
- Under Recovery options, click on the Restart Now button next to Advanced startup.
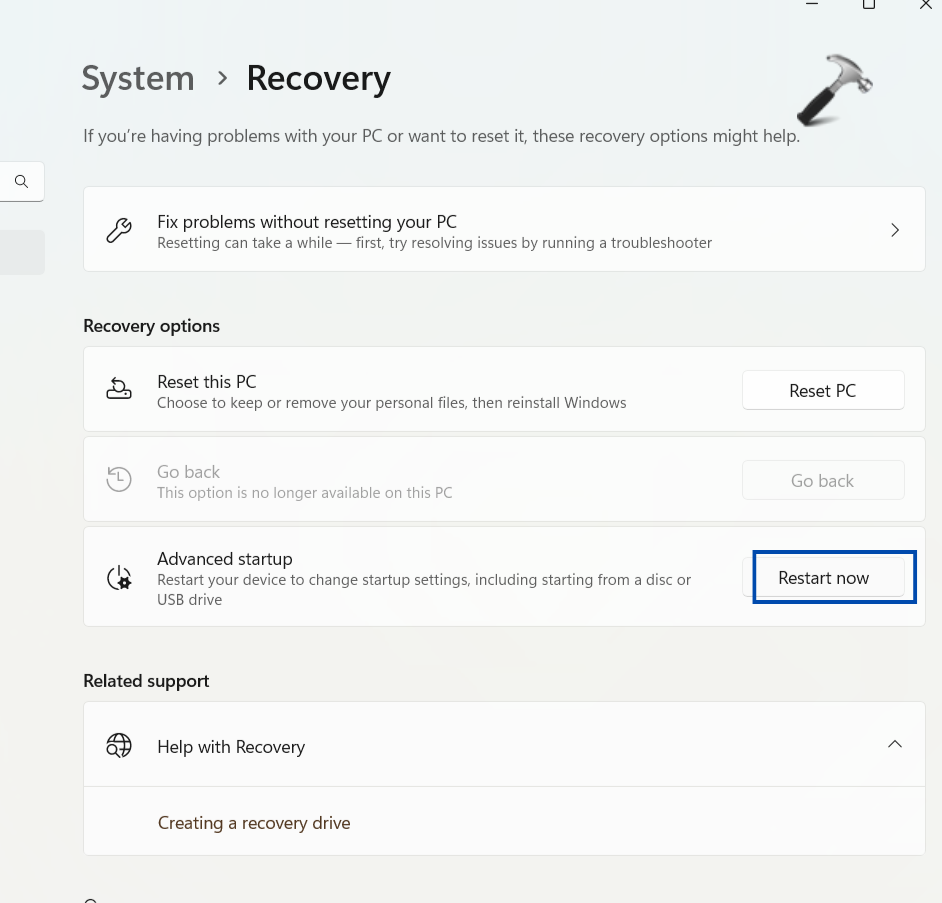
- You will see a pop-up dialog box, click on Restart Now again.

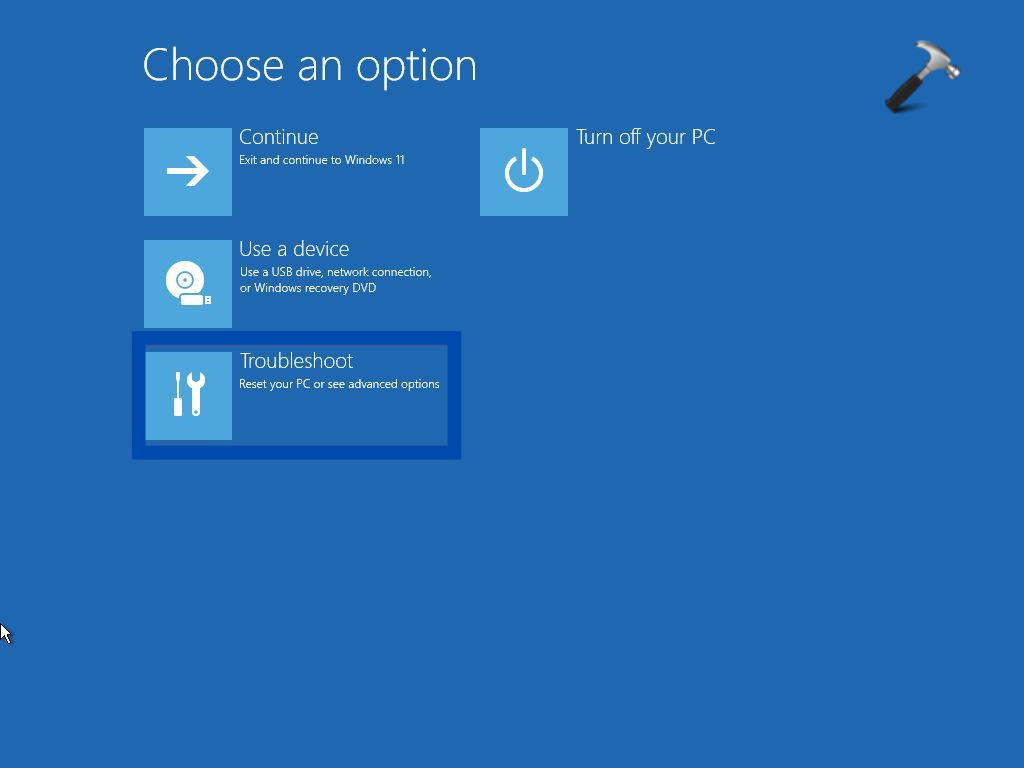
- Windows will now Restart your PC. Upon restarting, you will see various options. Select Troubleshoot. Then in Advanced Options, select Startup Settings > Restart > Enable Safe Mode options.

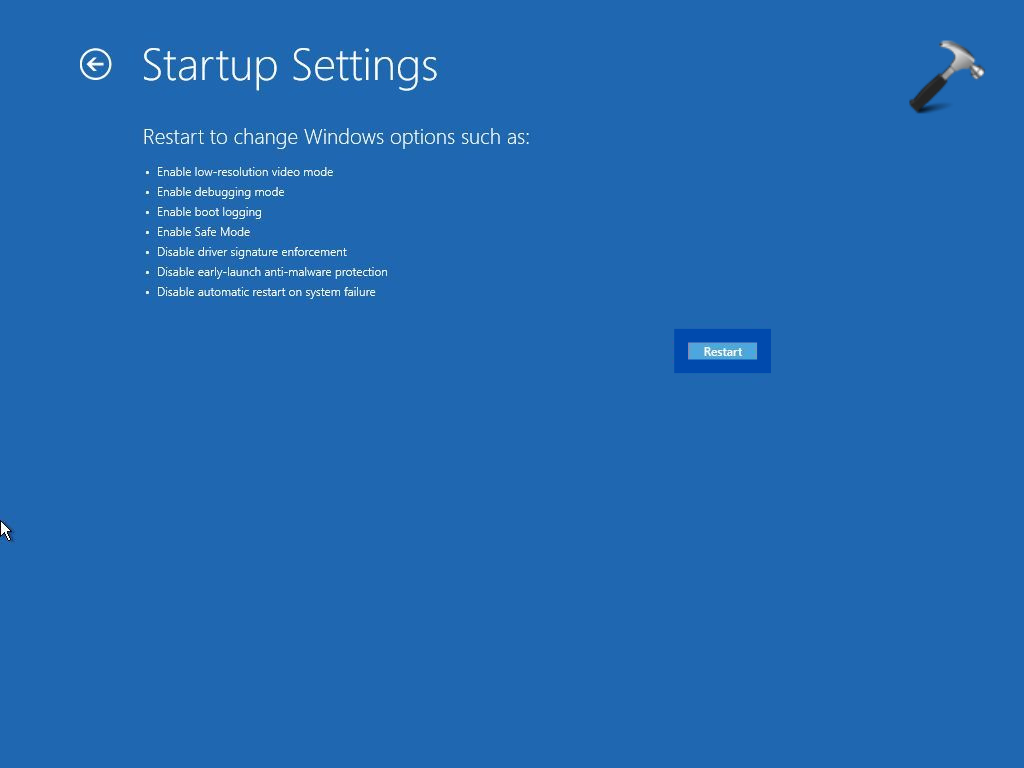
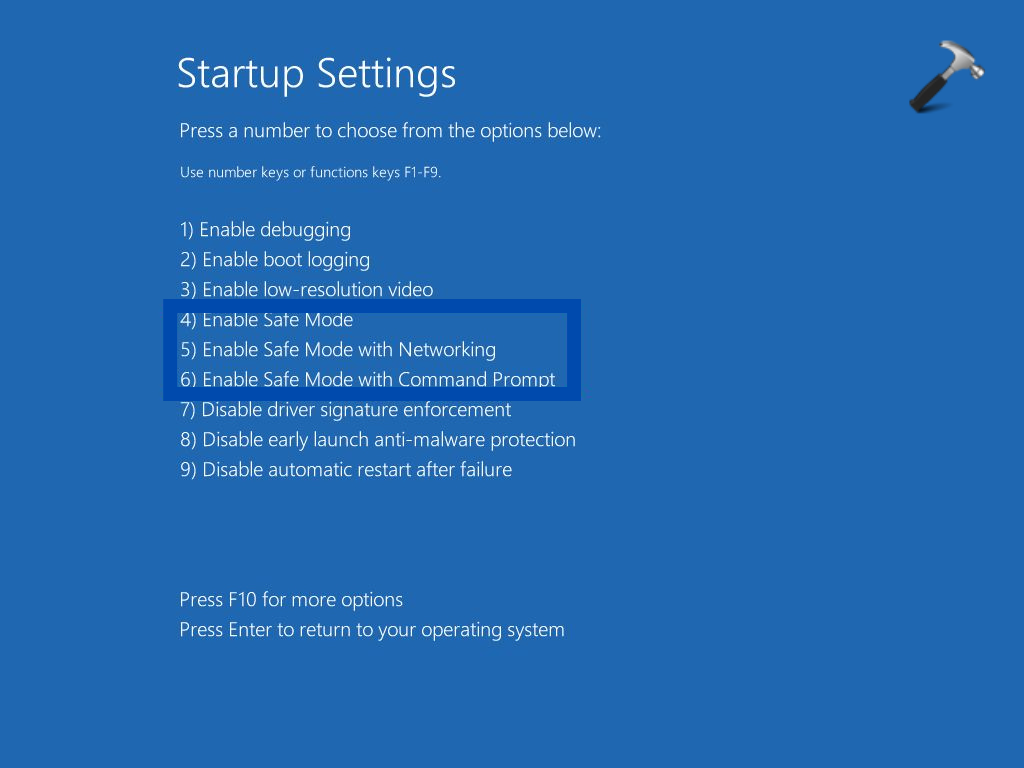
That is it, Windows will now start in Safe Mode. You can try other options fixes mentioned next.
Fix 2: Delete SoftwareDistribution folder content and reset Windows update components
Step 1: Stop Windows Update services
1. Open Services and right-click on “Windows Update” and choose “Stop”.
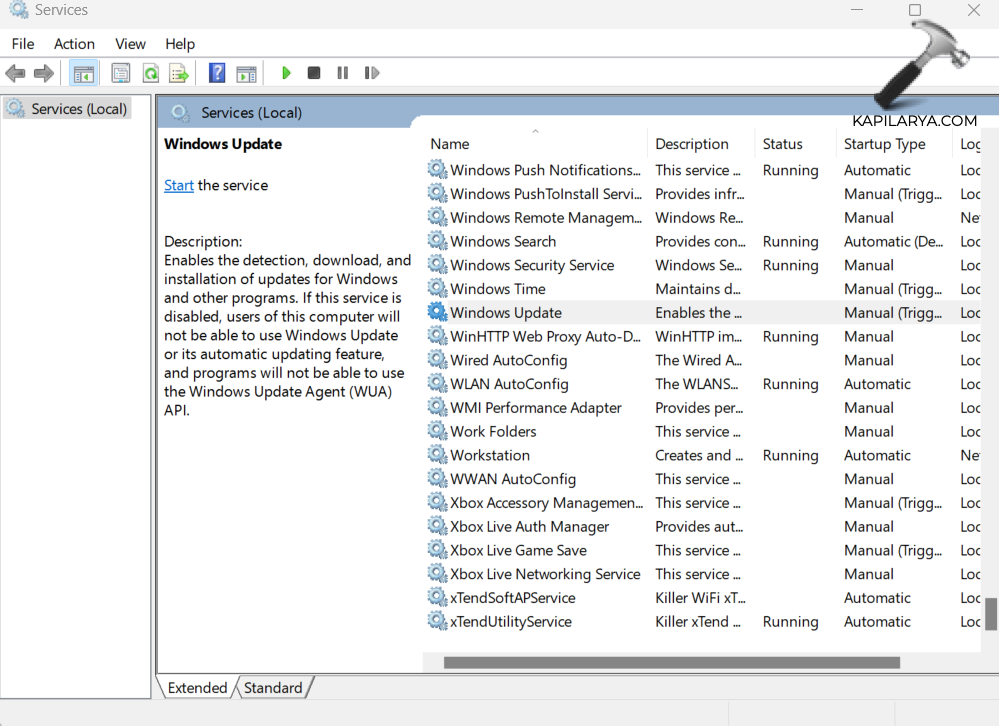
2. Next, right-click on “Cryptographic Services” and choose “Stop”.

3. Next, right-click on “Background Intelligent Transfer Service” and choose “Stop”.
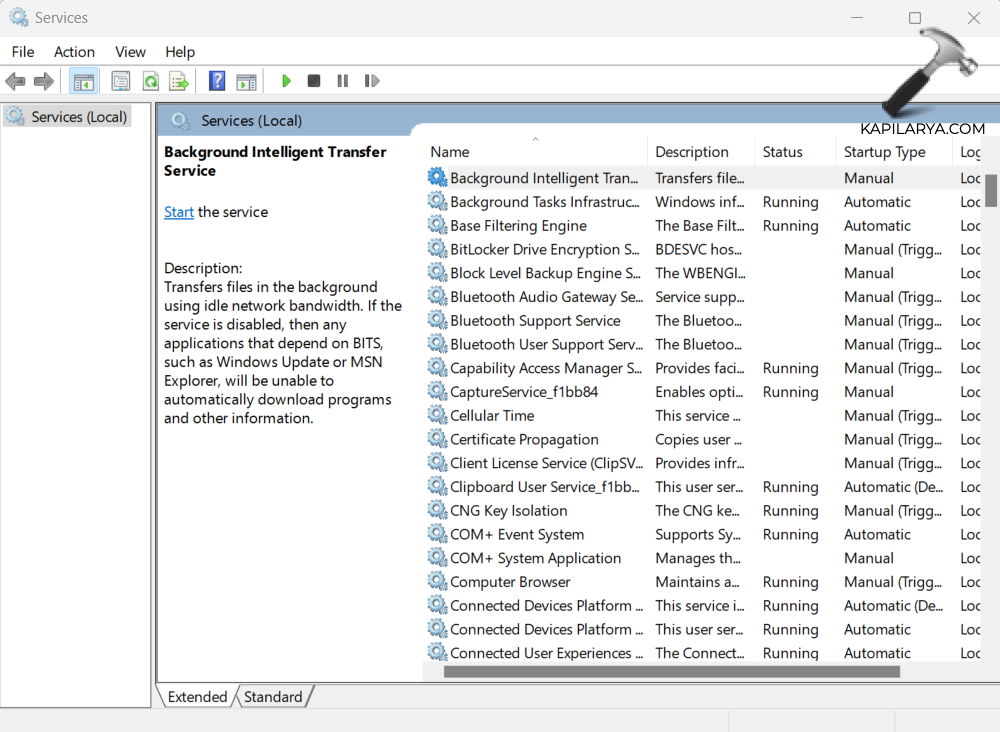
4. Right-click on “Windows installer” and choose “Stop”.
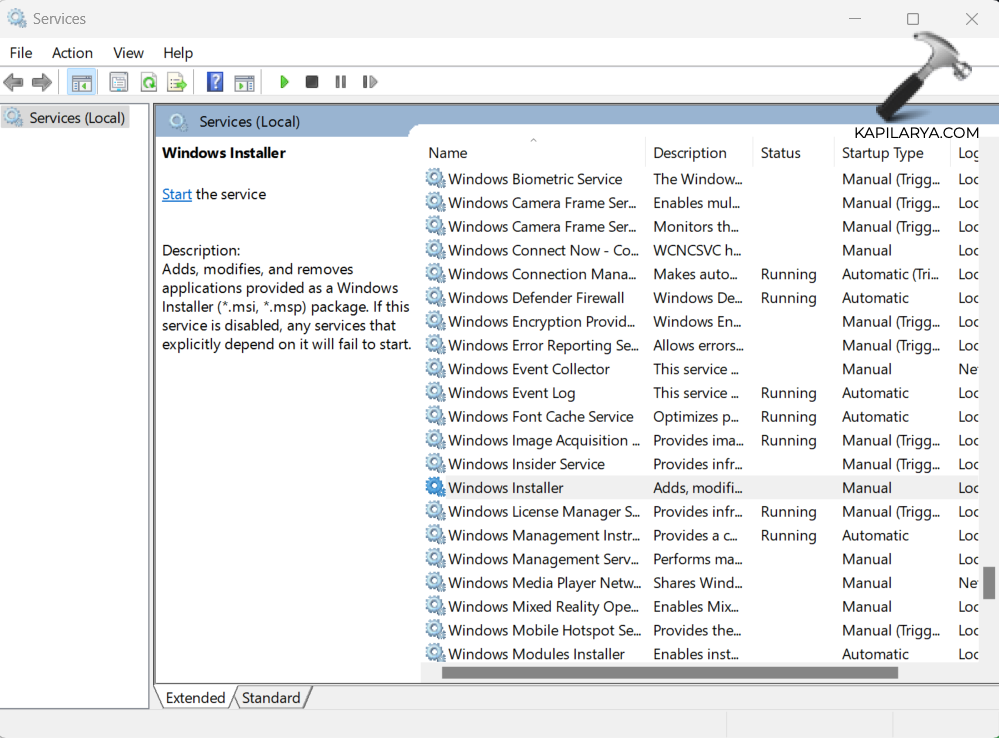
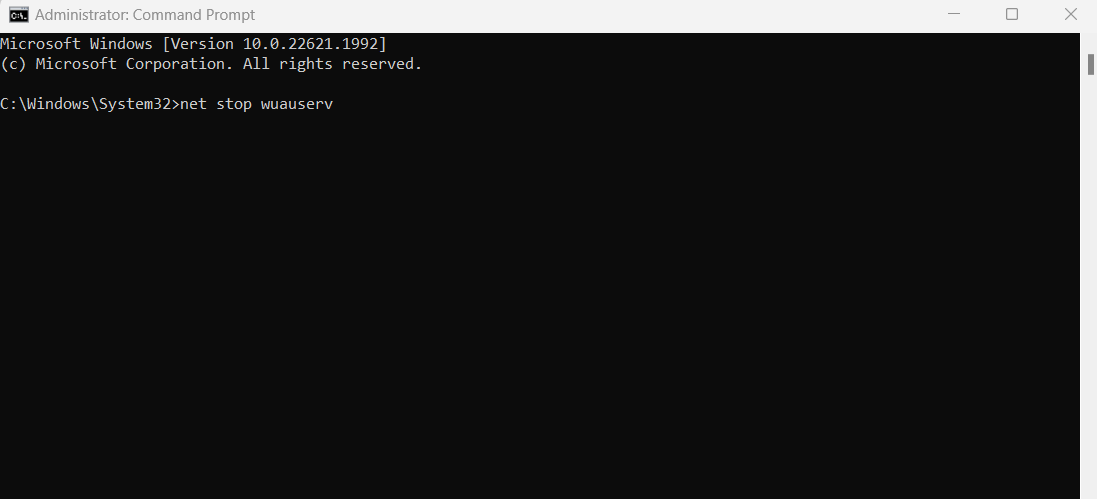
Alternatively, you can do the same using Command Prompt:
Open Command Prompt as an administrator and type the below commands and press Enter after each command:
net stop wuauserv
net stop cryptsvc
net stop bits
net stop msiserver
Step 2: Delete folders inside the SoftwareDistribution folder
1. Press Windows + E keys to open File Explorer.
2. Navigate to path C:\Windows\SoftwareDistribution.
3. Delete folders “DataStore” and “Download”.
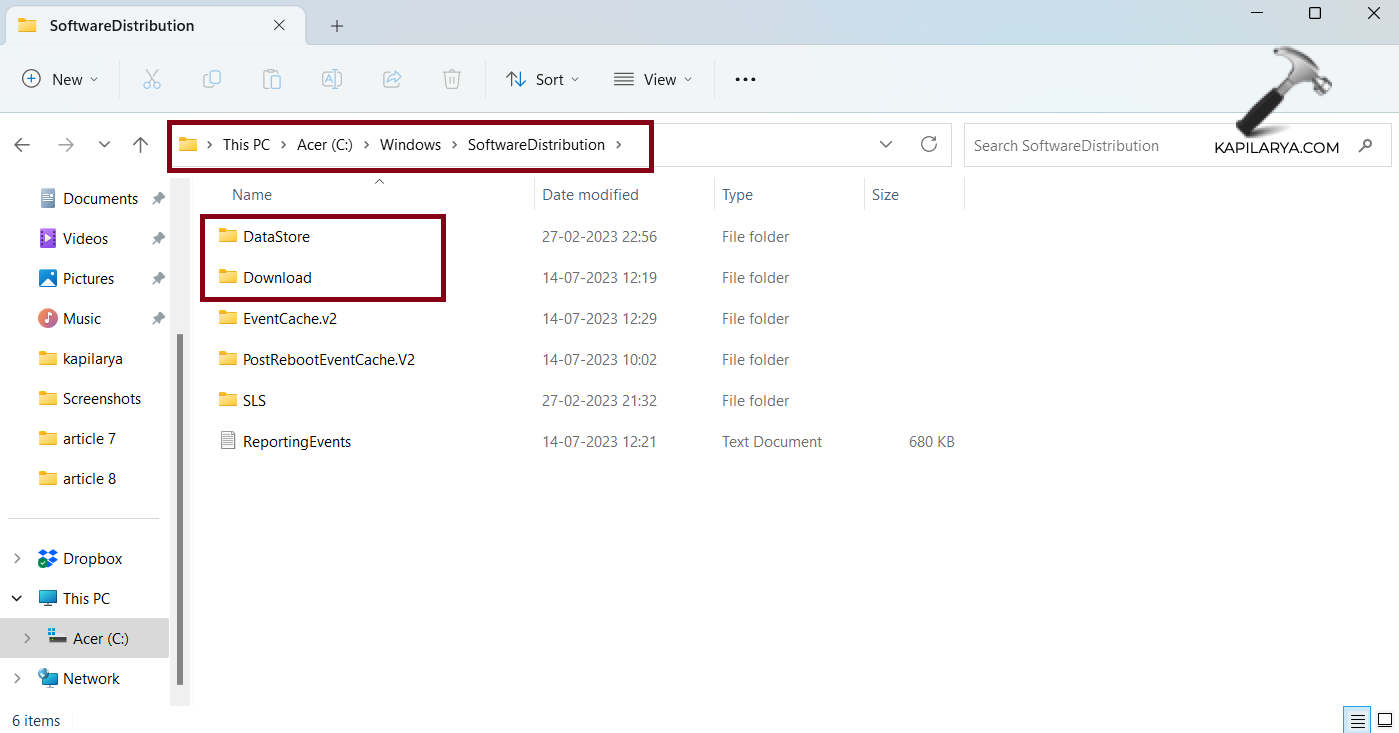
4. Click “Continue”.
Step 3: Restart the Windows Update services
Open Services and right-click on the below services. Then choose “Start”.
- Windows Update
- Background Intelligent Transfer Service
- Cryptographic Services
- Windows Installer
You can do the same, using Command Prompt by executing the below commands:
net start wuauserv
net start cryptsvc
net start bits
net start msiserver
If you want an automated script to do reset Windows Update, follow this video guide:
Fix 3: Check Windows Update logs
If you still face issue and want to find out specific root cause, you can check Windows Update logs.
This will help you determine what caused the issue and prevent you from completing update and why this message was triggered.
You can check this Microsoft documentation to find out Windows Update log and also learn how to read them. If you’re not able to read logs, you can reach out to Microsoft Community forums and create a new thread there and share logs with experts. They’ll help you accordingly to fix the issue.
![KapilArya.com is a Windows troubleshooting & how to tutorials blog from Kapil Arya [Microsoft MVP (Windows IT Pro)]. KapilArya.com](https://images.kapilarya.com/Logo1.svg)


![[Latest Windows 10 Update] What’s new in KB5055612? [Latest Windows 10 Update] What’s new in KB5055612?](https://www.kapilarya.com/assets/Windows10-Update.png)


Leave a Reply