If you are trying latest Preview Builds of Windows 11 on VMware Workstation Pro and if it is not working, this article may interest you. So recently, Microsoft updated the requirements for virtual machines (VMs) running Windows 11. Up to previous build 22454, these VMs were able to run Windows 11 without any problem. However, with build 22458, Microsoft has stated that VMs should fulfil the Windows 11 requirements just like the physical machine. Due to this, I wasn’t able to upgrade to a newer build because of the TPM error for Windows 11 VM on VMware Workstation Pro. If you’re facing same issue, this article will help you to fix.
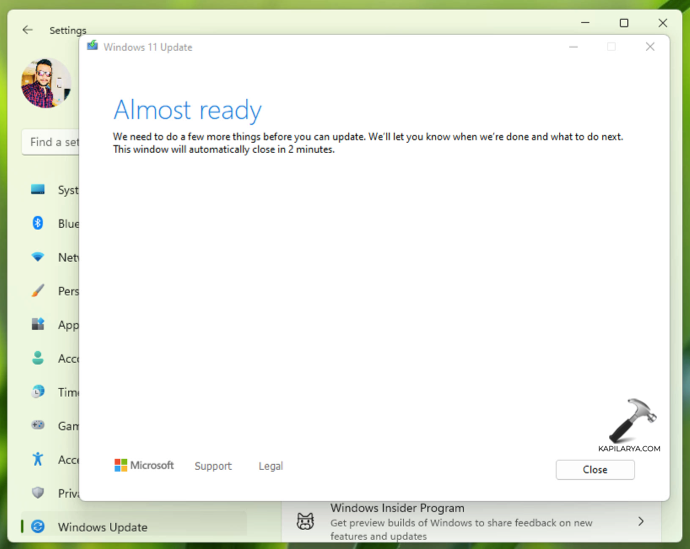
In this situation, while you try to download the latest Preview Builds, this Windows 11 Update screen appears saying This PC doesn’t currently meet Windows 11 system requirements. Further this adds, The PC must support TPM 2.0.
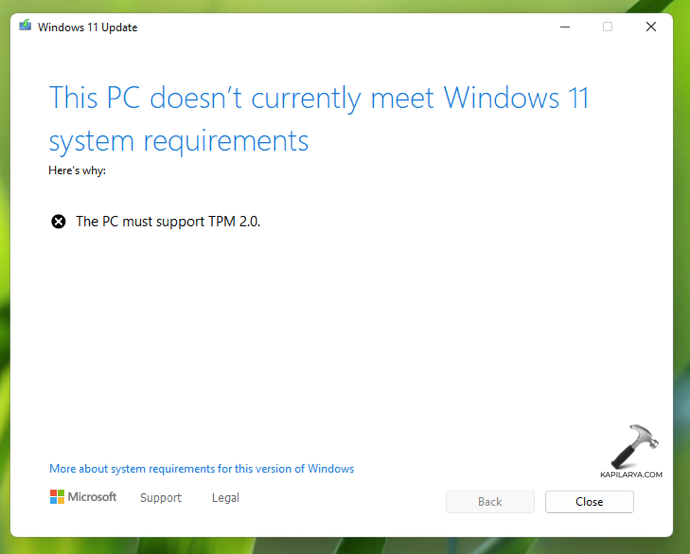
Due to this, you can’t download latest Preview Build:
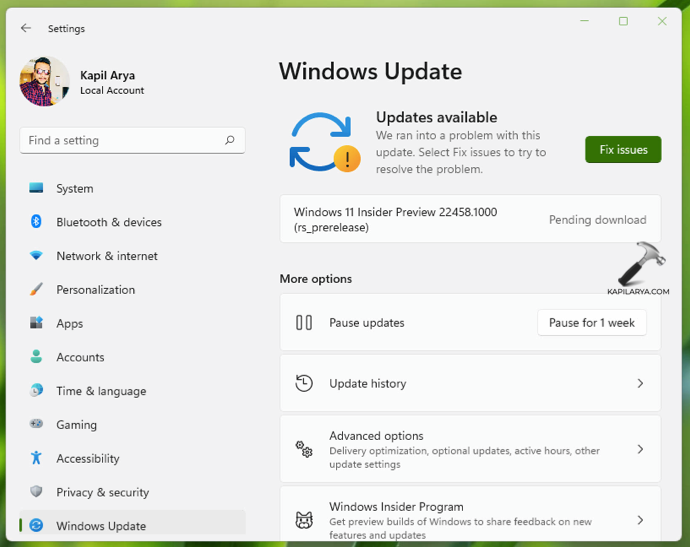
So how to add TPM 2.0 and resolve this issue? Well, if you are using Hyper-V, you can easily manage TPM 2.0 requirement from VM settings as shown in this guide. However, with VMware Workstation Pro, you can’t add TPM hardware directly. You first need to encrypt the VM. After this you can add virtual TPM (VTPM) as a hardware. Note that, if you’re on VMware Workstation Player, you can’t encrypt VM and also can’t add TPM. This only works with VMware Workstation Pro.
Here’s how to fix this issue.
Fix: TPM Error For Windows 11 VM on VMware Workstation Pro
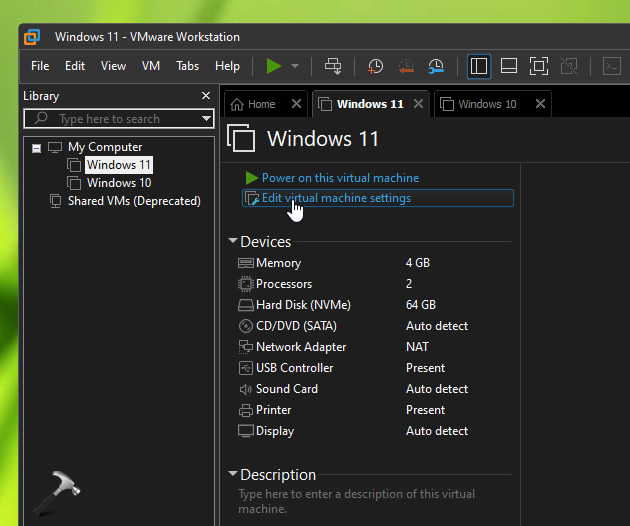
1. In VMware Workstation Pro, go to Windows 11 VM and click Edit virtual machine settings.
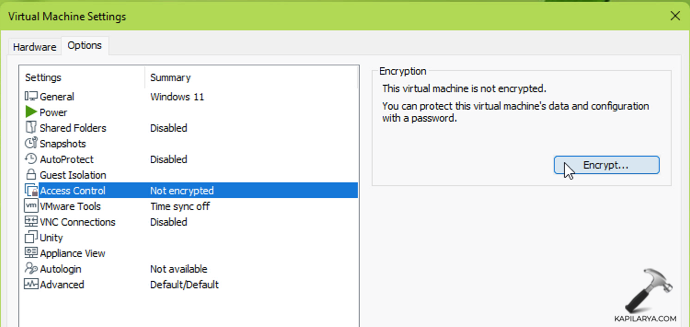
2. Under Virtual Machine Settings, go to Options tab. Select Access Control and in the right pane, click Encrypt.
3. Type in a password and confirm it. Click Encrypt then.

This will start encrypting your Windows 11 VM, and it may take time depending upon size of the VM.
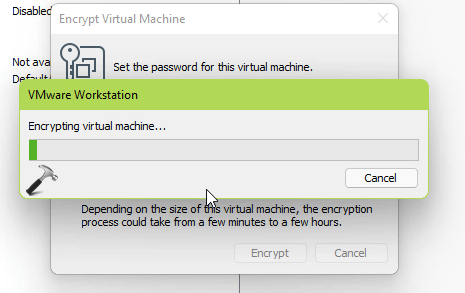
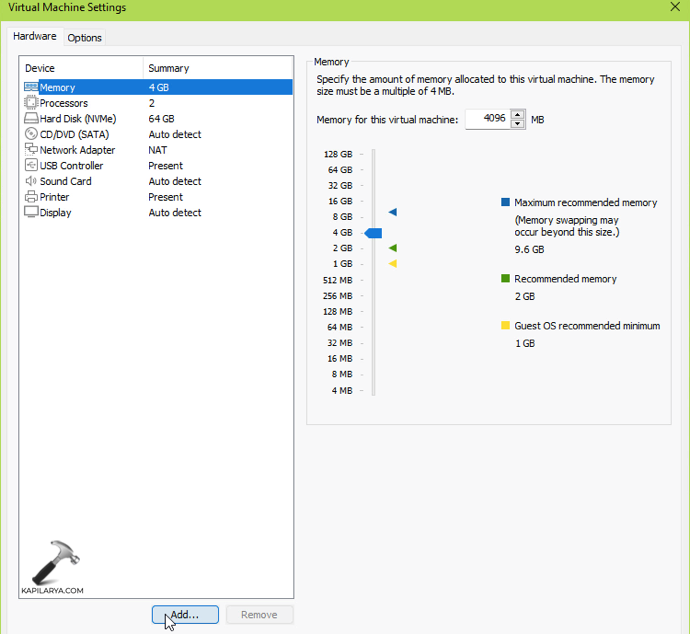
4. Once encryption is completed, back in the Virtual Machine Settings, go to Hardware tab, click Add.
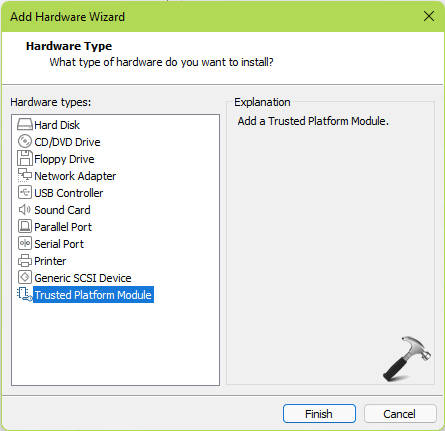
5. Under Add Hardware Wizard, select Trusted Platform Module and click Finish.
6. After this, TPM will be added and shown as Present under hardware devices.

7. You can now start Windows 11 VM and run tpm.msc command. In TPM snap-in, you should be able to spot TPM 2.0.

You can now try upgrading your Windows 11 VM to or newer build and this time TPM error won’t occur.
To illustrate this method, check this video guide:
That’s it!
![KapilArya.com is a Windows troubleshooting & how to tutorials blog from Kapil Arya [Microsoft MVP (Windows IT Pro)]. KapilArya.com](https://images.kapilarya.com/Logo1.svg)


8 Comments
Add your comment
This is what I needed to know. Thank you!
^^ Glad you found it useful!
This was VERY HELPFUL!
^^ Glad it helped!
Excellent work. Explained very well
^^ Thanks for your feedback!
Thank you for your help, nice job!
^^ Glad to help!