As soon as you type in Microsoft Word, misspelled words are highlighted with red line beneath them. This helps us to check incorrectly type words in a large documents and we easily rectify them by doing a right click and selecting correct spelling for the word(s).
However, sometimes, users may found that spell checker is no longer working in Word application. Under such a condition, it becomes quite difficult to highlight misspelled words and thus grammatical error(s) remain in the documents, which may slash your impression.
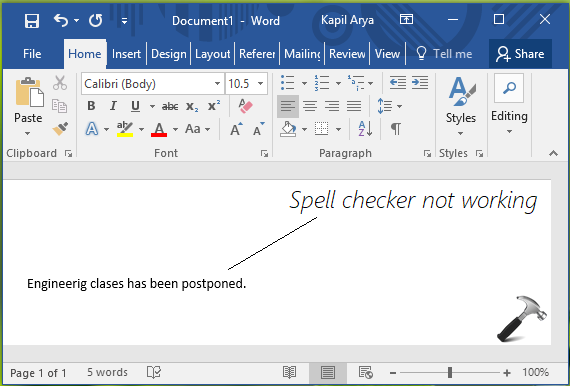
So if you’re facing the problem of spell checker not working, in this article we’ll help you to fix that. Here’s what to do to solve this issue.
Page Contents
FIX: Spell Checker Not Working In Word 2016/13/10/07
FIX 1 – Check Proofing Settings
1. Open Word, click on FILE > Options.
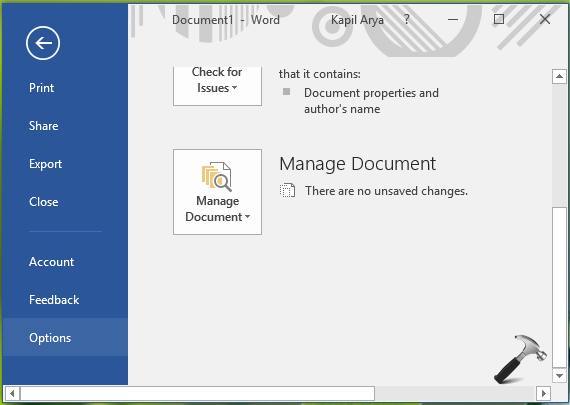
2. In the Word Options, switch to Proofing. Under ‘When correcting spelling and grammar in Word‘ heading, make sure following options are checked:
- Check spelling as you type
- Check grammar with spelling
For Exceptions for the document(s), uncheck all the options. Click OK. Return to the document you’ve working on.
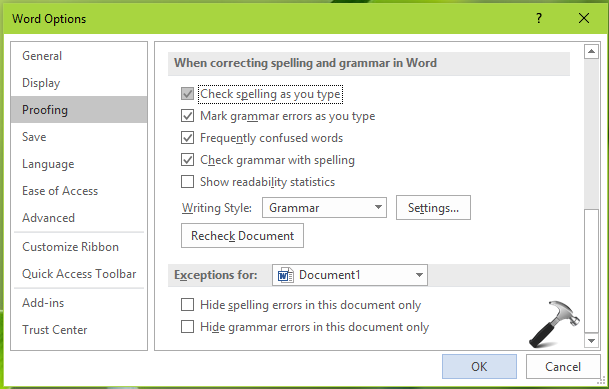
This should immediately start spell checker. But if that doesn’t happens, go ahead and try FIX 2.
FIX 2 – Using Registry
Registry Disclaimer: The further steps will involve registry manipulation. Making mistakes while manipulating registry could affect your system adversely. So be careful while editing registry entries and create a System Restore point first.
1. Press  + R and put regedit in Run dialog box to open Registry Editor (if you’re not familiar with Registry Editor, then click here). Click OK.
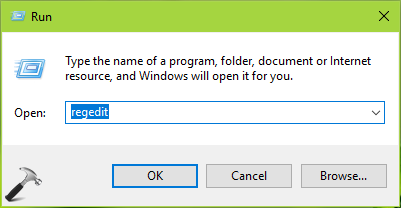
2. In left pane of Registry Editor window, navigate to following registry key:
HKEY_CURRENT_USER\Software\Microsoft\Shared Tools\Proofing Tools\1.0\Override
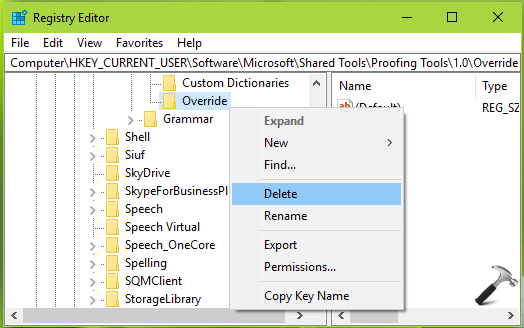
3. Right click on the Override registry key and select Delete. Click Yes on the confirmation prompt shown below.

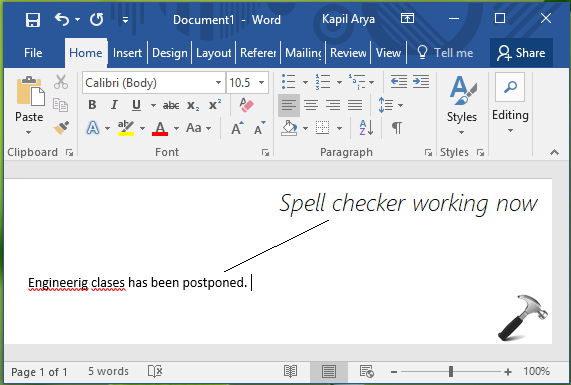
Close Registry Editor. Reboot the machine, spell checker should work after restart.
Hope this helps!
![KapilArya.com is a Windows troubleshooting & how to tutorials blog from Kapil Arya [Microsoft MVP (Windows IT Pro)]. KapilArya.com](https://images.kapilarya.com/Logo1.svg)


Leave a Reply