In your Windows 11 operating system, it is not possible to use search without relying on the background services. There are many background processes involved to getting the correct search results. Windows Search Indexer is one of such background service. It keeps running in the background, to ensure that search results are readily available. In case, if you are getting Windows Search Indexer high disk usage in Windows 11/10, this article is for you.
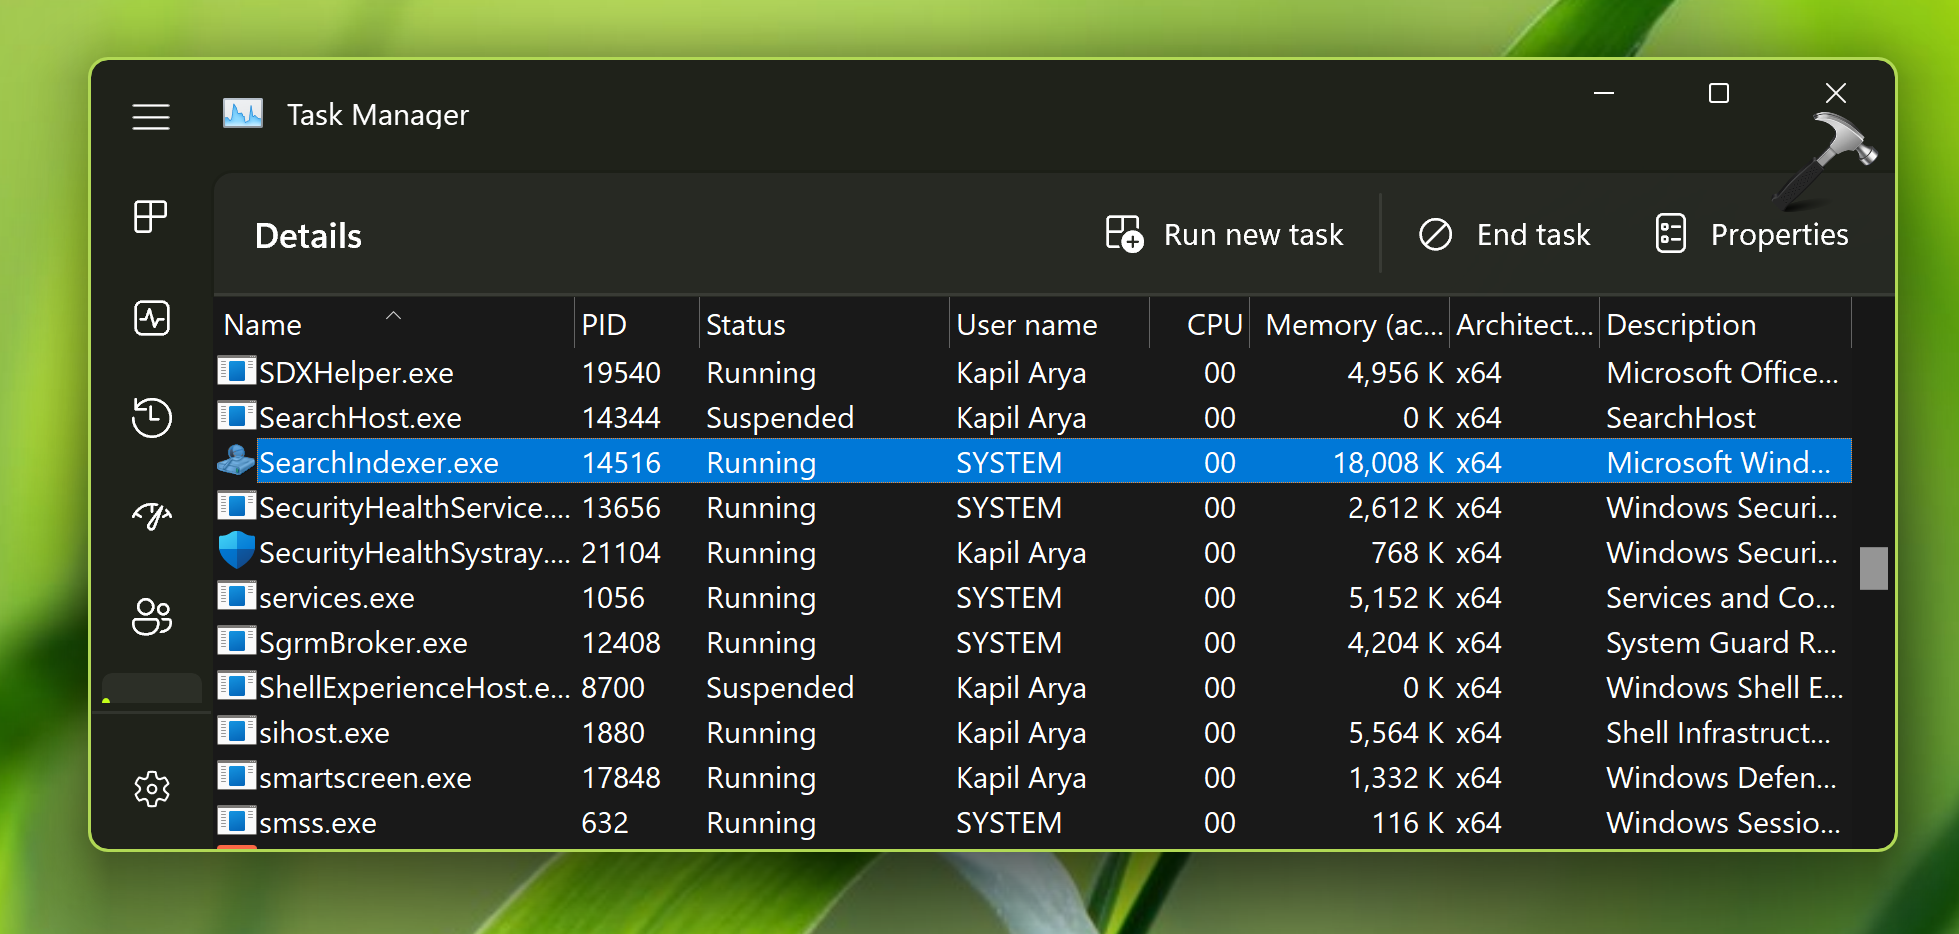
The Windows Search Indexer is the one you can find it running under Task Manager. You should be able to locate it with SearchIndexer.exe name. It is system initiated process and well protected by system resources.

Page Contents
Fix: Search Indexer high disk usage in Windows 11/10
Fix 1: Run Search and Indexing troubleshooter
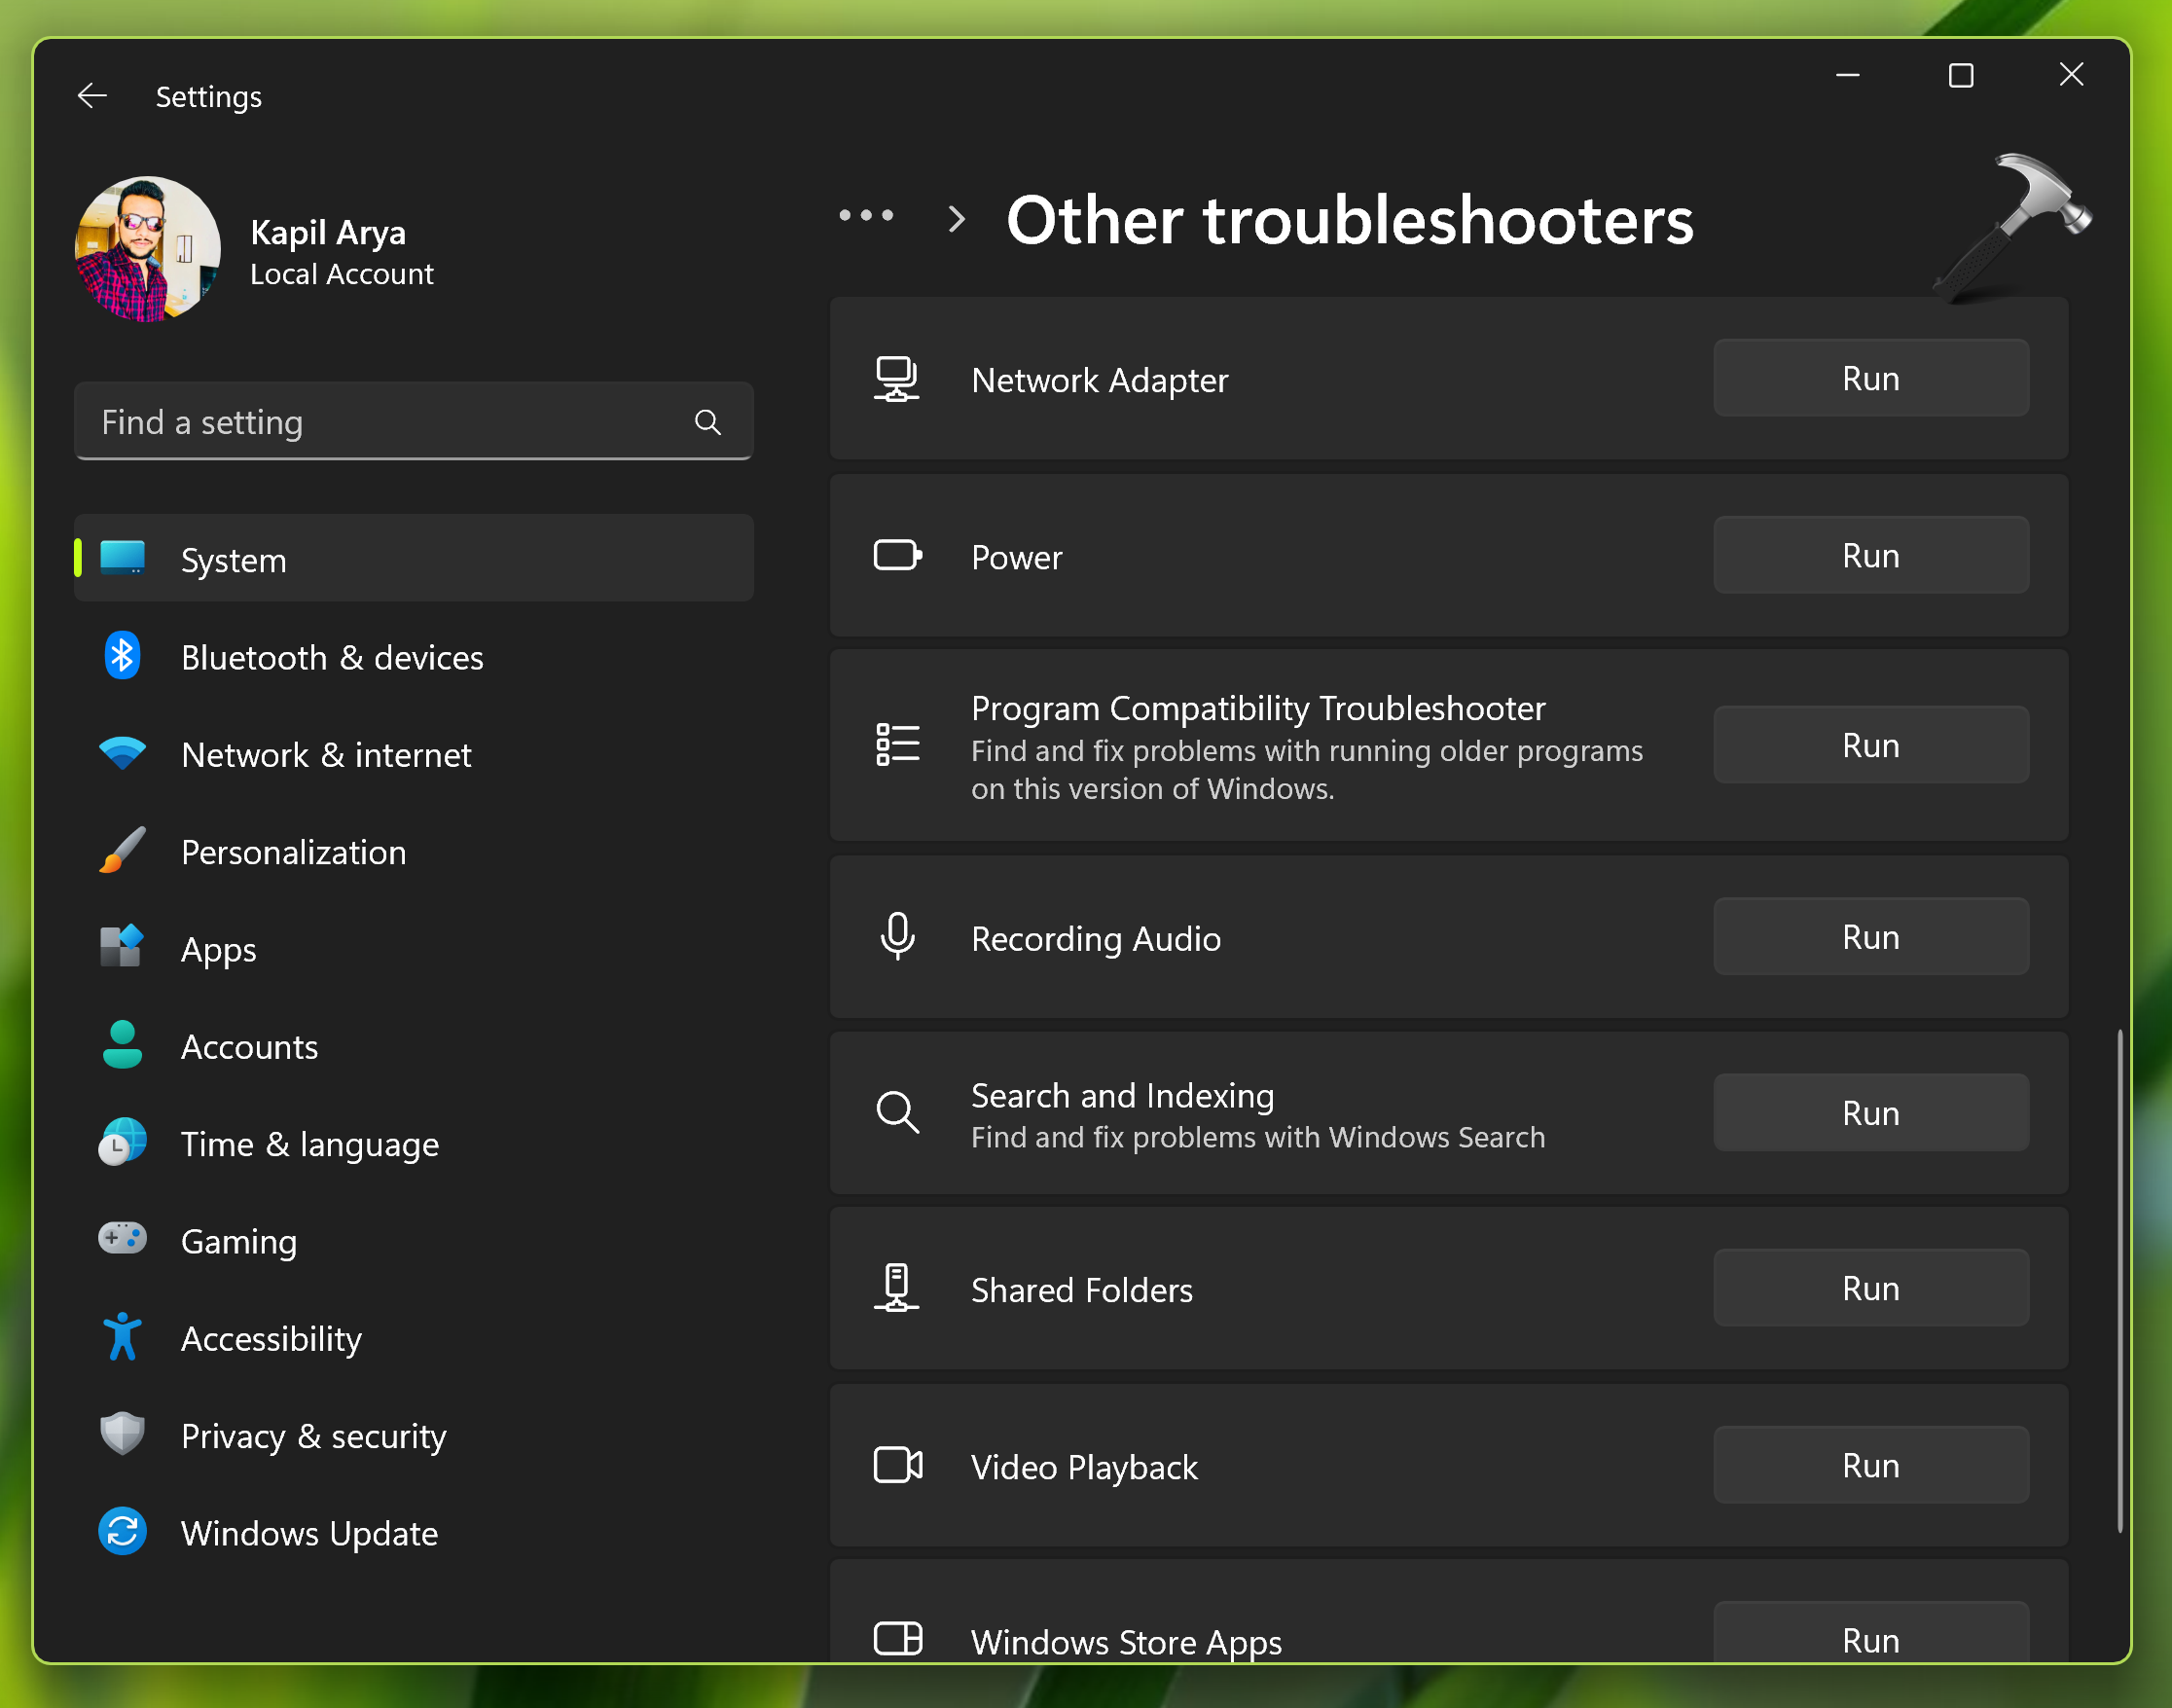
The first thing you can try to fix this issue is running the Search and Indexing troubleshooter. And this troubleshooter is available built into Windows 11 operating system. It can take care of the common and normal issues you may face with search feature.
1. Open Settings.
2. Go to System > Troubleshoot > Other troubleshooters.
3. Click Run next to Search and Indexing troubleshooter.

Fix 2: Restart Windows Search service
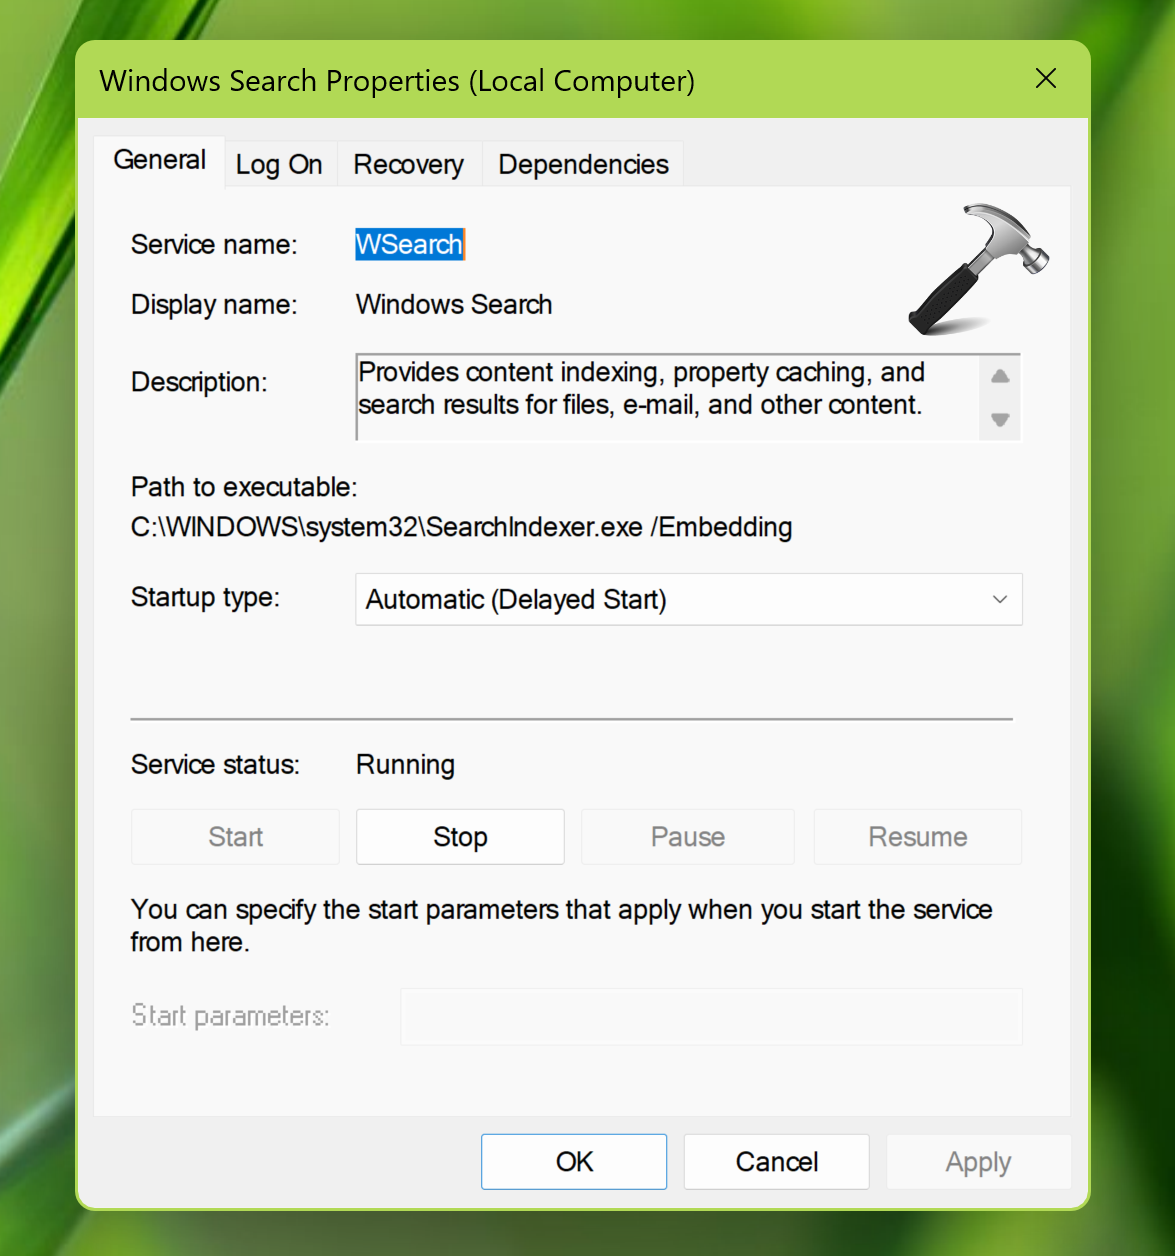
If fix one did not resolve your problem, then you can try restarting the Windows Search service. Follow these easy steps to restart the Windows Search service on your system.
1. Press Windows key + R to open Run.
2. Type services.msc command and press the Enter key.
3. In the Services window, scroll down and locate the Windows Search process.
4. Double click and hit Stop to terminate the process. Then click Start button on same property sheet to restart the service. Click Apply, OK.

Fix 3: By rebuilding search index
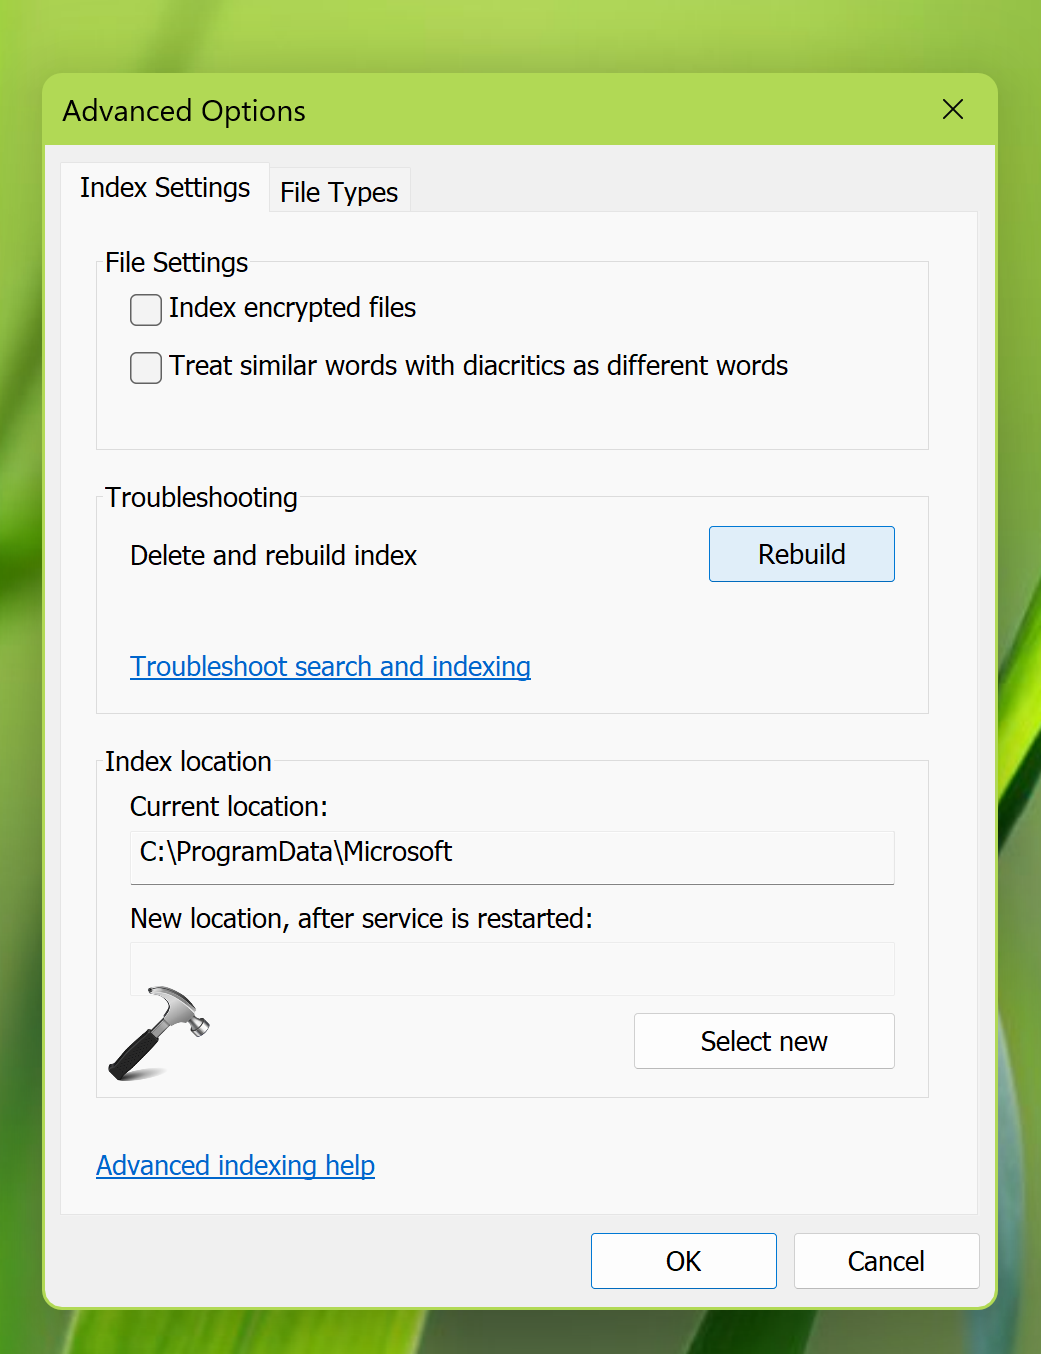
If previous solutions didn’t help you to resolve this issue, then you can try rebuilding the Windows Search Index.
1. Search for Indexing options using Windows search. Pick same from results.
2. In Indexing options window, click Advanced at bottom.
3. Under Advanced Options, click on Rebuild next to Troubleshooting heading.

Restart your system once and the issue should be resolved hopefully.
If issue still persists, follow other solutions in this fix.
That’s it!
![KapilArya.com is a Windows troubleshooting & how to tutorials blog from Kapil Arya [Microsoft MVP (Windows IT Pro)]. KapilArya.com](https://images.kapilarya.com/Logo1.svg)


Leave a Reply