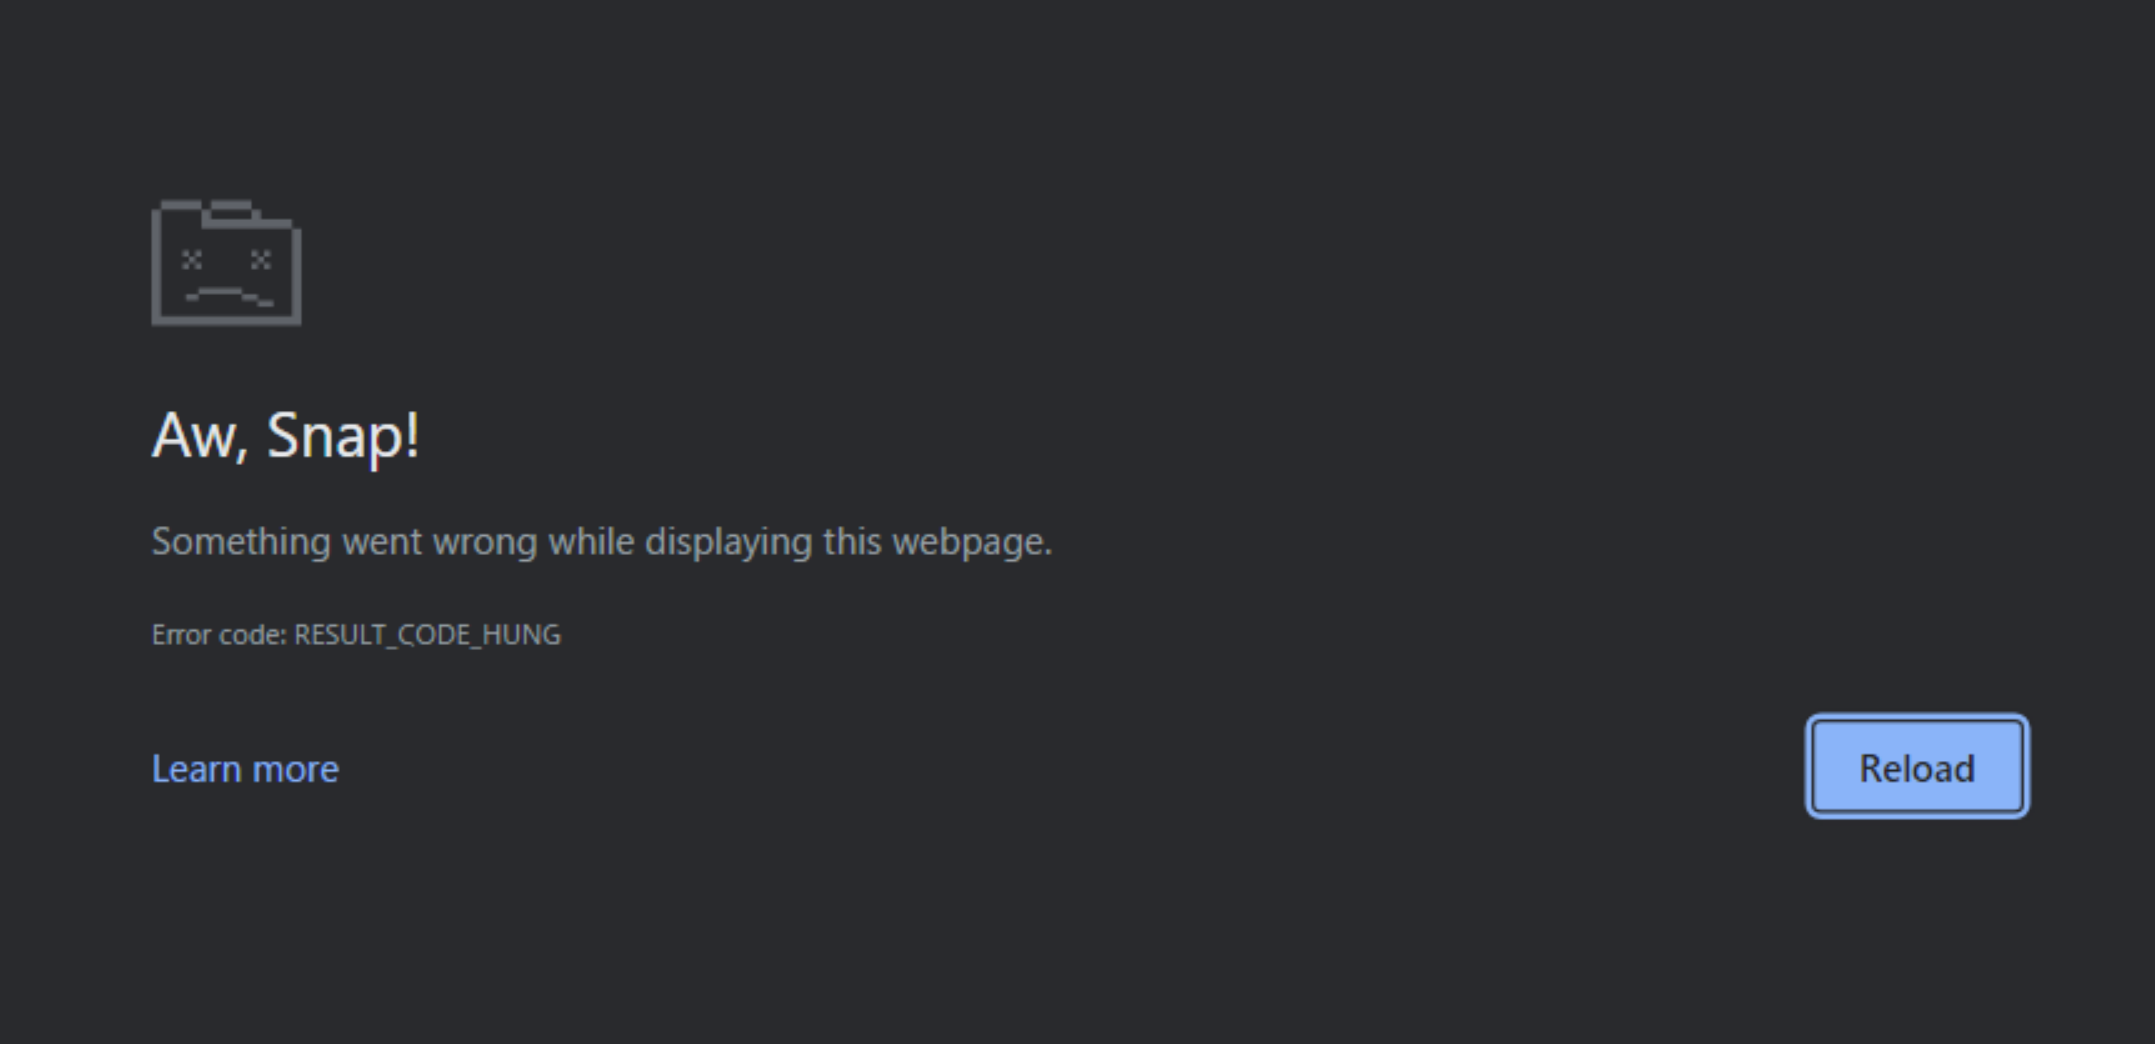
Is your Chrome showing the RESULT_CODE_HUNG error? This error pops up when the renderer processes get hung or suddenly stop.
Also, this error can come up due to the following reasons:
1. Poor Internet Connection
2. Conflicting Extensions
3. Corrupted Cache
4. Outdated Version of Google Chrome
5. DNS Server Issues
The RESULT_CODE_HUNG error in Google Chrome is annoying. But, it is easily fixable with the troubleshooting solutions valid for Windows 10/11 in this article.
Page Contents
Fix: RESULT_CODE_HUNG Error in Google Chrome
Fix 1: Reload the Tab
Open one more tab and search for anything. If the issue is just with the previous tab, try to reload that webpage. If that doesn’t work, move on to the next step.
Fix 2: End Google Browser with Task Manager
1. Open the Task Manager by searching “task manager” on the Windows search bar.
2. Right-click on Google Chrome and tap “End task”.

Fix 3: Check the Internet Connectivity
Check the internet connectivity of your PC. Even if it’s connected, the internet speed might be slow. For this, try to change the source of the internet or reconnect with a different router.

If the internet is working perfectly fine, the issue might be with the website or browser itself. To troubleshoot this, follow the next solutions given below.
Fix 4: Update Google Chrome Browser
If the Chrome Browser is running on an outdated or previous update, it might suddenly stop working and cause errors. To avoid these issues, the Google Chrome browser must be automatically updated. To manually update the browser at intervals, follow the below steps:
1. Go to the Chrome Browser and click on the three-dot icon in the top-right corner.
2. Scroll down and tap on Settings.

3. Select “About Chrome” option and let Google Chrome check for any updates.

4. If there is any update, click on the “Relaunch” button. If there is no update, close down the window.

Fix 5: Check Added Browser Extensions
Sometimes, outdated and malicious extensions cause problems to the browser. It is advised to update the installed browser extensions that have not been updated. Also, delete the unnecessary and malicious browser extensions.
Fix 6: Delete Browser Data and Cache
1. Open the Google Settings again and tap on Privacy and Security.
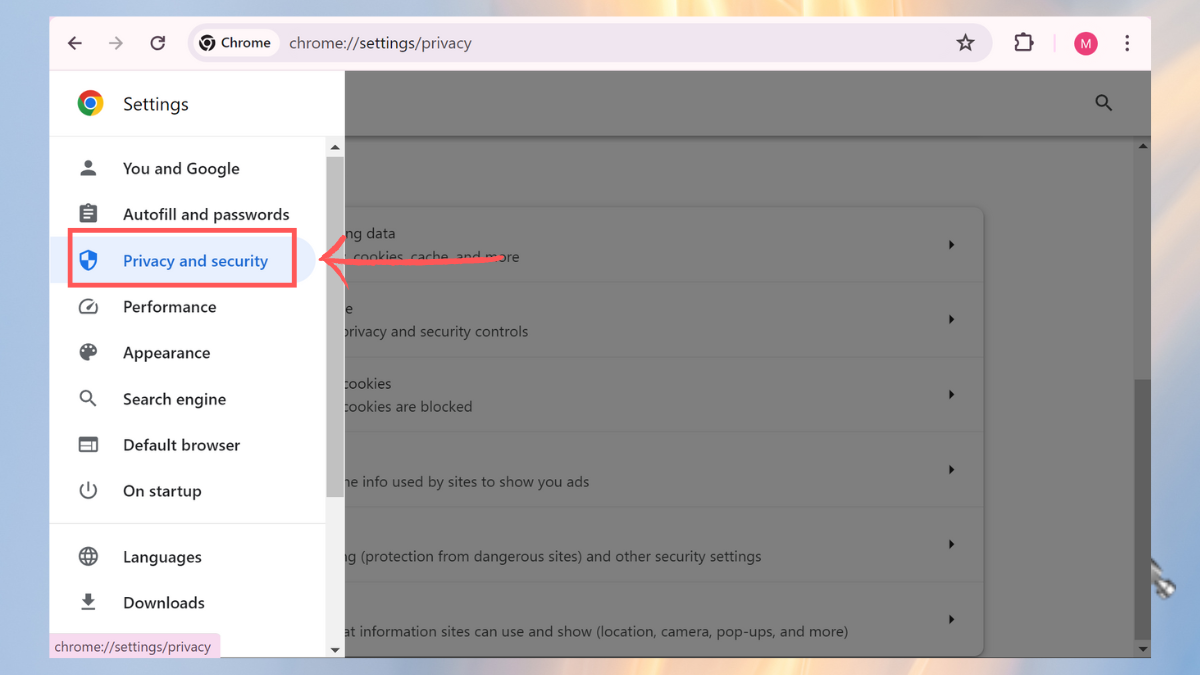
2. Click on “Clear Browsing Data”.
3. Select the Time Range and check the cache option. Then, tap on “Clear Data”.

4. Restart the PC and open the browser again to check.
Fix 7: Change DNS Settings
1. Open the Google Chrome Settings and go to the Privacy and Security section.
2. Select the Security tab. There, select the appropriate DNS Provider.

Fix 8: Reset Browser Settings
If the issue still persists, reset the browser settings. For that, follow the below steps:
1. Go to the Google Chrome Settings and click on the Reset Settings option.

2. Click on the “Restore settings to their original defaults” option and tap on the “Reset Settings” option.
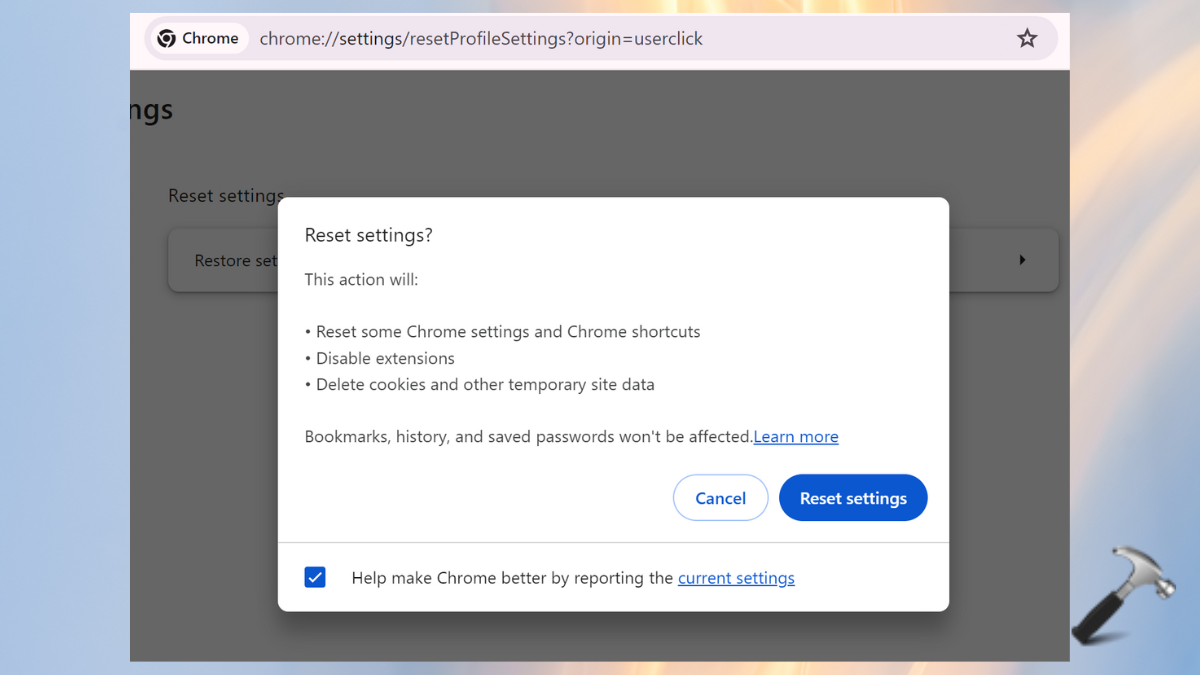
3. Restart the system and open the browser again.
That’s it!
![KapilArya.com is a Windows troubleshooting & how to tutorials blog from Kapil Arya [Microsoft MVP (Windows IT Pro)]. KapilArya.com](https://images.kapilarya.com/Logo1.svg)





Leave a Reply