Windows 11/10 users often rely on the “Reset This PC” feature as a convenient solution for various issues, whether it be performance slowdowns, system errors, or a desire to start afresh. If you find yourself facing this issue, then you are in the right place. In this article, we will explore potential causes for the malfunction and provide step-by-step solutions to fix Reset This PC not working on Windows 11/10.
Page Contents
Why Reset This PC?
The “Reset This PC” feature is a built-in Windows utility designed to restore your computer to its factory state, removing all installed apps and personal files. It troubleshoots issues stemming from software conflicts, corrupted files, or system misconfigurations.
Common Issues and Symptoms
Some common symptoms include:
- Stuck at a certain percentage: The reset process may stall at a specific percentage, leaving users in an endless loop without completing the operation.
- Error messages: Users might encounter error messages that prevent the reset from proceeding. These messages can range from generic errors to more specific issues related to files or configurations.
- Endless reboot loops: Some users may find themselves caught in a cycle of reboots without the reset ever completing, forcing them to intervene to break the loop.
Fix: Reset This PC not working on Windows 11/10
Here I will provide different ways to fix Reset This PC not working on Windows 11/10, which are:
- Set the computer for a Clean Boot
- Run SFC and DISM Scan
- Use Media Creation Tool
- Use System Image Recovery
- Perform Refresh/Reset from WinRE
Solution 1: Set the Computer for a Clean Boot
1. Press the Windows key + R. Type “msconfig” and click OK.
2. Under the Services tab, check the “Hide all Microsoft services” option. Then, click “Disable all“.

3. Now, under the Startup tab, click on “Open Task Manager“.
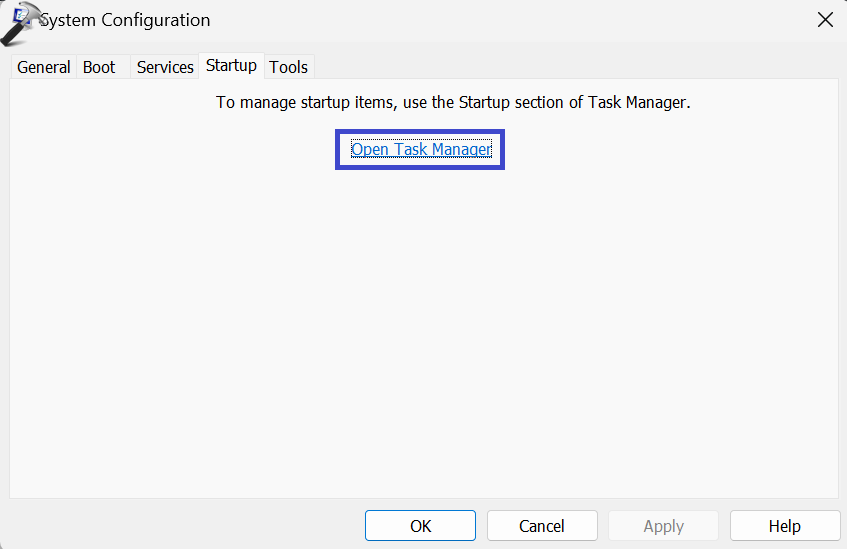
4. Disable all the items one by one. To disable it, right-click on it and then select the “Disable” option.

5. Go back to the “System Configuration” window. Click OK followed by Apply.
Restart the PC to save the changes and check whether the issue is resolved or not.
Solution 2: Run SFC and DISM Scan
1. Open the command prompt and run as administrator.
2. Copy and paste the SFC command:
sfc /scannow

Press Enter.
3. Now, type the DISM command:
DISM /Online /Cleanup-Image /RestoreHealth

Press Enter.
After executing all the above commands, restart the PC.
Solution 3: Use Media Creation Tool
1. Navigate to the official Microsoft website to download the Media Creation tool for Windows 11.
2. Locate the “Download Now” option on the website and click on it to begin the download.
3. Once the download is complete, locate the downloaded file and run the Application.
A license terms page will appear. Click on the “Accept” button.

4. Select the language and edition. Then click “Next“.
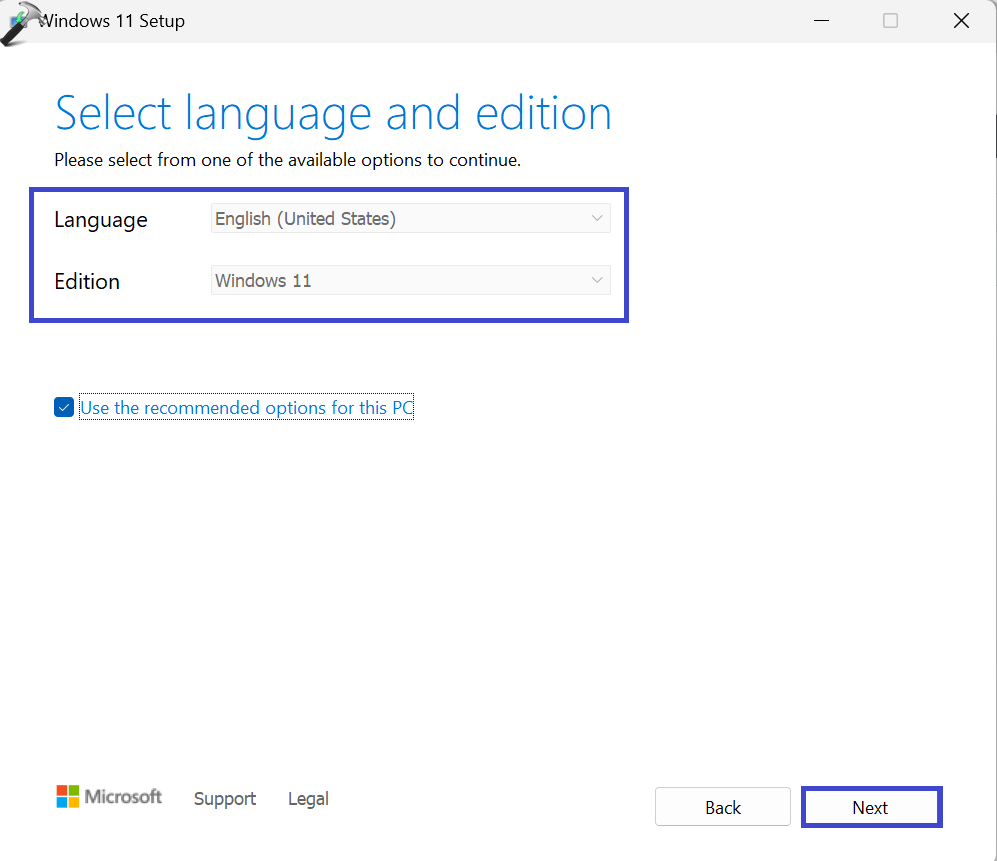
5. Select the “Upgrade this PC now” option.
Follow the on-screen instructions to start the upgrading process. This tool will download the necessary files and install Windows 11 on your PC.
Solution 4: Use System Image Recovery
System Image Recovery allows users to restore their computer to a previous state by using a system image. A system image is essentially a snapshot of the entire operating system, including the operating system files, system settings, installed programs, and personal files.
Before using System Image Recovery, it is essential to have a current system image. For that, follow the below steps:
1. Open the Control Panel and go to “System and Security => Backup and Restore“.
2. Select the “Create a system image” option.

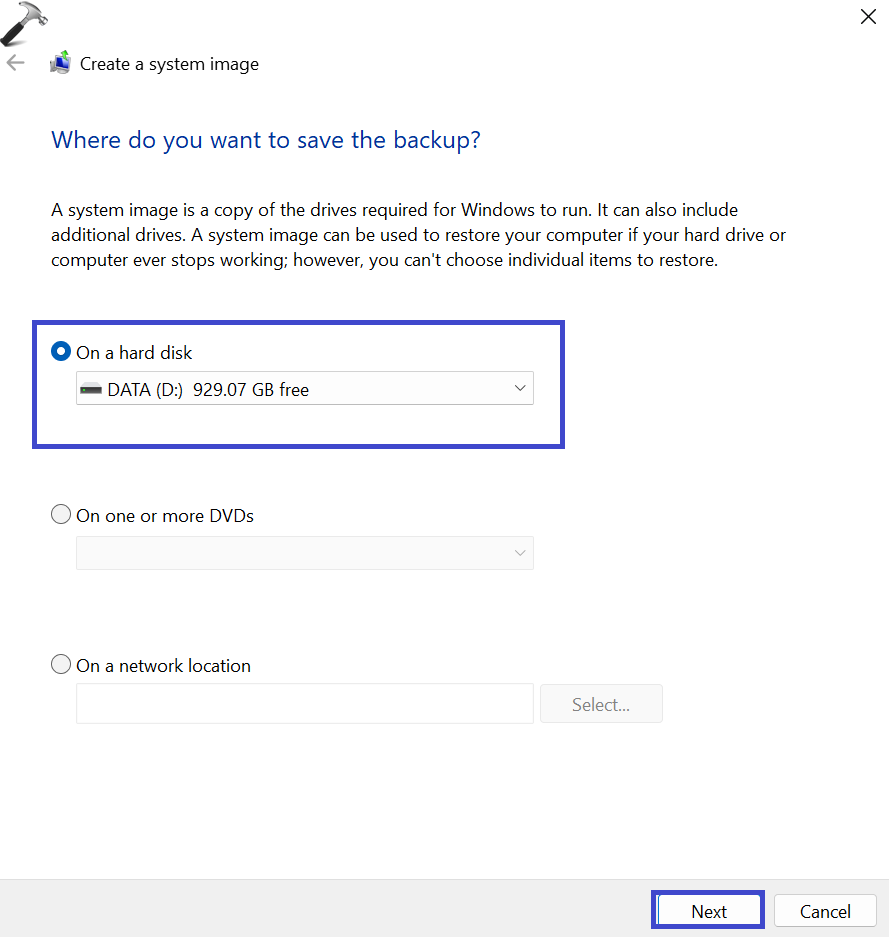
3. Specify the location where you want to save the system image. It can be:
- On a hard disk,
- On a network location,
- On one or more DVDs.
Click “Next“.
4. Choose the drives that you want to include in the system image. Typically, this includes the drive where Windows is installed.
5. Click “Start backup” to initiate the backup process, and Windows will create a complete system image based on your selections.

Follow the steps to fix the issue using System Image Recovery:
1. Restart the PC and during the reboot process, press F2.
2. Choose the appropriate boot drive. Select the drive or media where your system image is located.
3. Click the “Troubleshoot” option in the Windows Recovery Environment.
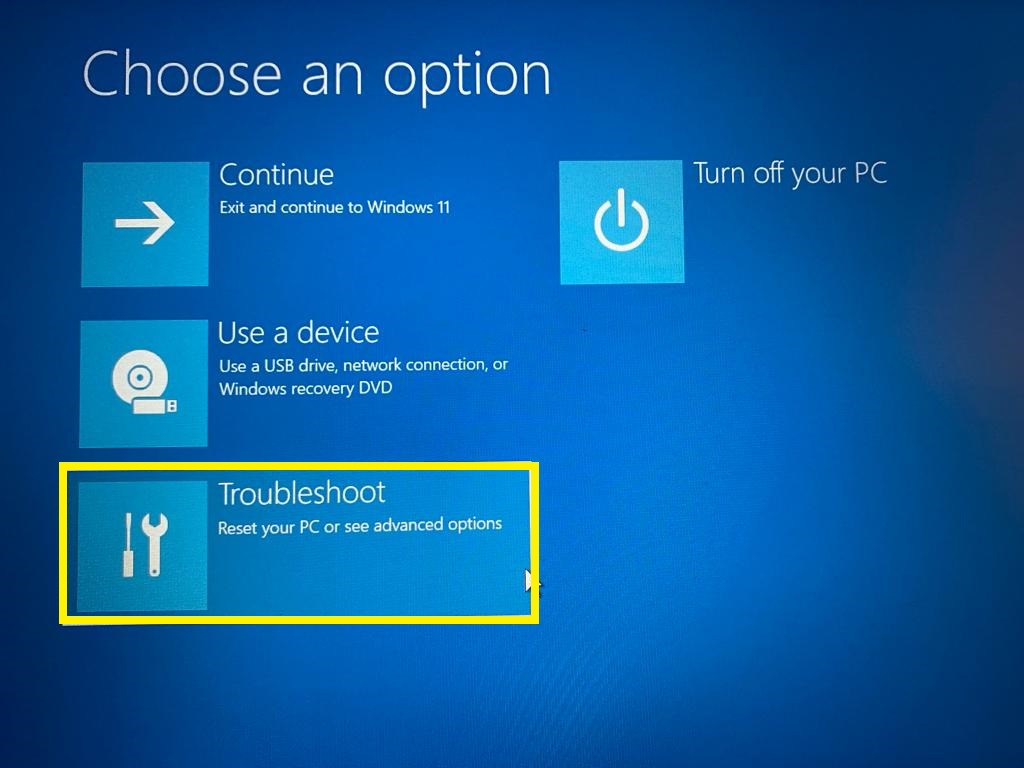
4. Click on the “Advanced options“.
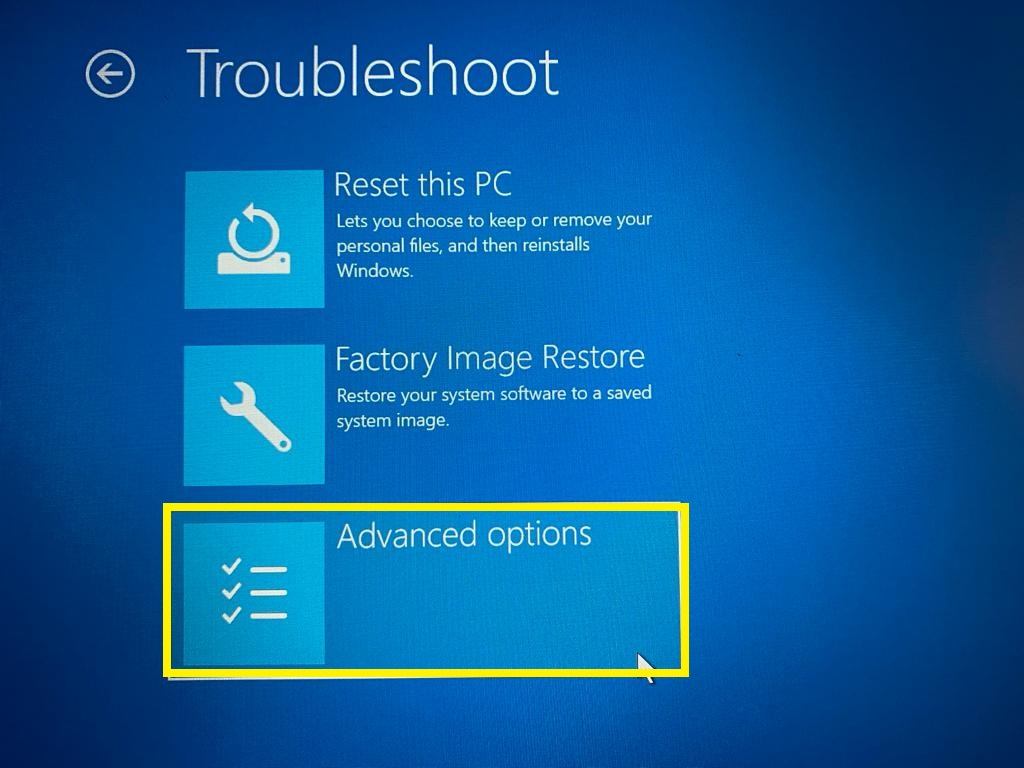
5. Now, click on “See more recovery options“.

6. Click “System Image Recovery“.

Follow all the on-screen instructions to complete the process.
Solution 5: Perform Refresh/Reset from WinRE
1. Insert a USB or DVD of Windows 11 Media.
2. Restart the PC. When the Windows reboots, press F2 to open the boot menu.
3. Select your drive and then click “Next“.
4. Select the “Repair your computer” option.
5. A blue screen will appear. Choose “Troubleshoot“.
6. Now, click on “Advanced options“.

7. At the end, you have to select the “Startup Repair” option.

That’s It!
![KapilArya.com is a Windows troubleshooting & how to tutorials blog from Kapil Arya [Microsoft MVP (Windows IT Pro)]. KapilArya.com](https://images.kapilarya.com/Logo1.svg)


1 Comment
Add your comment
These solutions are not working. I created a bootable media and when attempting to run the install I get stopped by a message asking for a Media Driver for my HP Laptop 15-dy5073dx. I am now downloading the ISO and will try to go this route.
this is my son’s laptop, when i go into his profile (the only profile) windows explorer freaks out and the icons flash and I am unable to do anything on the desktop. I have tried every single repair/reinstall option on the machine to this point and all fail or do not finish.