Are you able to see your profile picture in the Windows 11 Settings app? If no, then you can use some useful fixes listed here. Typically, it is the default User account picture that is saved as your profile picture for Microsoft account. This profile picture then gets displayed in all Microsoft services, such as Windows Settings, MS Word, Outlook, etc. If you are unable to see your profile picture, then continue reading!
Page Contents
Fix: Profile Picture not showing up in Windows 11 Settings app
Way 1: Examine the Latest Update
Sometimes, users might come across errors after updating their system. If you have recently updated your Windows PC, then try uninstalling it. If it was an obligatory update, then keep it and add a profile picture to your Microsoft account.
Way 2: Reboot the System
This is another quick fix to resolve the profile picture not showing up issue. Try rebooting your system to fix the transient bugs if you are facing any. If you are unable to see your profile picture, then reboot your Windows system.
Way 3: Check the Microsoft Account
As stated above, your Microsoft account’s profile picture shows up in all of the Microsoft services. So, check if you have logged into the right Microsoft account. Try logging out and logging in again. Also, check if you have put any profile picture in your Microsoft account.
Way 4: Delete the Account Pictures
To delete the old pictures, go through the following steps:
1. Open Run by pressing the Windows + R hotkey and type
C:\Users\yourname\AppData\Roaming\Microsoft\Windows\AccountPictures

Note: Replace yourname in the above command with your user profile name.
2. Now, delete all the account pictures and create your new profile picture in Windows Settings.
However, if there are no pictures, then try another fix.
Way 5: Examine the System Through Tools like ChkDsk, SFC, and DISM
1. Open Command Prompt by typing cmd in the Run dialog box.

2. Once there, run one of the following commands:
To run System File Checker, execute:
sfc /scannow

To run DISM, execute:
dism /online /cleanup-image /CheckHealth

To run ChkDsk, execute:
chkdsk /f /r /b

Wait for the scan results and check if it resolves the issue.
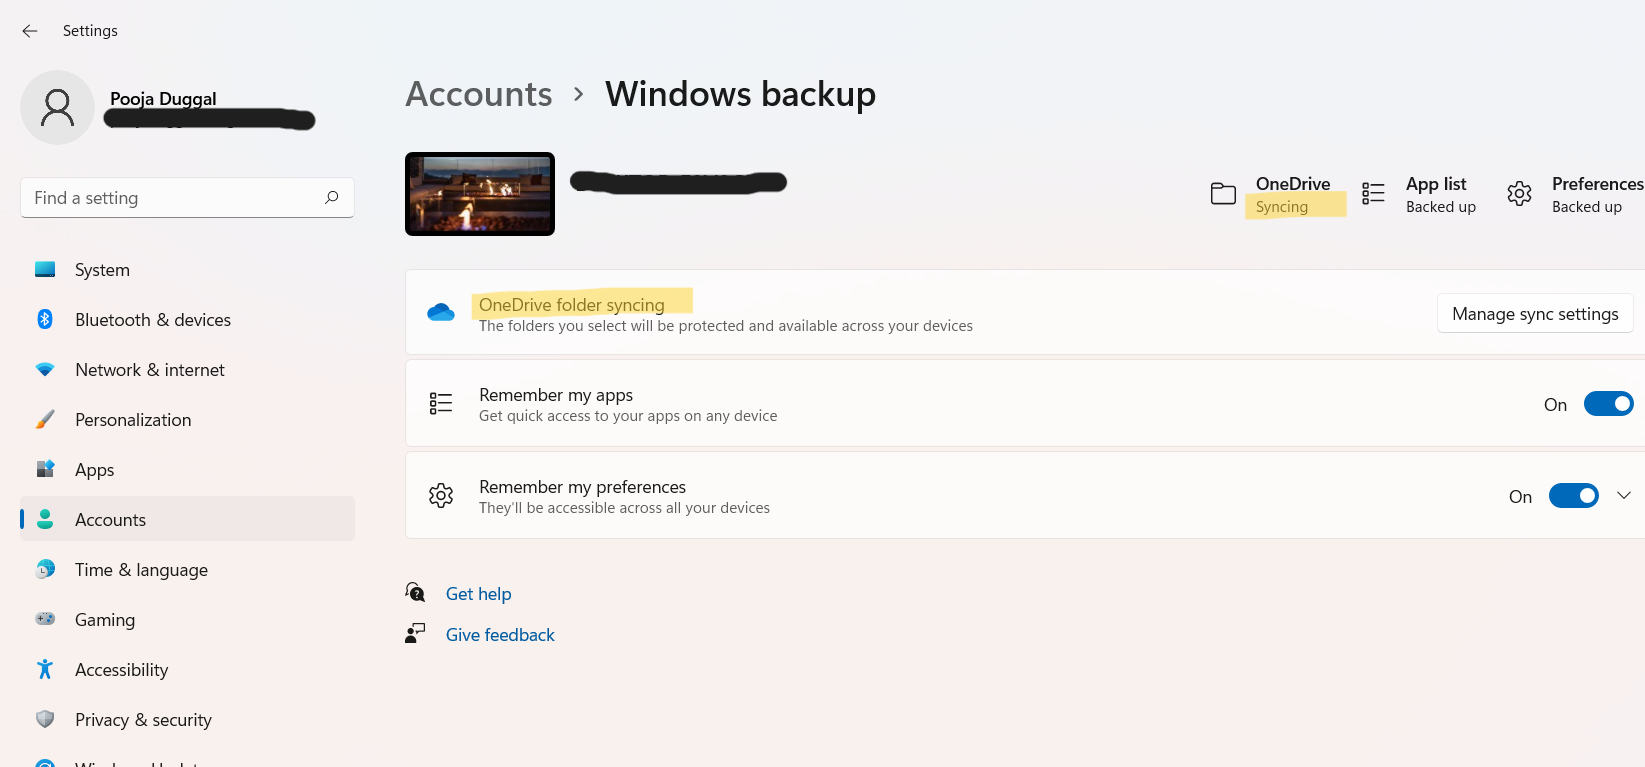
Way 6: Sync the Settings
If you could not see your profile pic in Windows Settings, then there can be a sync issue. So, it is recommended to check whether you have enabled the sync feature or not. To do so, follow:
1. In the Search column of Settings, type sync your settings and then, open it.

2. From there, check whether the sync setting is enabled or not.

3. If it’s enabled, then try turning it OFF and ON again.
Way 7: Create your Profile Picture
If nothing works, then it is better to create a new profile picture in Windows Settings. For this, follow:
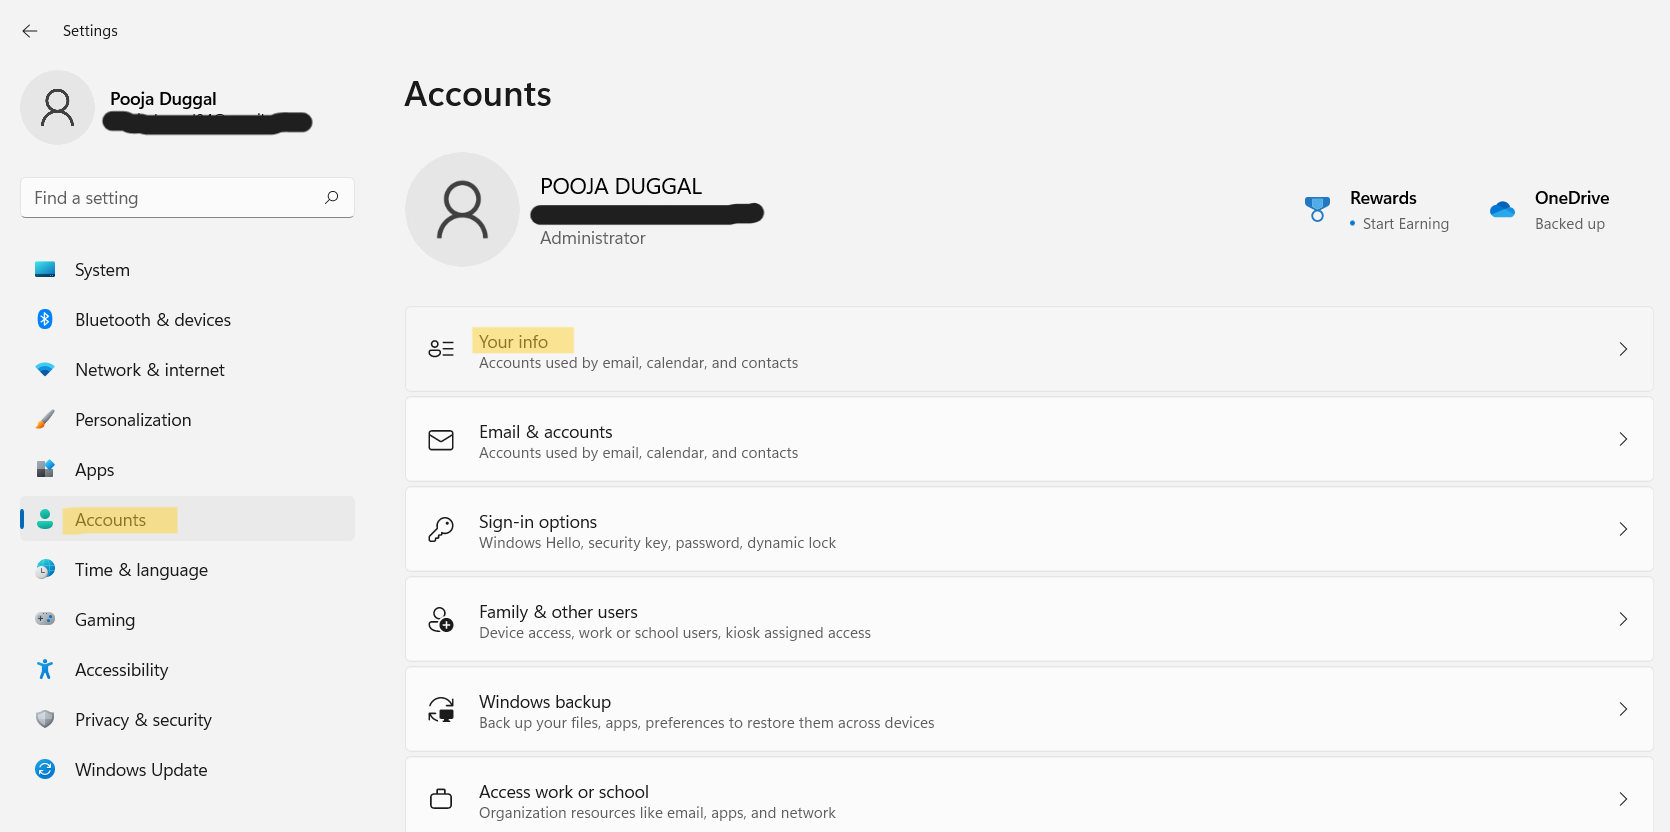
1. Open Settings and then, go to Accounts.
2. Next, click on the Your info option.

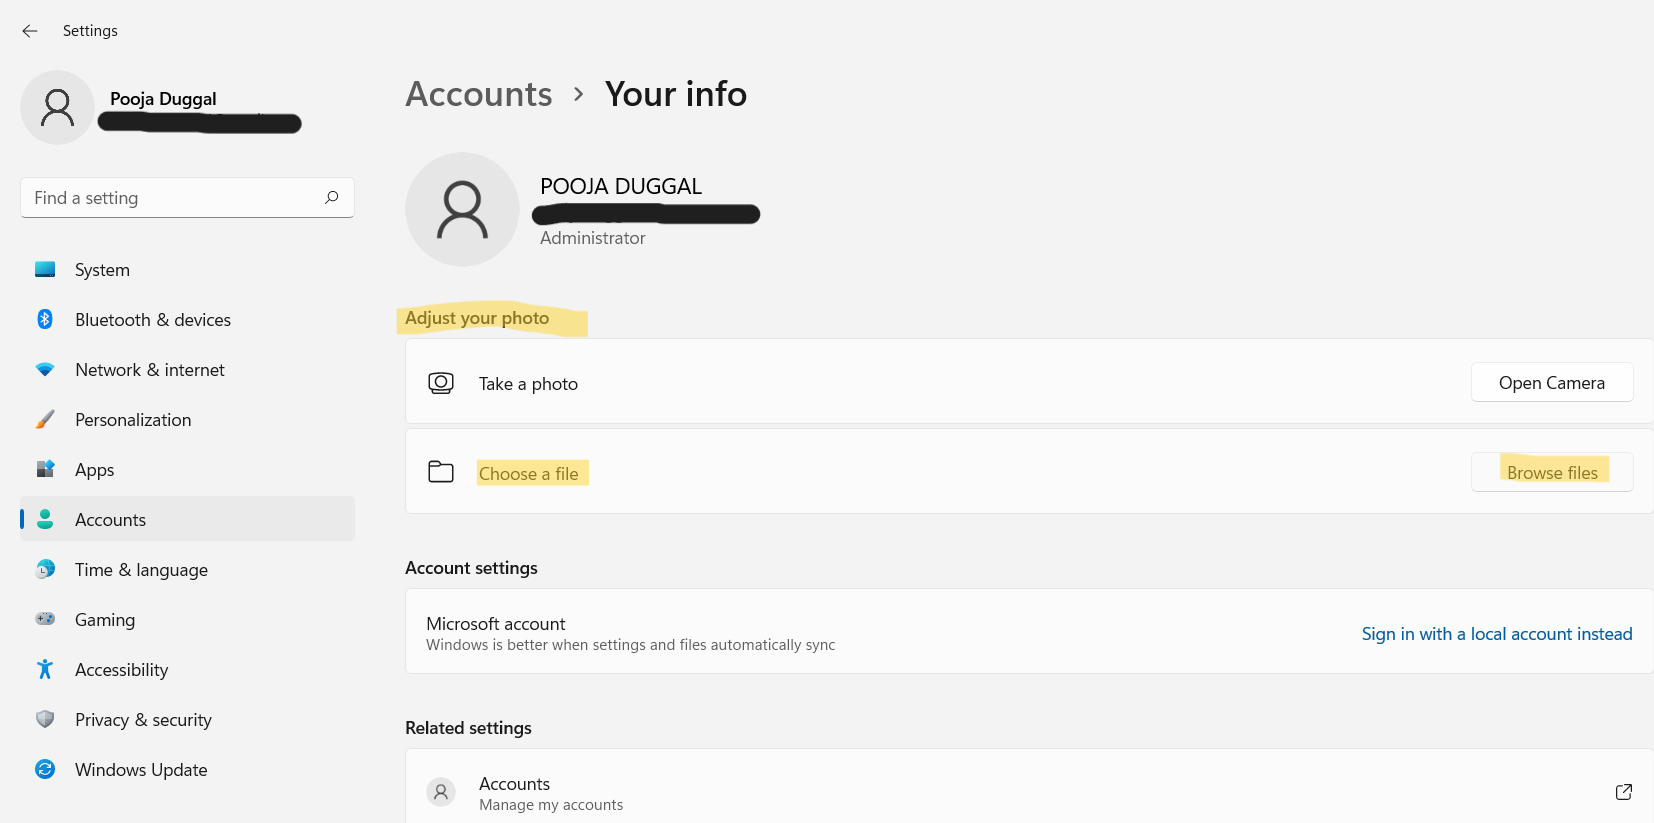
3. Under Adjust your photo, select Browse files present next to Choose a file to choose your desire profile picture.

So, these are some quick solutions to fix profile pic not showing up in Windows 11 issue.
![KapilArya.com is a Windows troubleshooting & how to tutorials blog from Kapil Arya [Microsoft MVP (Windows IT Pro)]. KapilArya.com](https://images.kapilarya.com/Logo1.svg)


Leave a Reply