

Despite of having a clean installation of Windows 11, there have been some users who have dealt with the issue of no internet. This problem might be a resultant of several reasons such as absence of network drivers, wrong settings, etc. Thus, in this blog we shall discover some easy fixes which will allow to solve the issue of no Internet after clean install in Windows 11 easily.
Page Contents
Fix No Internet after clean install in Windows 11
There exists various fixes for the issue like running troubleshooter, installing network driver, etc. Now, let us see the fixes in detail without further delay.
Fix 1: Running Network Troubleshooter
Users of Windows 11 can try running the network troubleshooter to solve the issue of no Internet after clean install in Windows 11. Thereafter, let us now check the steps to run the troubleshooter.
Step 1- First of all, go to Settings > System > Troubleshooters > Other troubleshooter.


Step 2- Next, run the Network and Internet troubleshooter.

Step 3– Lastly, follow the prompts appearing on the screen to solve the issue.
Fix 2: Updating/Reinstalling Network Adapter
Updating or reinstalling the network adapter may also help to fix the issue of no Internet after clean install in Windows 11. Thus, let us check the steps for doing it.
Step 1- Firstly, type Win + X and go to Device Manager > Network Adapter.
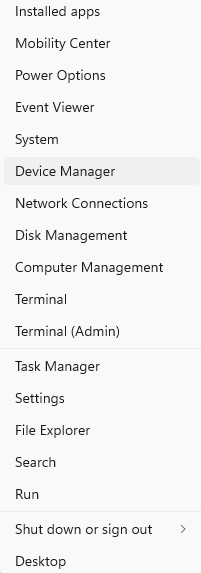
Step 2- Next, right-click on the network adapter.

Step 3- Lastly, click Uninstall device and select Uninstall.
Fix 3: Installing Network driver
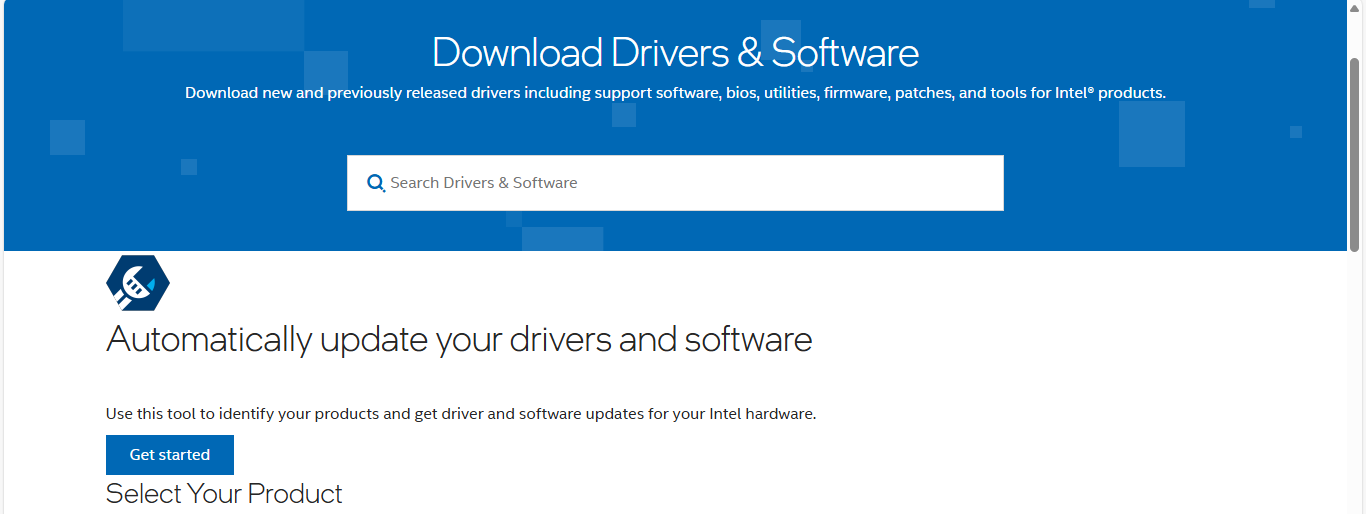
During the installation of the OS, there might be no network driver installed in the PC. Therefore, in such scenarios, manually install the driver. For that matter, first manually install it from a manufacturer’s website (as seen in the screenshot below) in some other PC and then transfer it to the PC having the issue using USB. This should fix the problem.
Fix 4: Resetting Network
Another fix for solving the issue of No Internet after clean install in Windows 11 is trying to reset the network. Follow the steps given below to do the same.
Step 1- Primarily, go to Settings > Network and Internet > Advanced network settings.
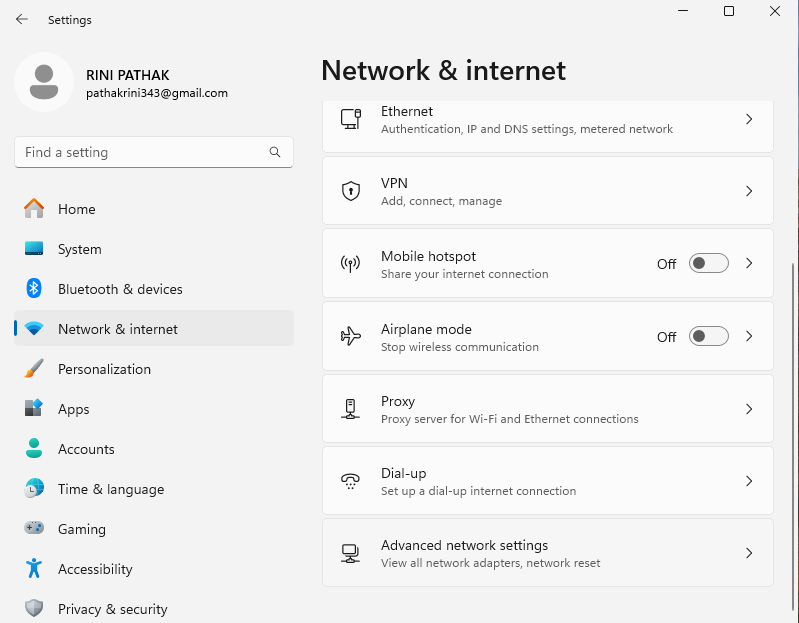
Step 2- Next, go to More settings and press Network reset.

Step 3- Lastly, press the Reset now option and after the completion of the process of reset, restart the PC.

Fix 5: Resetting TCP/IP Stack and clearing DNS cache
Resetting the Internet Protocol or TCP/IP Stack and clearing DNS cache will also aid in resolving the mentioned problem. Moreover, at first run Windows PowerShell/Command Prompt as an administrator and thereafter follow the steps given below.

Step 1- Firstly, copy and paste the commands below to generate a log file and press Enter.
netsh int ip reset
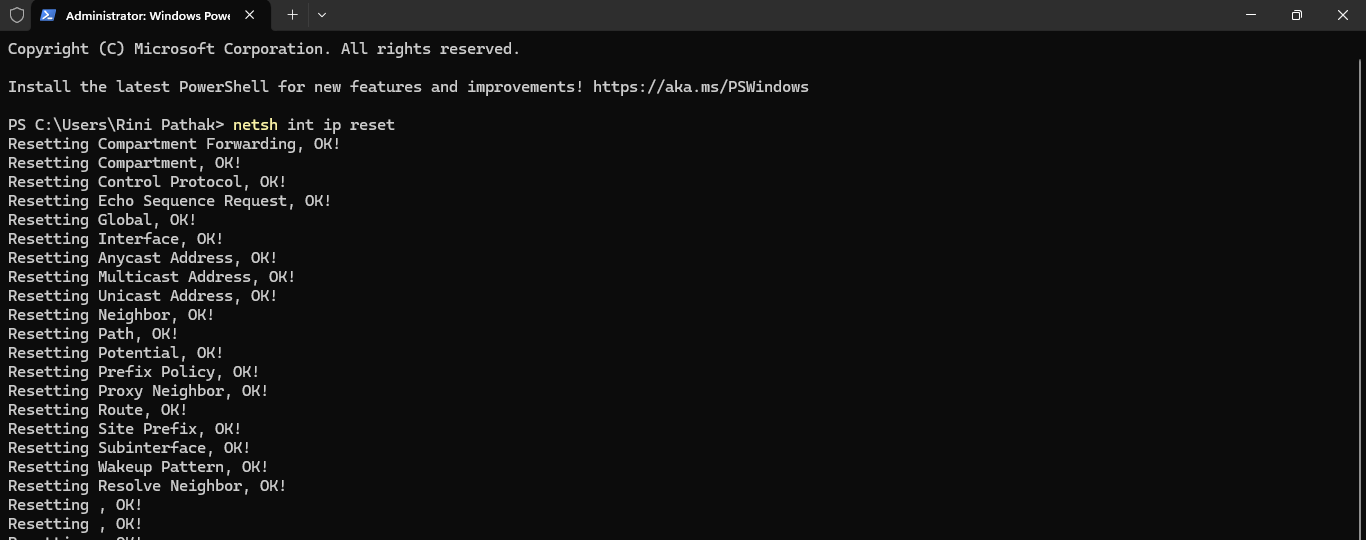
netsh int ip reset resettcpip.txt

Step 2- Again, copy and paste the prompt below if the PC is an IPv4 and then press Enter.
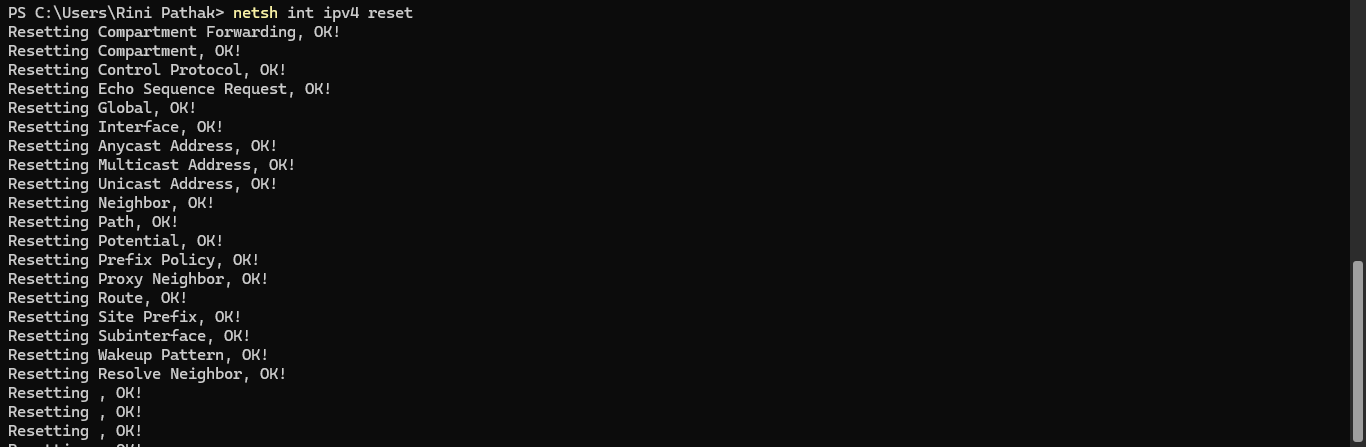
netsh int ipv4 reset
Step 3- Next, if it is an IPv6, then copy and paste the following prompt and thereafter press Enter-
netsh int ipv6 reset

Step 4- Lastly, to clear and flush the DNS cache, run the prompt and press Enter.
ipconfig /flushdns

Fix 6: Reenabling Network Adapter
Disabling and reenabling the Network Adapter will also aid in solving the issue. However, there exists two ways through which we can do the same. Hence, let us take a look at the steps of the methods.
Step 1- Primarily, go to Settings > Network & internet > Advanced network settings.
Step 2- Secondly, below Network adapters, select Disable alongside the Wi-Fi. After a minute or so, select Enable.

OR
Step 1- At first go to Device Manager > Network Adapters.
Step 2- Next, right-click on the adapter. Thereafter, right-click the Disable device and select Enabled device.

Henceforth, hoping that with all the above fixes, one can easily solve the issue of no internet after clean install in Windows 11.

![[Latest Windows 10 Update] What’s new in KB5055612?](https://www.kapilarya.com/assets/Windows10-Update.png "[Latest Windows 10 Update] What’s new in KB5055612?")


Leave a Reply