Earlier, we have seen how to enable .NET Framework 3.5 in Windows 10 in following guide:
How to enable .NET Framework 3.5 in Windows 10 using DISM
You can also enable .NET Framework 3.5 using Turn Windows features on or off applet.
However, no matter whatever method you use to enable .NET Framework 3.5, sometimes you may encounter same error code 0x800F0954. Due to this error code, you can’t enable .NET Framework 3.5 at all.
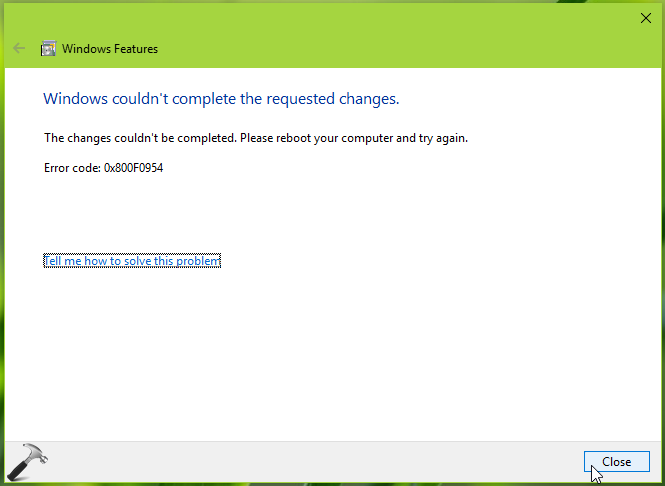
If you’re also getting error code 0x800F0954 while enabling .NET Framework 3.5 via DISM or Turn Windows features on or off, here is how to fix.
Page Contents
FIX: .NET Framework/DISM Error 0x800F0954 In Windows 10
FIX 1 – Via PowerShell
You can use Add-WindowsCapability cmdlet instead of DISM to bypass error 0x800F0954.
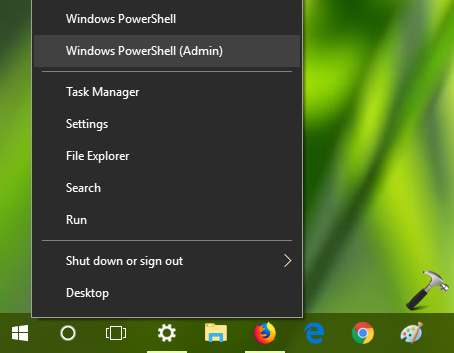
1. Right click Start Button or press  + X keys and select Windows PowerShell (Admin).
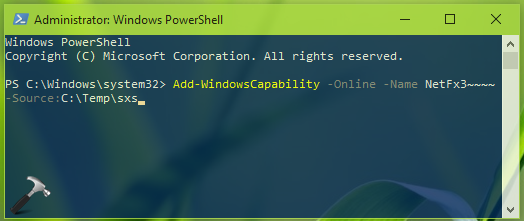
2. In the administrative Windows PowerShell window, type following cmdlet:
Add-WindowsCapability –Online -Name NetFx3~~~~ –Source C:\Temp\sxs
*Make sure you replace C:\Temp\sxs with actual sxs folder location.
To identify and locate sxs folder from Windows 10 ISO file, check steps 1-2 here.
3. Once .NET Framework is enabled, you can close Windows PowerShell and return to Desktop, if you like.
If this doesn’t works for you, try FIX 2.
FIX 2 – Via Registry
Registry Disclaimer: The further steps will involve registry manipulation. Making mistakes while manipulating registry could affect your system adversely. So be careful while editing registry entries and create a System Restore point first.
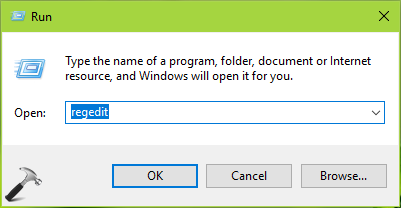
1. Press  + R and put regedit in Run dialog box to open Registry Editor (if you’re not familiar with Registry Editor, then click here). Click OK.
2. Navigate to following registry key:
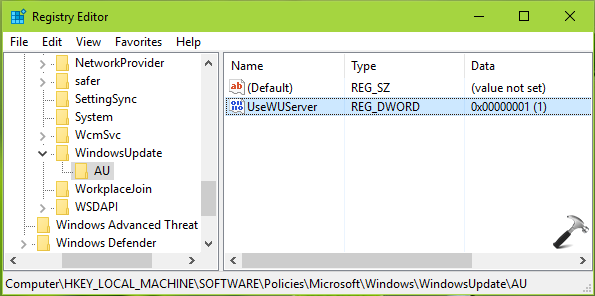
HKEY_LOCAL_MACHINE\SOFTWARE\Policies\Microsoft\Windows\WindowsUpdate\AU
3. In the corresponding right pane of AU registry key, you’ll see a registry DWORD (REG_DWORD) named UseWUServer which might be set to 1. Double click on it to modify its Data.
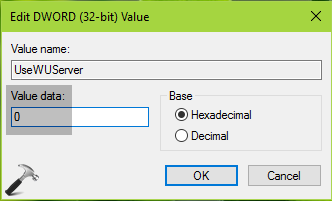
4. Then in Edit DWORD Value box, put the Value data as 0. Click OK and close the Registry Editor window.
5. Now retry to enable .NET Framework again. This time it should work fine.
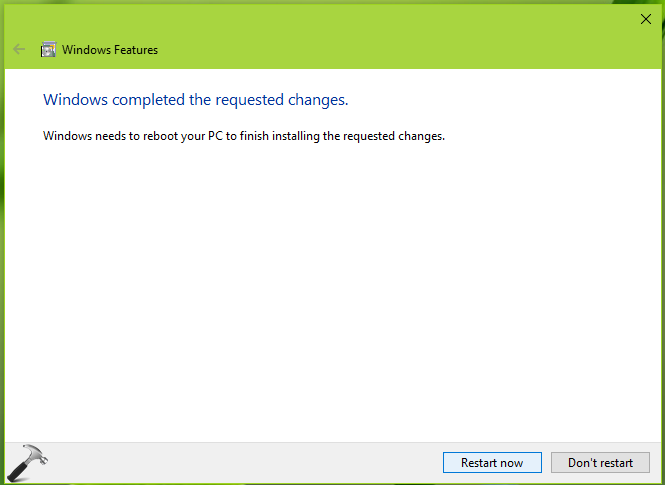
6. Once you reboot after enabling .NET Framework, make sure you restore back UseWUServer registry DWORD to Value data as 1.
Hope this helps you!
![KapilArya.com is a Windows troubleshooting & how to tutorials blog from Kapil Arya [Microsoft MVP (Windows IT Pro)]. KapilArya.com](https://images.kapilarya.com/Logo1.svg)


15 Comments
Add your comment
Thanks a lot!!! You saved my life!
^^ Glad we could help 😎
You’re the bomb, couldn’t figure this one out for the life of me. Didn’t know my WSUS server would be getting in the way of something so simple.
BRILLIANT! Wow, #2 worked after hours of no results – You rock!!
^^ Glad to help Scott!
Many thanks! I also choose the regedit method. Worked instantly. Enabling .Net Framework was always such a routine thing, I was completely baffled when I wasn’t able to turn it on.
^^ Glad to help Andras 😊
I have been trying for a few weeks now to fix this!!!!! this is the step that finally fixed it! Thanks so much!!!!
^^ Glad to help Kristi!
Fix 2 resolved the issue. Thanks!
^^ Glad to help!
Hello I get the same error after the regedit method. I’m triying this from Win11. Any advice ?
in some cases that DWORD (REG_DWORD) named UseWUServer is not shown in registry then whats the other way
Both method does not work for me. Any other way ?
Briliant you help not only myself but also many other my colleagues.