

The Windows Media Creation Tool is a helpful tool from Microsoft used for upgrading or installing the Windows 11/10 operating system. However, users face problems with the tool not to function as expected leading to frustration and time consumption. This article will illustrate steps to install or download Windows 11/10 when the Windows Media Creation Tool has a problem executing its functions. In the following sections we will look at all the ways to fix this problem and help you to use this tool to upgrade or install the version of Windows that you want.
Page Contents
Fix Media Creation Tool Not Working in Windows 11/10
Fix 1: Make Sure to Update the Latest Windows Version
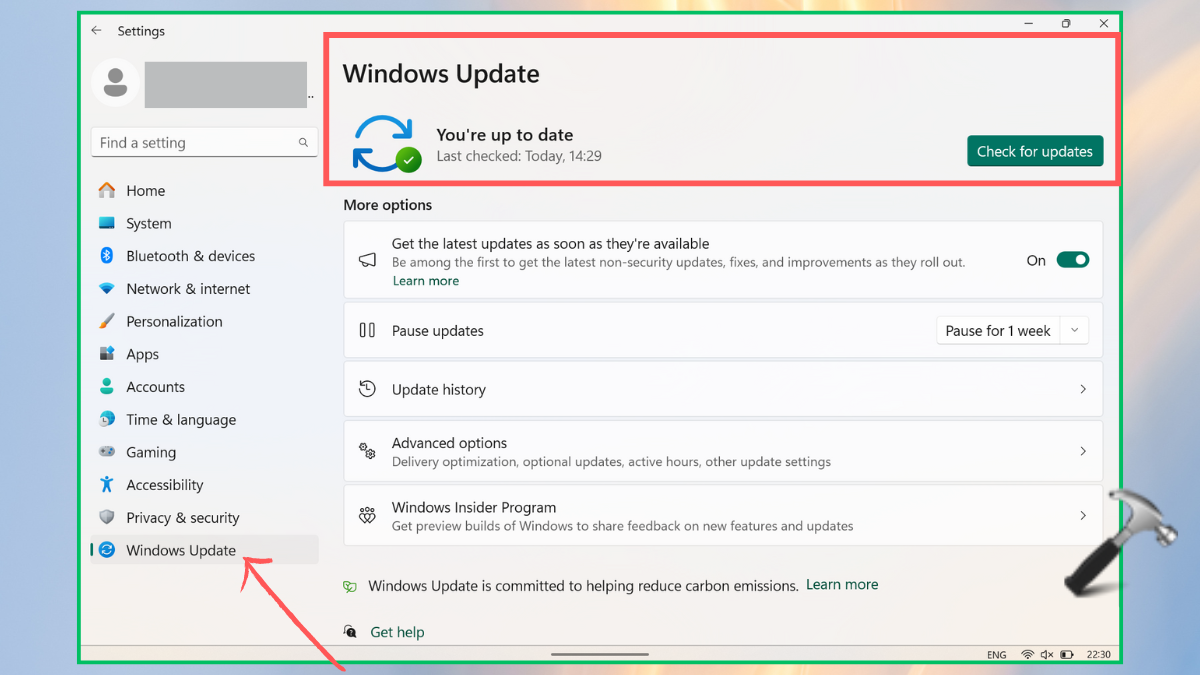
1. Open Windows Settings. From the left panel, select Windows Update.
2. Tap on “Check for Updates”. If any update is found, download and install it, and restart the PC.
Fix 2: Run the Media Creation Tool as an Administrator
By running this tool with Admin right can help you solve the issue. For that,
1. First, plug in the USB Drive (bootable). Right-click the Media Creation Tool and tap “Run as Administrator”.
2. Hit “Yes” on the User Account Control Prompt pop-up.

Fix 3: Optimize the System’s Storage
To effectively run the Media Creation Tool, the PC should have at least 8GB of idle storage. Also, free up some space on the USB Drive as well. It is advised to delete the unnecessary files and folders from your PC and clear the cache, Recycle Bin, and temporary files. After clearing the space, restart the system and check if the tool is working perfectly or not.
Fix 4: Reinstall the Media Creation Tool
It can be possible that the previously downloaded file may not be installed correctly. For that, uninstall the Media Creation tool and reinstall it again with the Microsoft official page (https://www.microsoft.com/en-us/software-download/windows11).

Fix 5: Enable Relevant Services
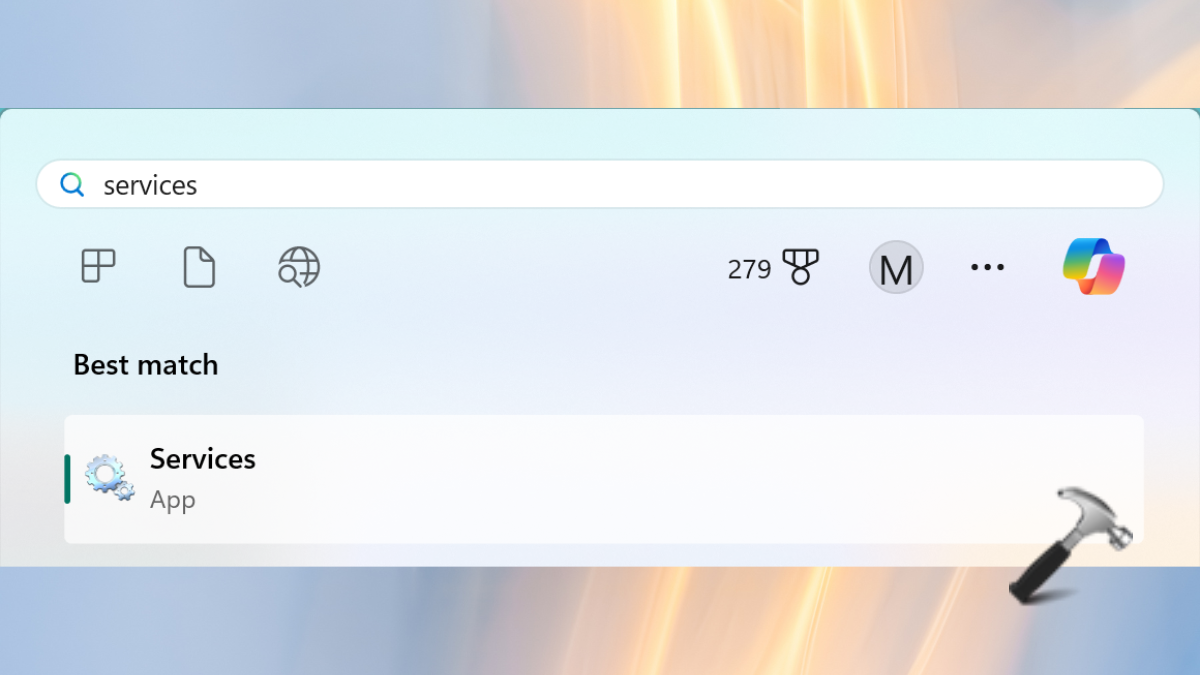
1. On the Windows Search bar, type Services and choose the best match result.
2. Find and right-click on the Background Intelligent Transfer Service (BITS). Select Properties.

3. Click on “Start” if this service is not running already. If the service is running, tap on “Stop” and then on “Start”.
4. Also, select the Startup Type to “Automatic”. Tap “OK” to save the changes.

5. Repeat the same steps with the below-listed services:
a. Windows Update or Automatic Updates
b. Server
c. Workstation
d. IKE and AuthIP IPsec Keying Modules
e. TCP/IP NetBIOS Helper
Fix 6: Modify Windows Registry
If none of the above solutions helps you to fix this issue, try modifying the Windows registries. For that, follow the below specified steps:
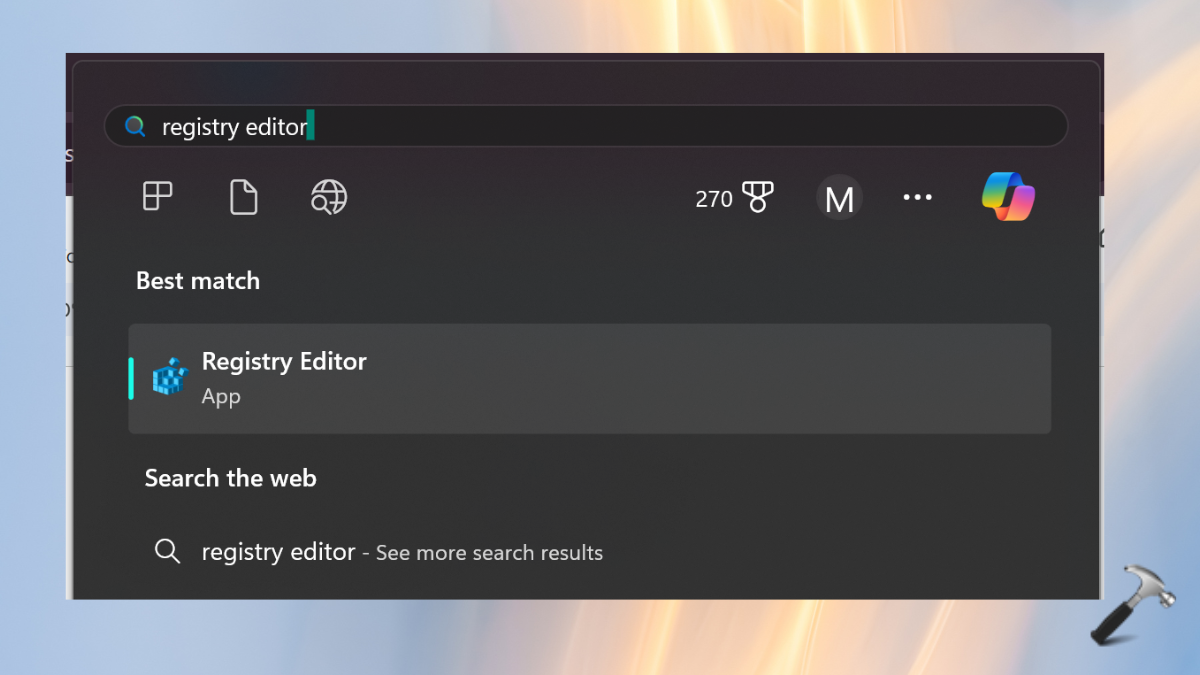
1. Open the Registry Editor by simply searching for it on the Windows search bar. Tap “Yes” on the next User Control Prompt.
2. Go to the below specified Registry Editor path:
HKEY_LOCAL_MACHINE\SOFTWARE\Microsoft\Windows\CurrentVersion\WindowsUpdate\OSUpgrade
3. Right-click on the OSUpgrade and tap NEW > DWORD(32-Bit). Name this value as AllowOSUpgrade.

4. Double-tap the new value and change the value to 1. Tap “OK” and restart the PC.

That’s it!


![[Latest Windows 10 Update] What’s new in KB5055612?](https://www.kapilarya.com/assets/Windows10-Update.png "[Latest Windows 10 Update] What’s new in KB5055612?")


Leave a Reply