

Local Security Authority Subsystem Service (lsass.exe) or Local Security Authority Process is a Windows process that manages security policies on your Windows computer. However, sometimes it may use too much CPU power and consume excessive memory, causing your system to slow down. If the lsass.exe high CPU/Memory usage doesn’t go down automatically, follow these step-by-step solutions to fix the issue.
Page Contents
Fix: Local Security Authority Process high memory usage
Fix 1: Install Windows Updates
Microsoft released a few updates and hotfixes to fix the high memory usage issue related to the Local Security Authority Subsystem Service. Your Windows is probably out-of-date or missing some essential updates. So, make sure to install all the available updates for your Windows.
1. Open the Run command box with Windows + R.
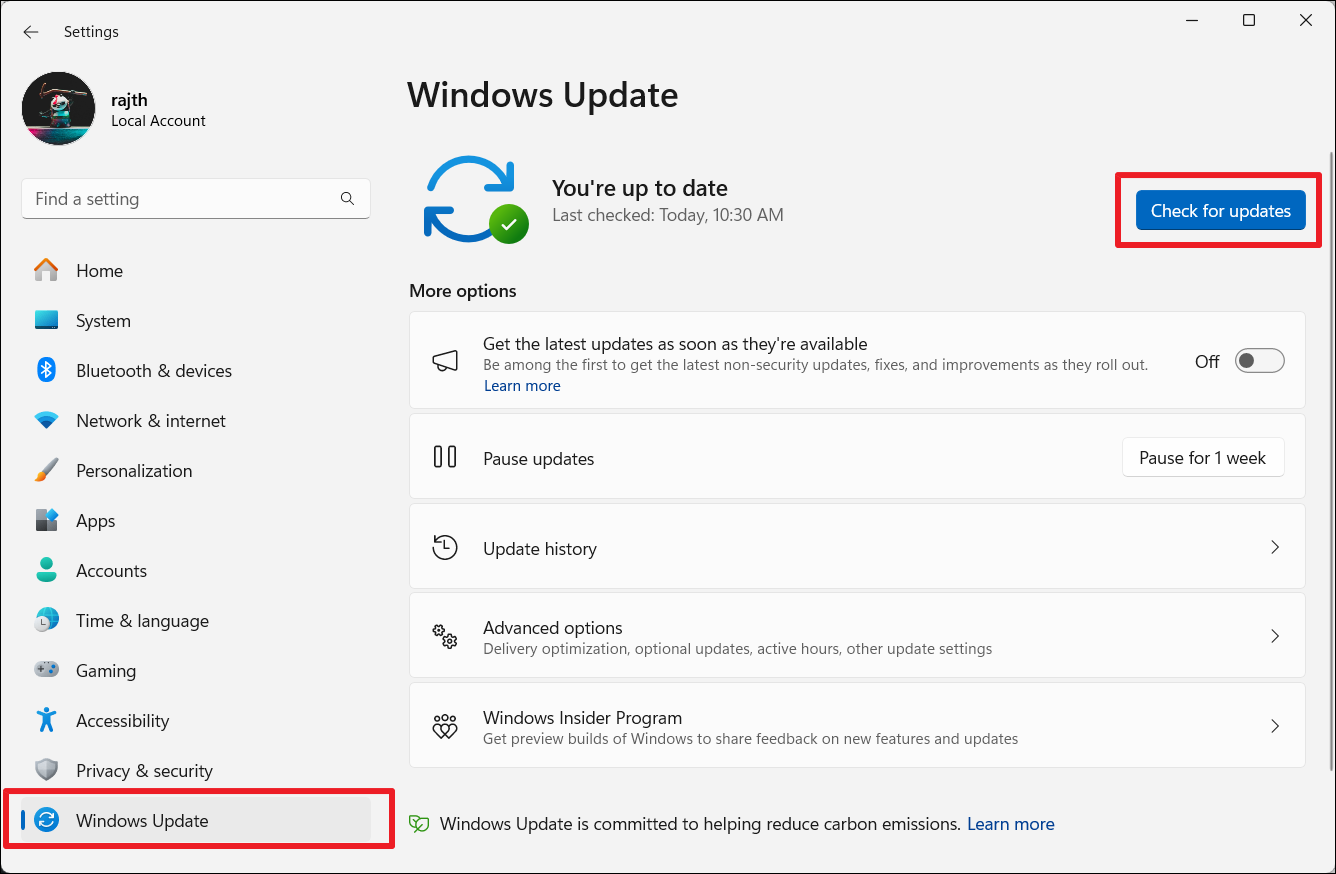
2. Type ms-settings:windowsupdate and click OK to open Windows Update settings regardless of your Windows version.
3. Now, click “Check for updates” to check for any available updates.
4. Download and install the pending updates.
5. Restart your PC.
Fix 2: Run SFC and DISM Scans
1. Open an elevated Command Prompt. To do that, press the Windows key + R to open the Run dialog box.
2. Type “cmd” and press Ctrl + Shift + Enter. Click Yes in the User Account Control prompt.
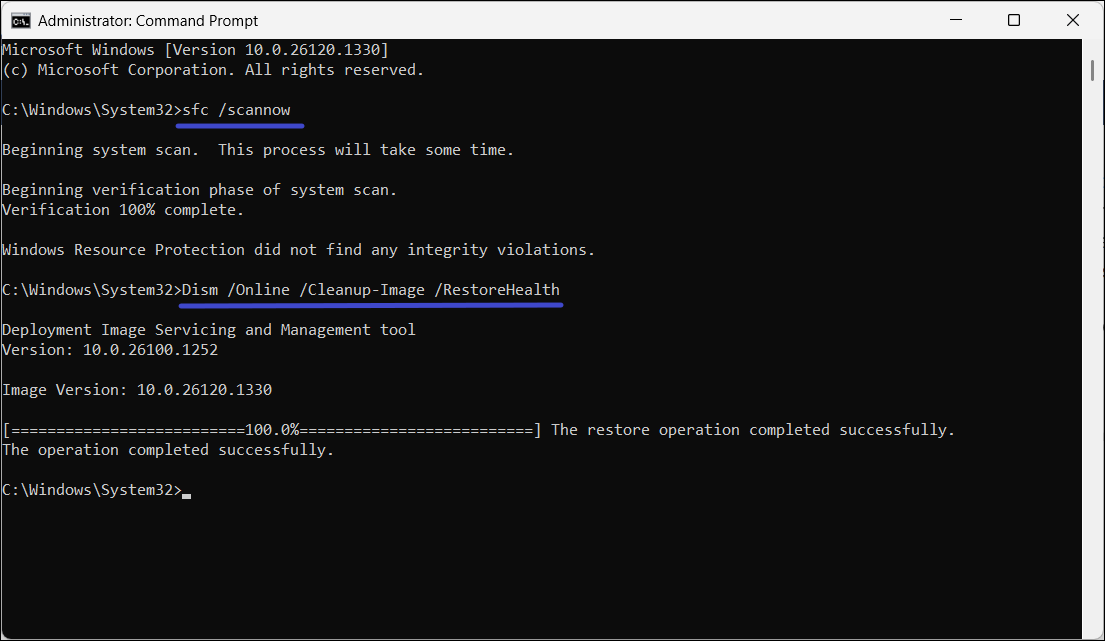
3. Type the following command to run System File Checker (SFC):
sfc /scannow
4. This may take some time.
5. Once SFC finishes (regardless of the results), run the Deployment Image Servicing and Management (DISM) tool:
DISM /Online /Cleanup-Image /RestoreHealth
6. DISM may take longer than SFC to run.
Fix 3: Check for Malware
Another reason you might be encountering this issue is that you may be dealing with a malware-affected LSASS.exe service or malware disguising itself as an LSASS.exe service.
Before we scan for malware, let us confirm the legitimacy of the LSASS.exe file.
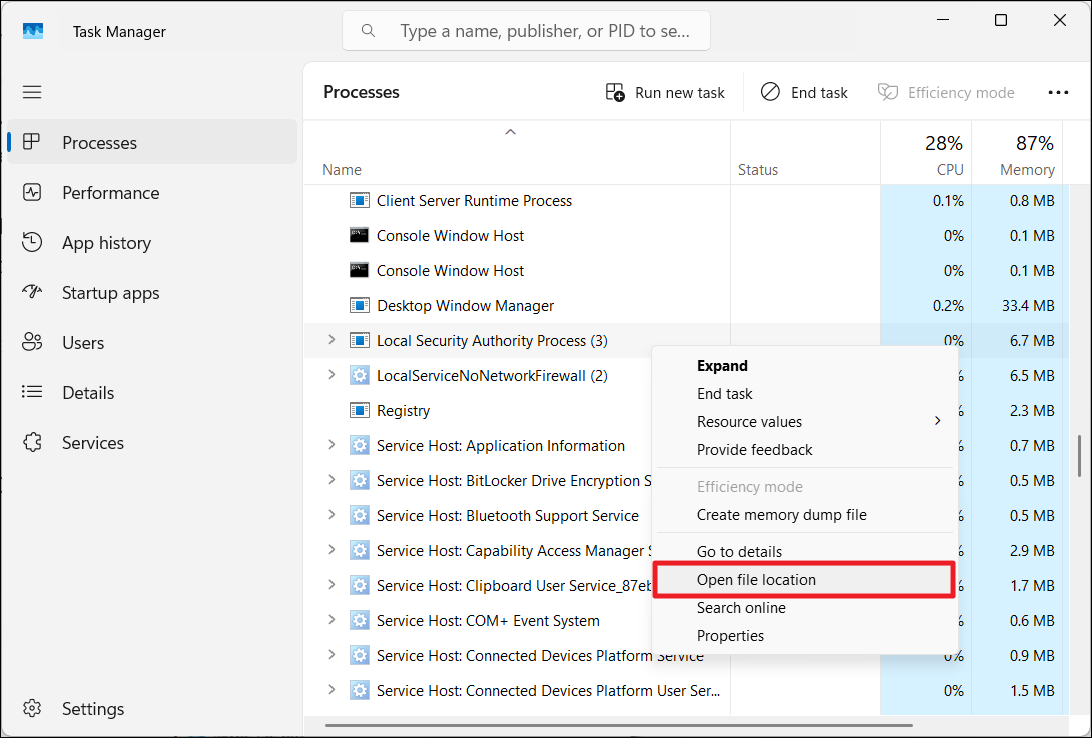
1. To do that, right-click the Taskbar and select “Task Manager“.
2. Under the Windows Processes section, right-click the “Local Security Authority Process” or “Local Security Authority Subsystem Service” process and select “Open file location“.
3. If the “lsass.exe” file is anywhere else other than the C:\Windows\System32 location, it is malware. While you are there, make sure to check if the file is spelled correctly (lsass.exe). Even if one character is misspelled or missing, it means the malware is pretending to be the legitimate file, e.g. lasss, lssas, Isass (with upper case ‘i’ instead of lower case ‘l’).
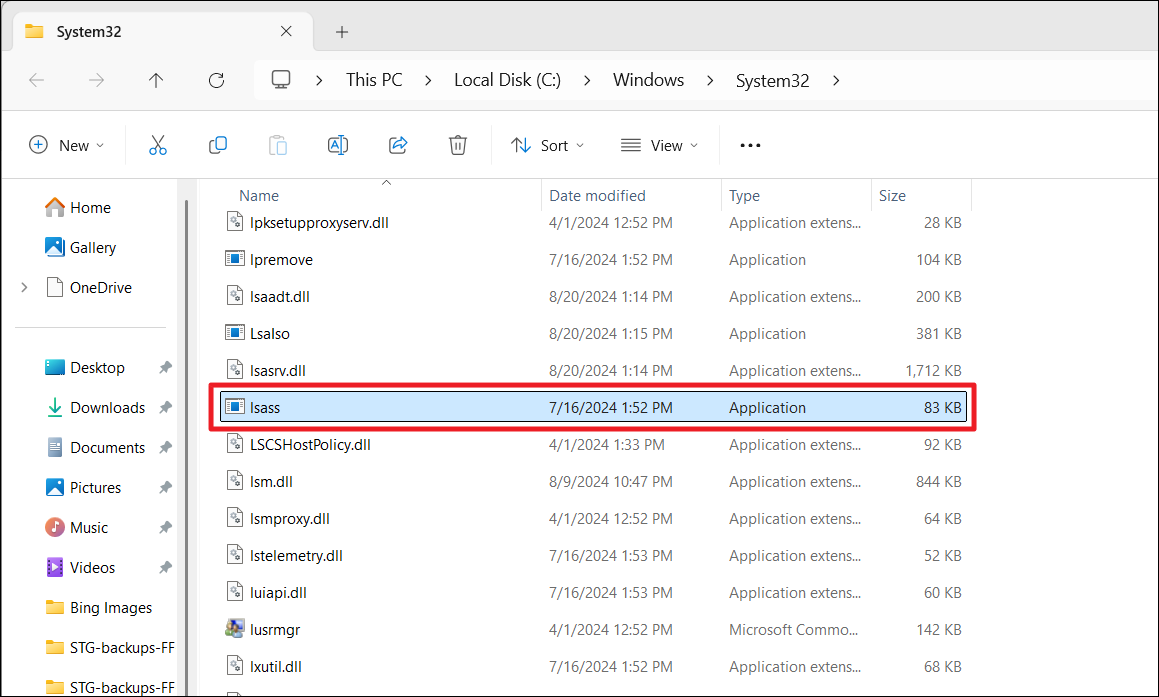
4. If the file is malware, delete it immediately.
5. Run a system-wide malware or viral scan with your antivirus program. You can also try the free Malwarebytes (https://www.malwarebytes.com/mwb-download) program to clean the malware.
Fix 4: Uninstall the Dell SupportAssist Remediation app
If you have the Dell SupportAssist Remediation app installed and are experiencing high LSASS.exe usage, try temporarily uninstalling it to see if it fixes the issue.
1. Type “appwiz.cpl” in the Run dialog box and press Enter.

2. Look for “Dell SupportAssist Remediation” in the list of programs.
3. Right-click on it and select “Uninstall”.
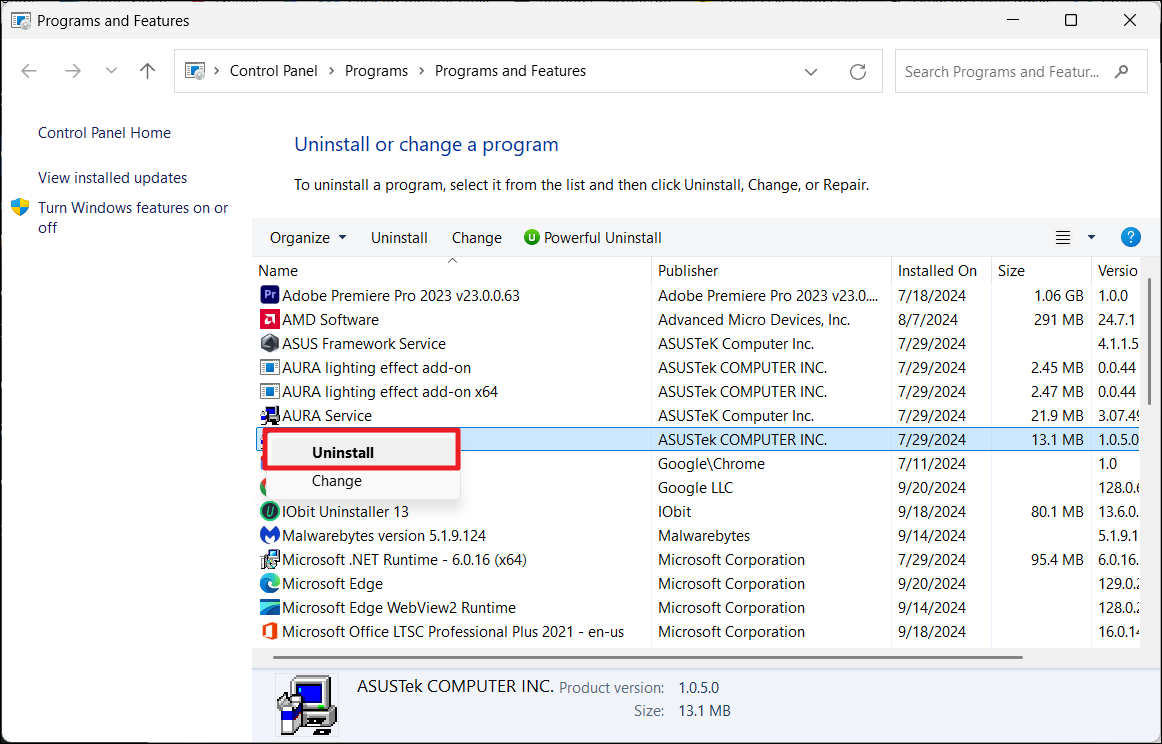
4. Follow the on-screen instructions to complete the uninstallation.
5. Restart your computer and check if the resource usage of LSASS.exe has gone down.
Fix 5: Perform a System Restore
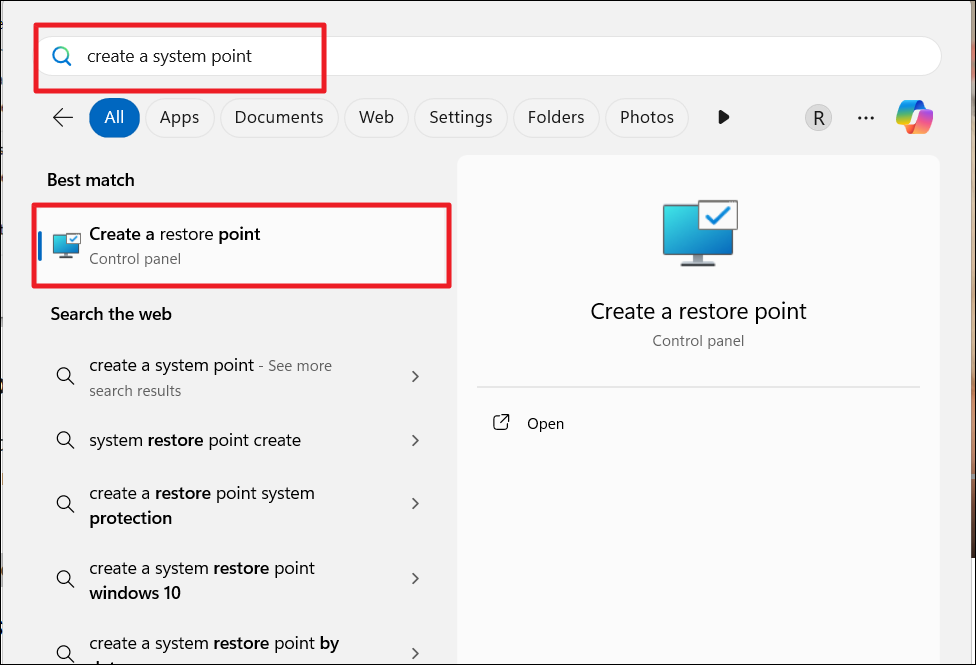
1. Search for “create a restore point” and press Enter.
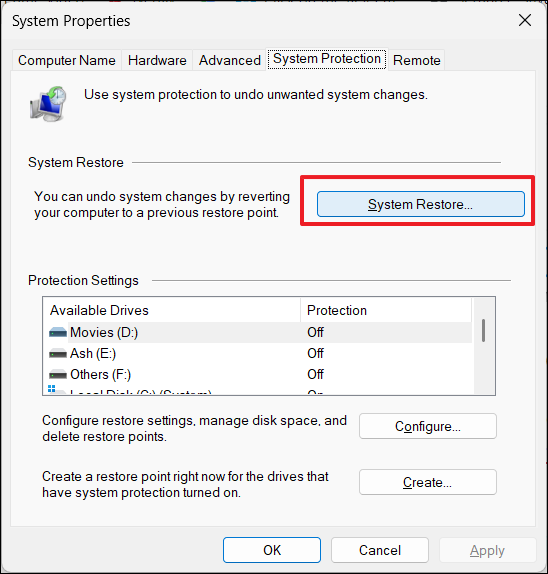
2. Under System Protection, click “System Restore“.
3. Choose a restore point and click “Next“.
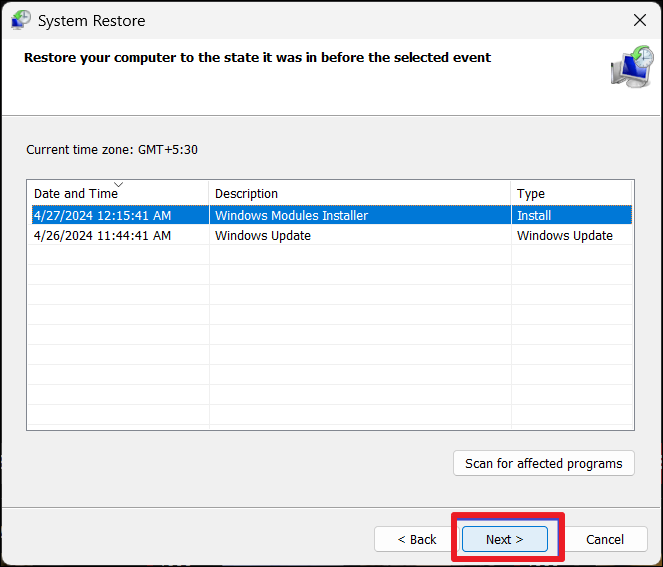
4. After confirming the restore point, click “Finish“.

Fix 6: Run a Clean Boot
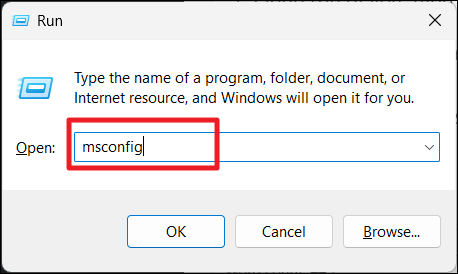
1. Open the Run command box, type msconfig, and hit Enter.
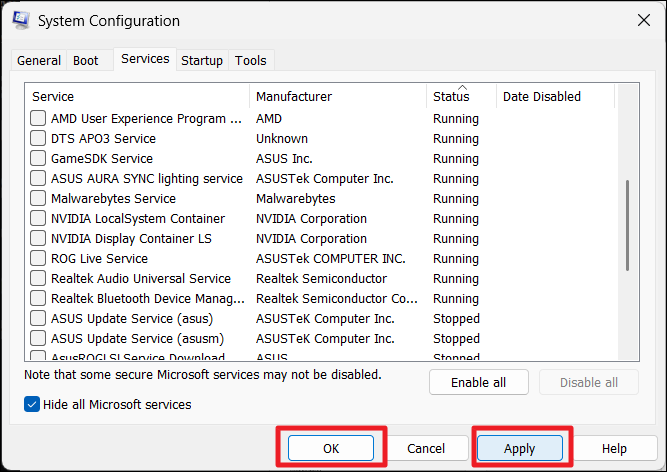
2. Go to the “Services” tab, check “Hide all Microsoft services“, and click “Disable all“.

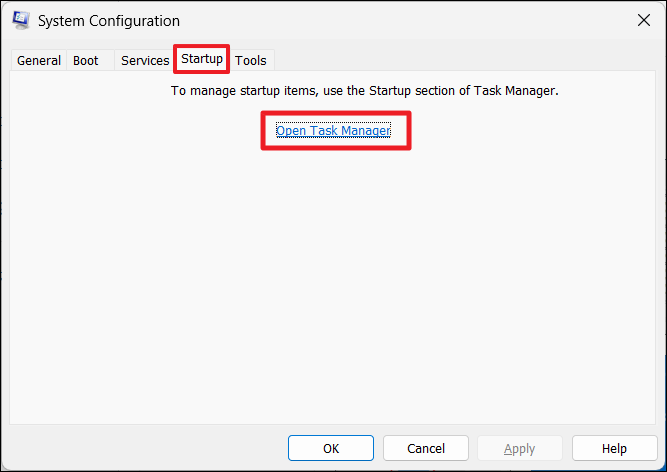
3. Then, move to the “Startup” tab and click “Open Task Manager“.
4. Right-click each startup item and click “Disable“.
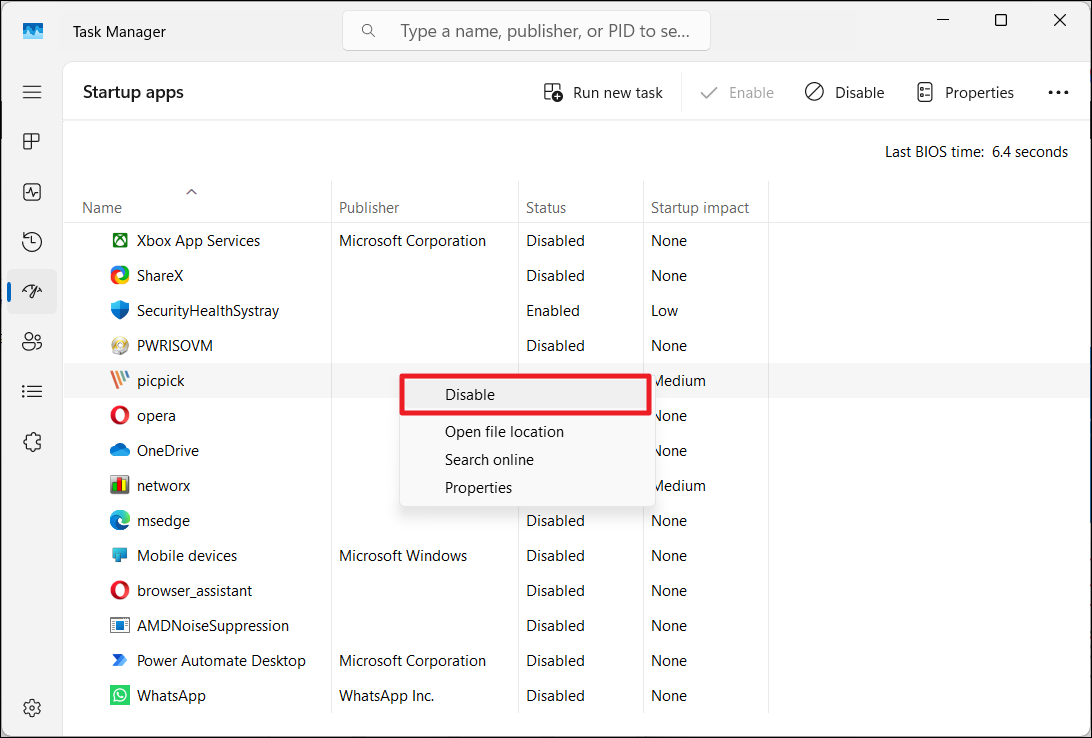
5. Close the Task Manager.
6. Go back to the System Configuration window, click “Apply” and then “OK“.
Fix 7: Perform a Clean Install
If none of the above methods worked and LSASS.exe is still consuming too much of your system resources, you might need to do a complete reset or clean install Windows. This will wipe everything clean including apps, data, and settings, so make sure to back up your data to a different drive before you begin.
That’s it.


Leave a Reply