High Hardware Reserved Memory in Windows 11 refers to the memory in a computer’s RAM that is utilised by hardware components such a GPU (Graphics Processor Unit), sound card, network adapter, and others. This RAM is reserved because it is expected that these hardware components will function properly. Some users discover a significant quantity of hardware reserved memory on their computer when they launch Task Manager to investigate the cause of the slow computer performance. In this article, we’ll discuss why Windows’ Hardware Reserved Memory is too large and how to lower it.
Page Contents
Fix: High Hardware Reserved Memory in Windows 11
Fix 1 – Restore BIOS to Default Settings
- Switch on your computer and press F2 or Delete key accordig your laptop’s OEM to enter into BIOS.
- Now click on Restore Settings or Load Defaults.
- Lastly, exit from BIOS and restart your computer.
Fix 2 – Optimize the Virtual Memory to fix High Hardware Reserved Memory in Windows 11
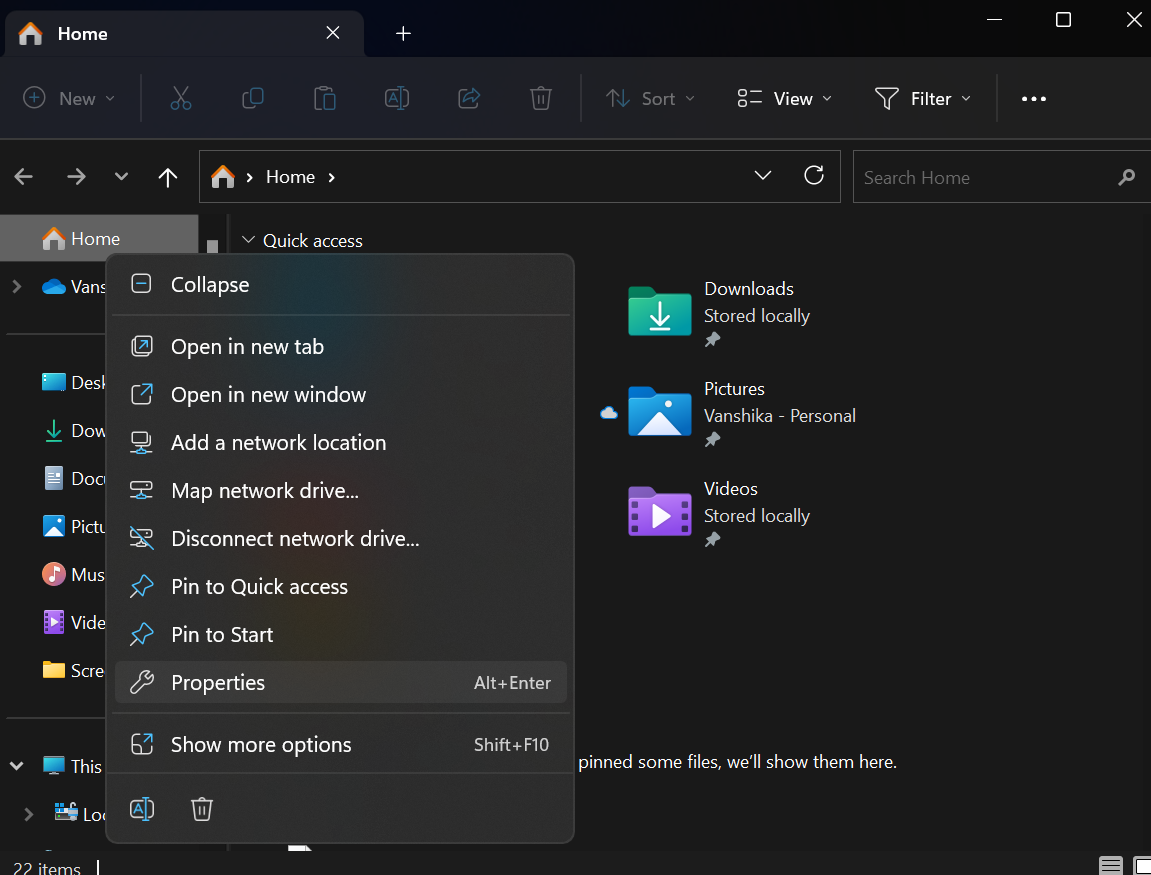
- Press Windows + E to open File Explorer.
- Click on This PC.
- Select Properties.

- On the Right Panel, tap on the Advanced system settings.

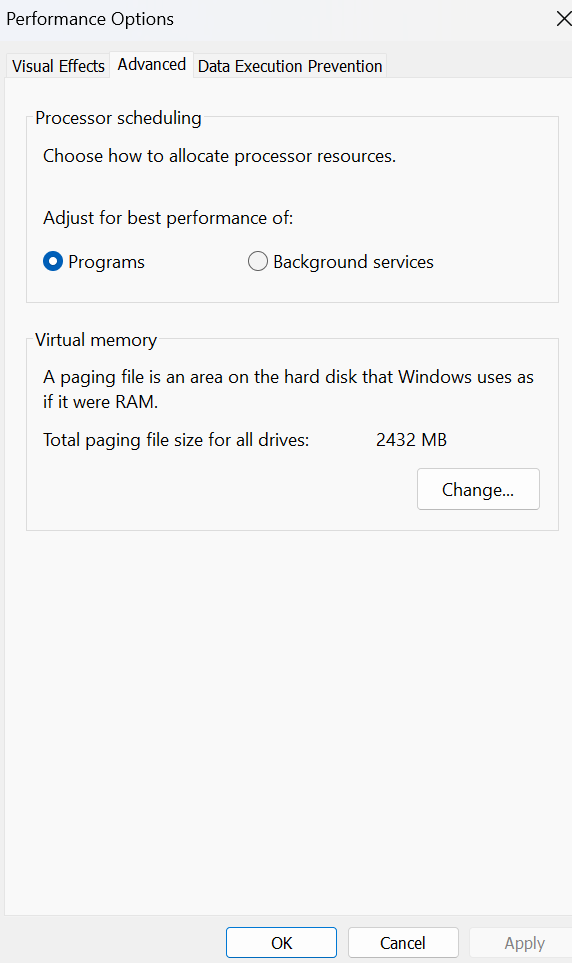
- Now, click o the Settings tab under the Performance section.
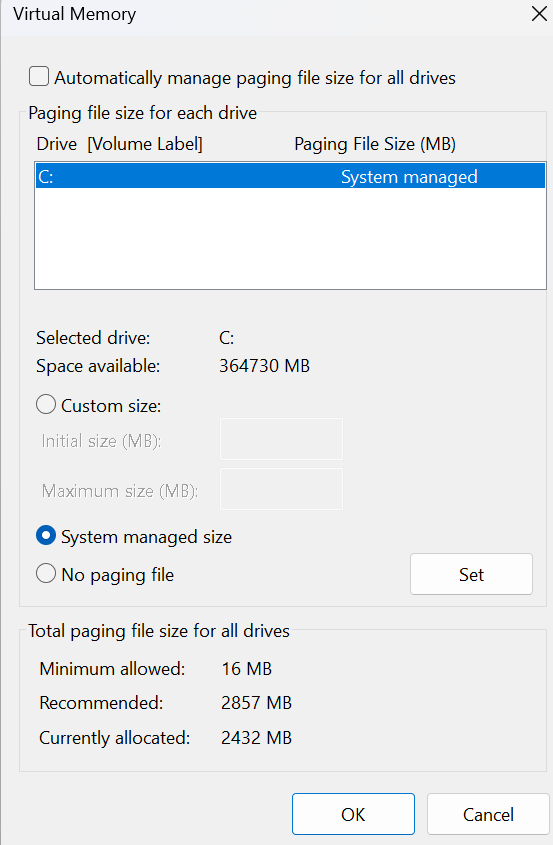
- Then, Tap on the Change button in the Virtual memory box under the Advanced Tab.

- If checked, then uncheck Automatically manage paging file size for all drives.

- Then, select Custom size in the C drive.
- Now enter a size according to the reserved memory you see in the Task Manager.
- Then, Press OK to apply the changes.
Fix 3 – Update the BIOS
BIOS is a type of firmware that manages your system’s input and output. It fails to communicate with the operating system and other components, including Memory, if it has faults or compatibility problems. So that everything is compatible, we must update the BIOS. Hence, update the BIOS now to eliminate this issue. Moreover, you ought to look for Windows Updates and download them if any are available.
Fix 4 – Change maximum Memory from the Boot options
- To open the Run dialog box, press Windows + R.
- Copy and paste the following command and hit Enter : msconfig

- Now go to the Boot tab in the System Configuration window.
- Uncheck the Maximum memory box in the Advanced option.

- Click OK and save the changes.
- Then, Tap on Apply and OK button in the System Configuration window.
Fix 5 – Update drivers
Lastly, see if updating your device drivers makes a difference.
![KapilArya.com is a Windows troubleshooting & how to tutorials blog from Kapil Arya [Microsoft MVP (Windows IT Pro)]. KapilArya.com](https://images.kapilarya.com/Logo1.svg)


![[Latest Windows 10 Update] What’s new in KB5055612? [Latest Windows 10 Update] What’s new in KB5055612?](https://www.kapilarya.com/assets/Windows10-Update.png)


Leave a Reply