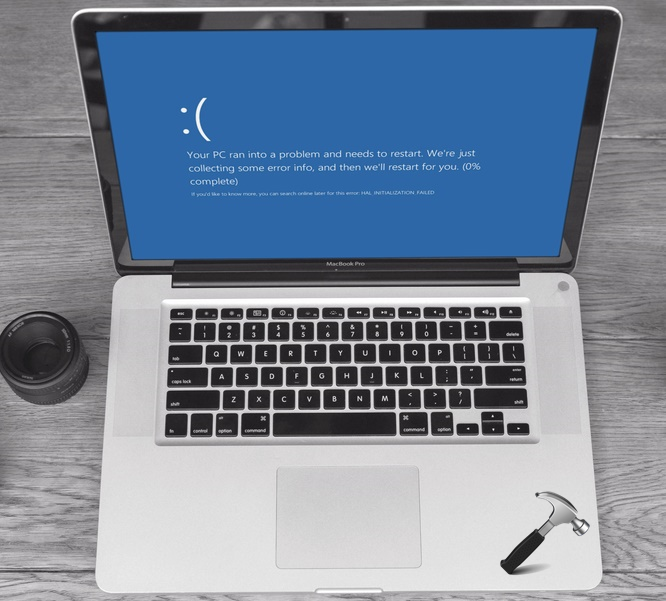
HAL_INITIALIZATION_FAILED is the another Blue Screen of Death (BSOD) error we just came around on Windows 10. Like other stop errors or BSODs, this error may come into play when a new driver/service is being loaded and likely to happen with new software/hardware. If you face this error on a virtual OS installation, you can reinstall the OS to fix it from frequently happening. While if you’re facing it on a your primary non-virtual OS, you can fix it with a selective approach.
When this error happens, screen displays this message and system may try to reboot itself:
Page Contents
Your PC ran into a problem and needs to restart. We’re just collecting some error info, and then we’ll restart for you. (x% complete)
If you’d like to know more, you can search online later for this error: HAL_INITIALIZATION_FAILED

As soon as this error happens, Windows starts creating its log which you can use for analysis, as its the only hint to solve this issue perfectly. But in general cases, it is seen that some steps are very common to fix this kind of stop errors. So the common steps to fix this issue are as follows:
- If you got this error on virtual installation, the stop error bug check should follow 0x0000005C code. Remedy to remove this error is discussed in this fix.
- You should cross check your machine drivers, and update them as soon as computer restarts after this error to suppress further BSODs.
- If you’ve recently installed a new software and you get this stop error frequently after that, remove the software and check status of issue.
- You should also run
chkdsk /fcommand in administrative Command Prompt to look for hard drive corruptions and fix them subsequently.
If any of these suggestions helps, you’re good to go. If they doesn’t helps, try this selective fix.
FIX : HAL_INITIALIZATION_FAILED BSOD In Windows 10
To fix HAL_INITIALIZATION_FAILED, we found that enabling High Precision Event Timer (HPET) in BIOS/UEFI may help. HPET is a hardware timer developed by Microsoft and Intel and can be enabled from BIOS/UEFI setup options. However, HPET is not supported by all of the machines. Also, its up to Windows which timer it wants to use, even if you’ve enabled HPET. Enabling HPET may not only solve this stop error but also help to improve your system performance. Here is how you enable it:
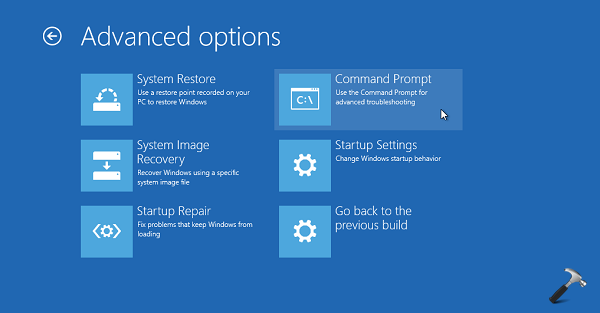
1. Boot into System Recovery Options. Hit the Command Prompt entry at following screen:

2. Previous step will result in opening of Command Prompt at boot.

3. Select your admin account and enter your selected account password to continue.

4. Now in the Command Prompt window, type following command and press Enter key:
bcdedit /set useplatformclock true
Close Command Prompt and Continue to your OS. If you later upgrade your machine to newer OS/build and if you like to disable HPET, run bcdedit /deletevalue useplatformclock command in Advanced Recovery Command Prompt.
Hope this helps!
![KapilArya.com is a Windows troubleshooting & how to tutorials blog from Kapil Arya [Microsoft MVP (Windows IT Pro)]. KapilArya.com](https://images.kapilarya.com/Logo1.svg)


![[Latest Windows 10 Update] What’s new in KB5055612? [Latest Windows 10 Update] What’s new in KB5055612?](https://www.kapilarya.com/assets/Windows10-Update.png)


Leave a Reply