Sometimes, users come across the DNS server isn’t responding error while trying to troubleshoot other issues, such as unable to load or browse the webpages on the web browser. So, how to fix DNS server isn’t responding in Windows 11?
In this article, look at some fixes to resolve this issue. However, before you that, try some workarounds, such as restarting the router or changing the browser application. If nothing works, then keep on reading to find some effective solutions.
Page Contents
Fix: DNS server isn’t responding in Windows 11
Fix 1: By Modifying the DNS Server Address
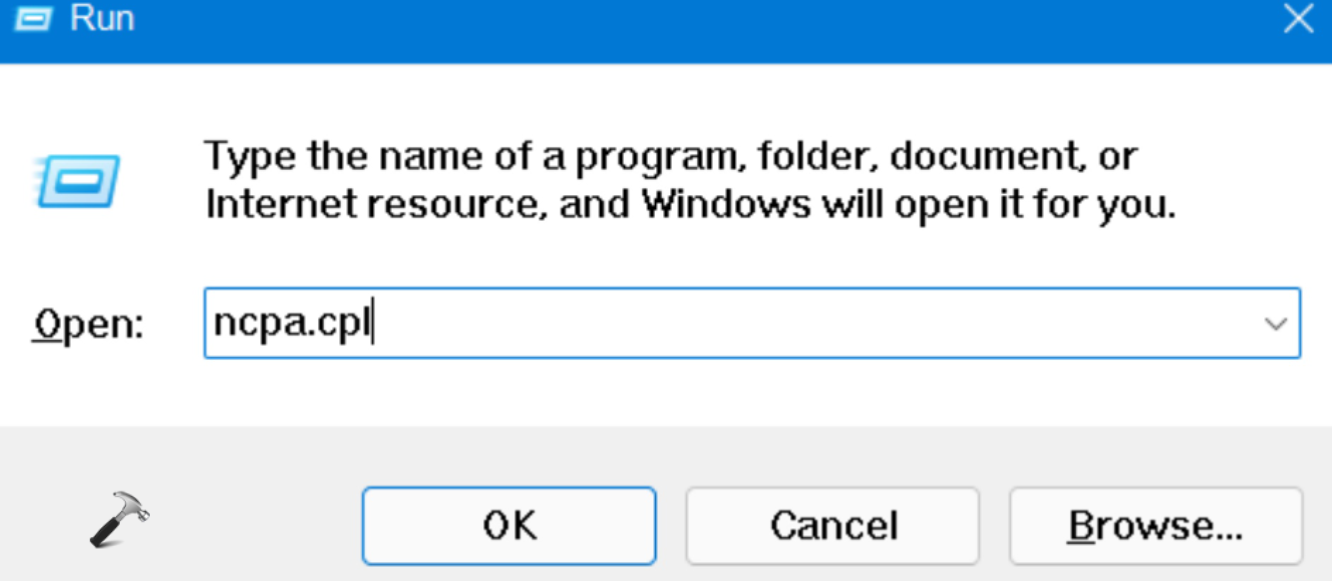
1. Open Run by pressing the Windows + R tabs together on your keyboard. After that, type ncpa.cpl in the Run dialog box and hit Enter to open Network Connections.
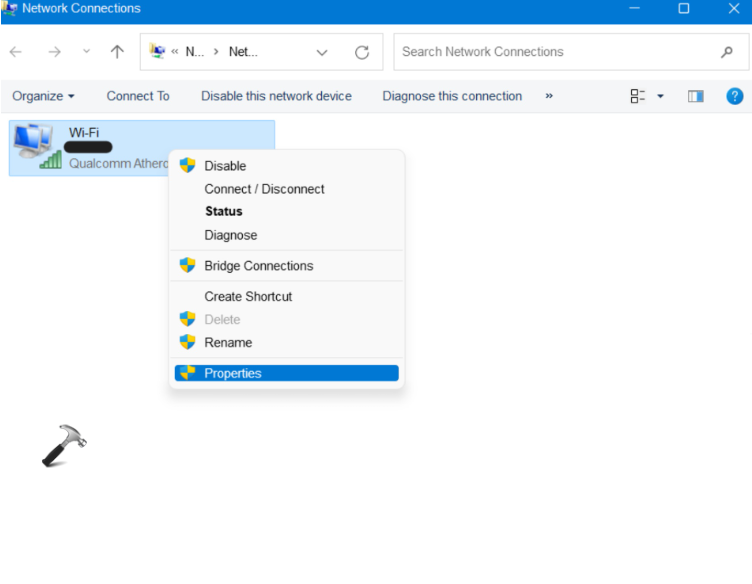
2. Next, right-click on the Ethernet or Wi-Fi network you are currently using.
3. After that, choose the Properties option from the context menu.
4. In the next window, click on Internet Protocol Version 4 (TCP/IPv4) and then, click on the Properties button.

5. Now, select the Use the following DNS server addresses radio button and enter the values 208.67.222.222 in Preferred DNS server and 208.67.220.220 in Alternate DNS server.
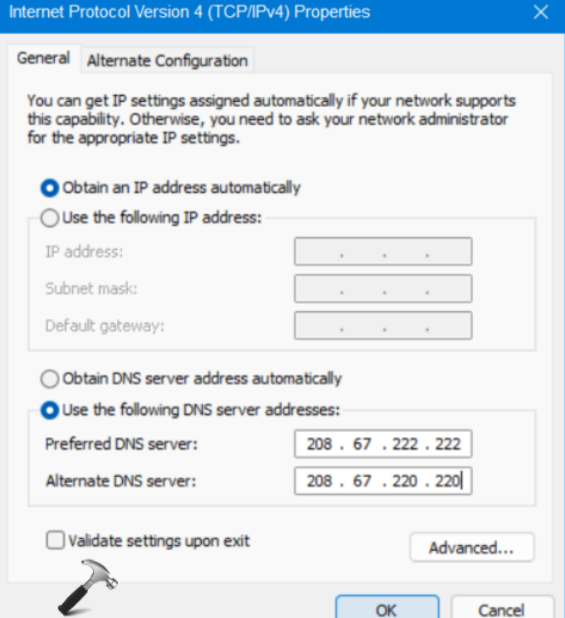
6. Lastly, press OK and close every window.
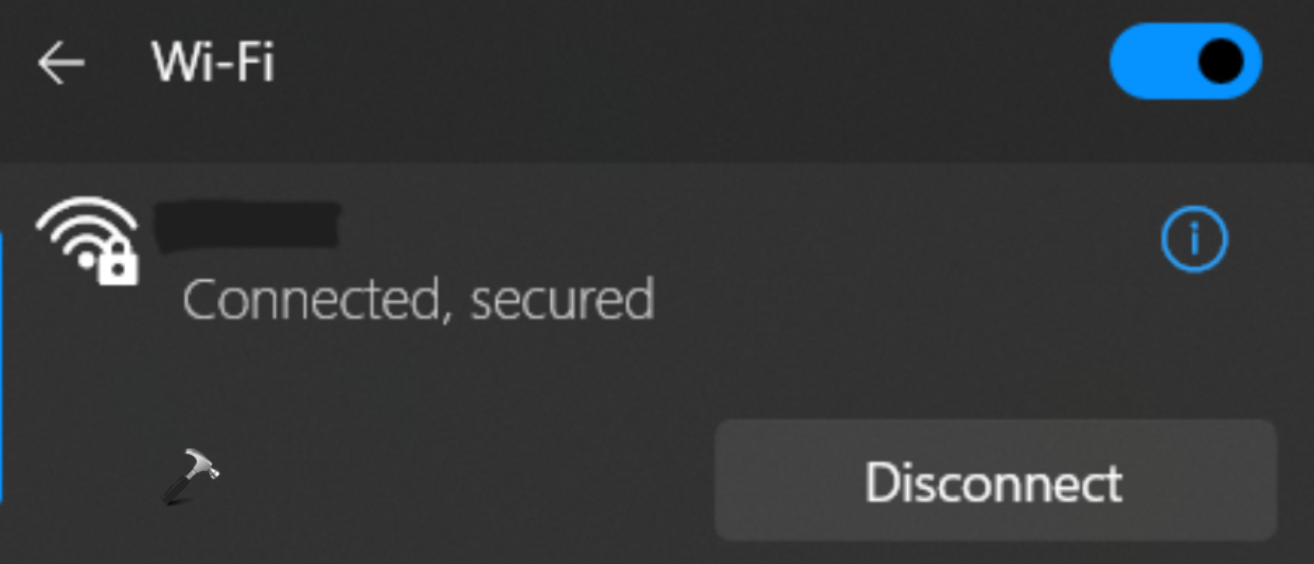
7. After that, open the Action Center by pressing the Windows + A tabs simultaneously on your keyboard. Click on the right arrow present next to Wi-Fi to see the connected and available connections.
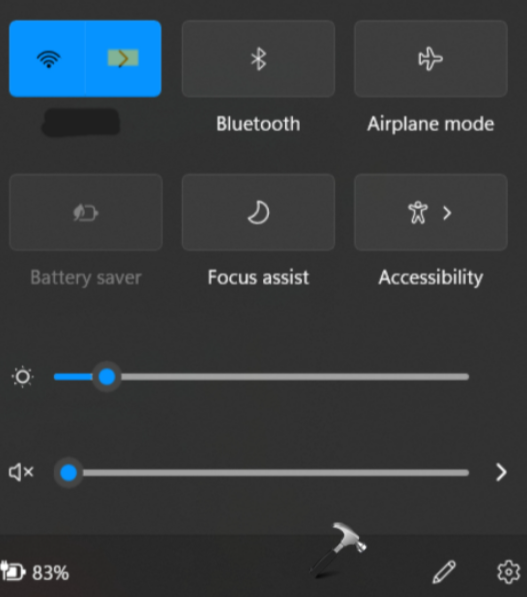
8. Click on Disconnect to disconnect the existing Wi-Fi connection. Once disconnected, connect it again.
Fix 2: By Updating the Network Adapter Driver
1. Firstly, right-click on the Windows icon and choose Device Manager.

2. After that, choose Network adapters. Once expanded, right-click on your network adapter and then, choose Update driver.

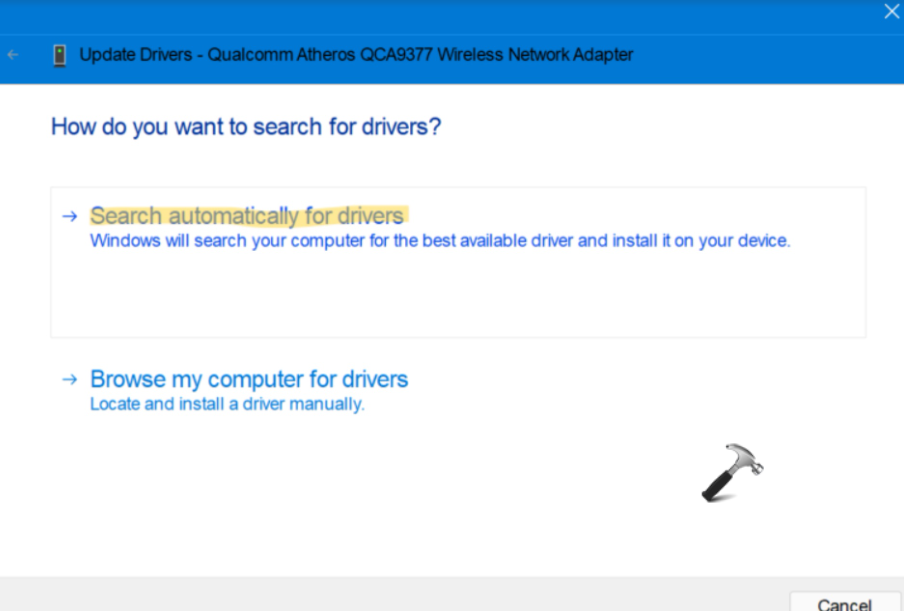
3. In the next window, select Search automatically for drivers. Windows will automatically look for the latest driver and update it.
4. Restart your PC and check if the issue is fixed.
Fix 3: By Flushing the DNS Cache and Resetting the IP Address
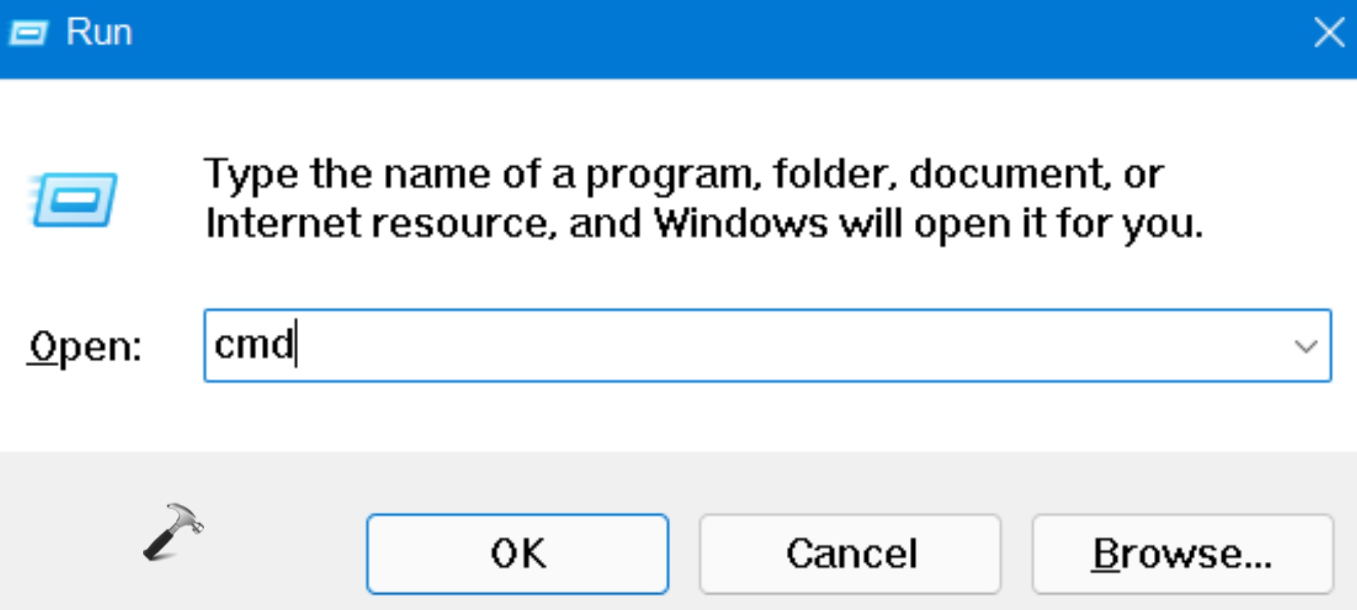
1. Open Run by pressing the Windows + R tabs together on your keyboard. After that, type cmd in the Run dialog box and press Ctrl+Shift+Enter to open Command Prompt as admin.
2. Next, execute the following commands one after the other to flush the DNS cache:
ipconfig /flushdns

ipconfig /registerdns

3. Once done, execute the following commands one after the other to release and renew the IP address:
ipconfig /release

ipconfig /renew

4. Now, you can close Command Prompt and reboot your Windows system.
So, these are some quick fixes to resolve the DNS server isn’t responding in Windows 11 issue. Try these fixes one by one until you find the right solution.
![KapilArya.com is a Windows troubleshooting & how to tutorials blog from Kapil Arya [Microsoft MVP (Windows IT Pro)]. KapilArya.com](https://images.kapilarya.com/Logo1.svg)


Leave a Reply