Windows 10 automatically connects to the known WiFi networks whenever they’re in its range. If you want to prevent this, you can forget known networks. Actually this keeps users one-step ahead and they can directly go to their work, instead of connecting the network first. But this automation in connecting the network may not work always. Sometimes Windows won’t connect to known networks automatically.
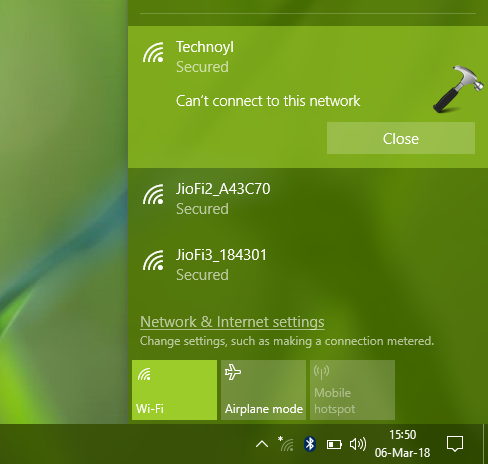
Under such a case, you need to connect manually. However, sometimes manual connection would not work as well, and you’ve following message on the screen:
Page Contents
Can’t connect to this network

A restart may fix this issue for some of the users. For others, if the restart doesn’t fixes this problem, you need to try out fixes mentioned below.
At this stage, we recommend you to update the network drivers to latest version. As you’re unable to connect to the network, take help of other devices and update the drivers manually, from your device manufacturer’s website.
FIX: “Can’t Connect To This Network” In Windows 10
FIX 1 – Run Network Adapter Troubleshooter/Windows Network Diagnostics
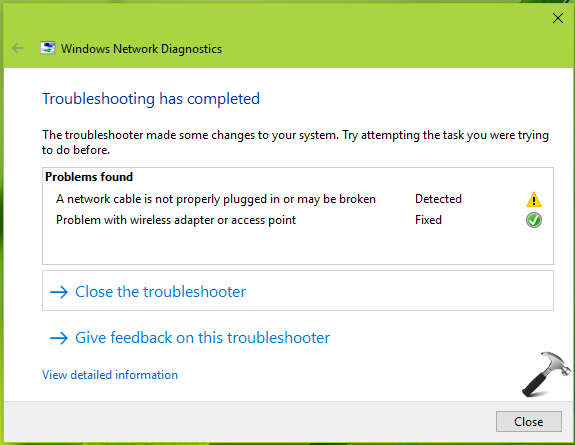
This problem can be well handled by Network Adapter troubleshooter. The troubleshooter will automatically detect the root cause and apply the patch. You can follow steps mentioned in this guide to run the troubleshooter tool:
Steps to run Network Adapter troubleshooter in Windows 10

FIX 2 – Via Network Reset
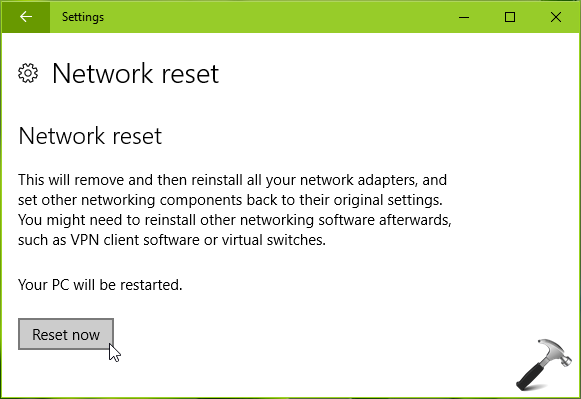
If running troubleshooter doesn’t helps you, go ahead for manual Network Reset. It will allow you to restore factory configuration and thus help you sort this problem. Follow this guide:
Steps to perform Network Reset in Windows 10

After trying above mentioned fixes, we help the issue should no longer persist. Do perform a repair upgrade, if the problem is still there.
Hope something helps!
Related Posts:
1. Fix: Problem with wireless adapter or access point.
2. Fix: Windows couldn’t automatically bind the IP protocol stack to the network adapter.
![KapilArya.com is a Windows troubleshooting & how to tutorials blog from Kapil Arya [Microsoft MVP (Windows IT Pro)]. KapilArya.com](https://images.kapilarya.com/Logo1.svg)


![[Latest Windows 10 Update] What’s new in KB5055612? [Latest Windows 10 Update] What’s new in KB5055612?](https://www.kapilarya.com/assets/Windows10-Update.png)


Leave a Reply